If milky nails have been your go-to for the past few seasons, angel nails might be the manicure that finally convinces you to switch things up.
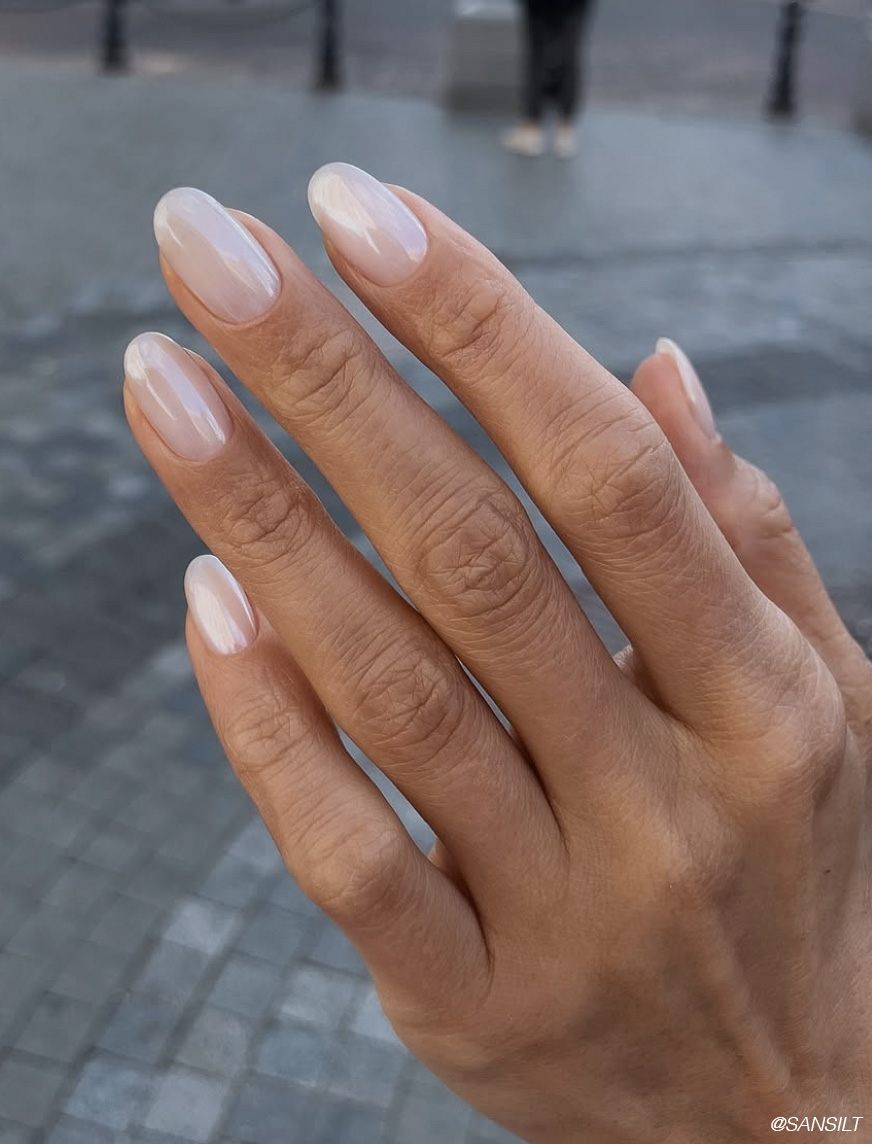
Soft, sheer and pearlescent, the trend takes everything we love about a milky manicure and adds just enough shimmer to make it feel new. Think translucent pinks, cloudy whites and barely-there nudes finished with a veil of pearl, silver or iridescence that catches the light without looking overly metallic.
The result is polished but still minimal, making angel nails especially easy to wear as we move from late summer into fall. They're light enough to hold onto that clean, fresh manicure look, but cooler and slightly more dimensional than the sheer shades we've been wearing all summer.
What Are Angel Nails?
Angel nails sit somewhere between milky nails, glazed nails and soft chrome.
The base is typically sheer — think milky white, pale pink or translucent nude — while a fine pearl or iridescent finish creates the glow. Unlike a traditional chrome manicure, the goal isn't a high-shine mirror effect. Angel nails should look softer and almost lit from within.
The easiest way to think about it? If glazed donut nails are glossy and reflective, angel nails are their more delicate counterpart.
And because the look relies more on finish than color, there are plenty of ways to make the trend your own.
8 Ways to Wear Angel Nails
1. Classic Angel Nails
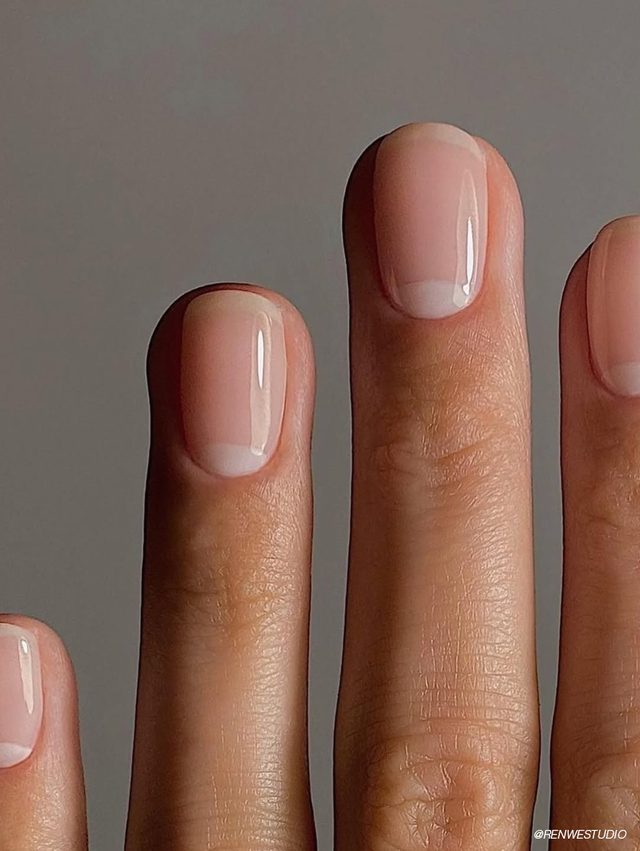
For the most traditional take, start with a sheer pink or nude base and layer a fine pearl finish over the top.
You should still be able to see some of the natural nail underneath. Keeping the base translucent prevents the manicure from becoming too opaque and helps create that signature barely-there glow.
A high-shine top coat is essential here — the glossy finish is what brings the pearl to life.
2. Milky White Angel Nails
Already loyal to milky nails? This is probably the easiest way into the trend.
Start with a soft white polish that offers sheer or buildable coverage rather than an opaque cream. One or two thin coats are usually enough before adding a pearl or shimmer topper.
The finished look is clean and bright without feeling stark, making it an easy option for short and long nails alike.
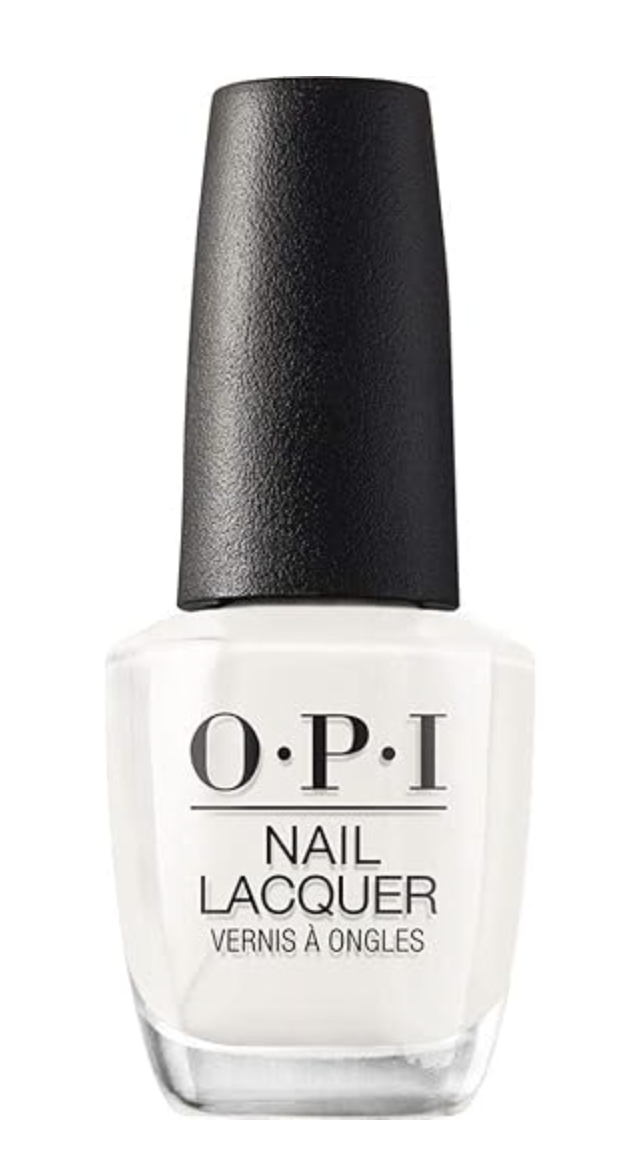
Try: OPI Funny Bunny for a soft, buildable white base.
SHOP OPI FUNNY BUNNY ON AMAZON →
3. Blush Angel Nails
For something a little warmer, swap white for a transparent blush pink.
The pink keeps the manicure looking healthy and natural while the pearl finish gives it that ethereal quality. It's also a great option if cool whites tend to feel too stark against your skin tone.
Look for jelly or sheer formulas rather than opaque pinks so the finished manicure still has depth.
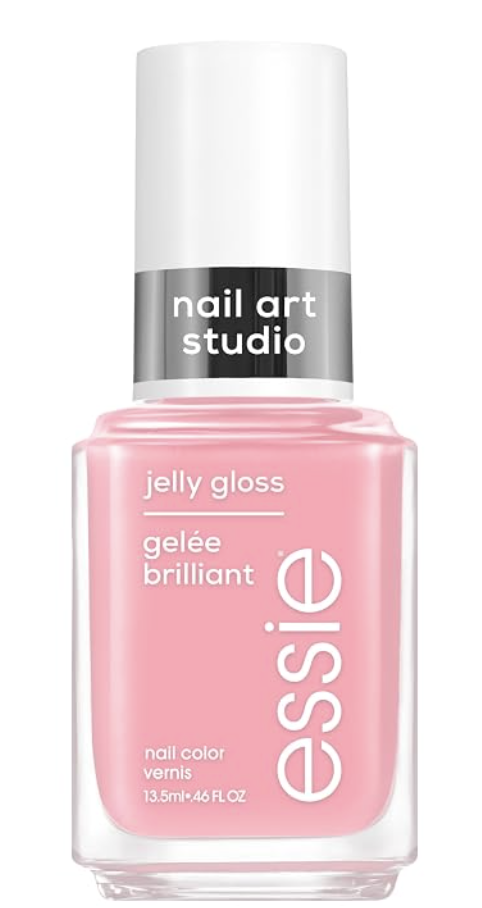
Try: essie Blush Jelly for a translucent pink base.
SHOP ESSIE BLUSH JELLY ON AMAZON →
4. Pearl-on-Pearl Nails
Don't want to deal with chrome powder? Choose a polish that already has a pearlescent finish.
A sheer or semi-sheer pearl shade gives you much of the angel nail effect in a single bottle and makes the trend considerably easier to recreate at home.
For more dimension, layer it over a milky white base. For something subtler, wear it on its own.
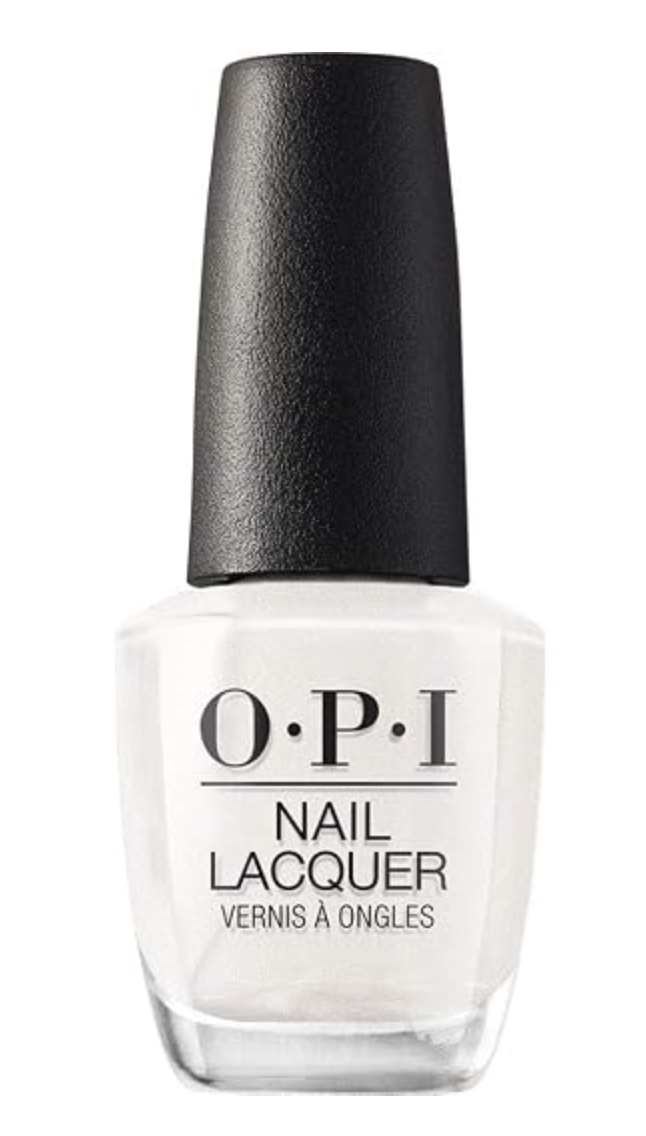
Try: OPI Kyoto Pearl for a luminous white pearl finish.
SHOP OPI KYOTO PEARL ON AMAZON →
5. Icy Angel Nails
Angel nails don't have to stay strictly white or pink.
A cool hint of blue or silver gives the trend an icier finish that feels especially good as we move toward fall. The trick is keeping the color translucent rather than turning it into a full blue manicure.
Look for pearl toppers with a subtle blue shift or a sheer icy base that changes slightly as it catches the light.
6. Soft Chrome Angel Nails
If you're not ready to leave glazed nails behind, combine the two trends.
Start with your favorite sheer pink or milky white, then add an extremely light layer of pearl chrome. You want just enough reflective pigment to catch the light rather than creating a full mirror finish.
The result should look glossy and luminous rather than metallic.
7. Angel French Nails
A French manicure is another easy starting point.
Keep the base sheer and the tips soft rather than sharply opaque, then add a fine pearl glaze over the entire nail. The shimmer diffuses the contrast between the base and the tip and gives a classic French manicure a slightly softer finish.
You can also concentrate the shimmer around the tips for an even subtler take.
8. Barely-There Angel Nails
Sometimes the simplest version is the best.
Start with well-prepped natural nails, apply one coat of sheer pink, nude or white, then finish with a translucent pearl topper and plenty of shine.
Because the polish itself is so minimal, nail prep makes a bigger difference here. A clean shape, moisturized cuticles and glossy finish help the manicure look polished rather than unfinished.
How to Do Angel Nails at Home
Despite the finished effect, angel nails are relatively easy to recreate yourself.
Start by filing and shaping your nails, then gently tidy the cuticle area. Apply a base coat followed by one or two thin layers of sheer pink, nude or milky white polish.
Next comes the pearl.
For a straightforward at-home manicure, a sheer shimmer or pearlescent topper is the easiest option. If you already use gel and chrome powder, apply only a light dusting of pearl pigment so the base color remains visible underneath.
Then seal everything with a glossy top coat.
The biggest mistake is simply doing too much. Heavy chrome, opaque white or chunky glitter can quickly take the manicure away from the soft, translucent finish that defines angel nails.
The Nail Products to Get the Look
OPI Funny Bunny
A longtime favorite for milky manicures, Funny Bunny has the soft, buildable white finish that works particularly well as an angel nail base.
Use one coat for something barely there or add a second if you want the white to show through more clearly beneath your pearl layer.
SHOP OPI FUNNY BUNNY ON AMAZON →
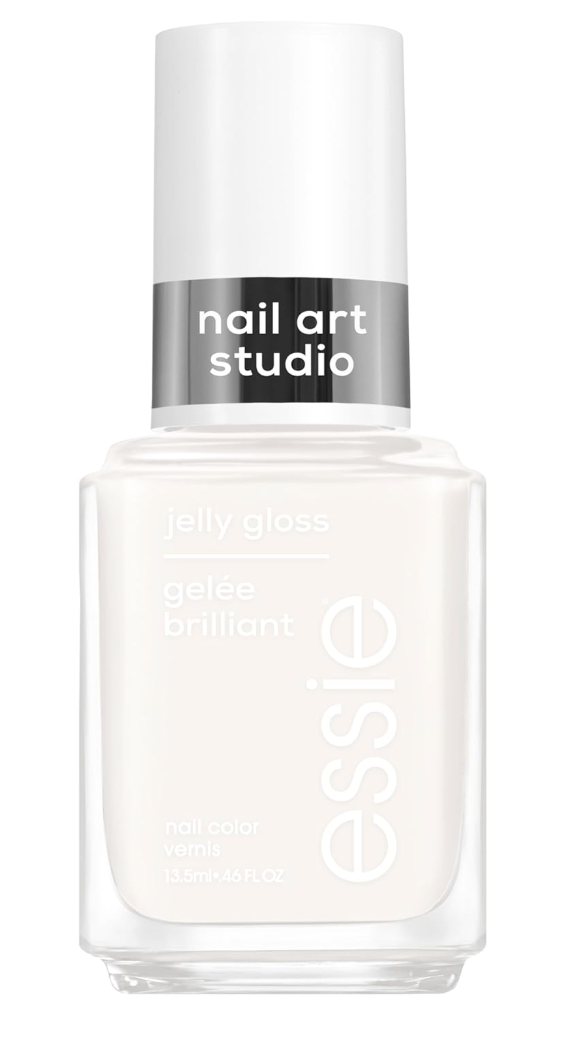
essie Arctic Jelly
For an even more translucent finish, Arctic Jelly offers a soft white jelly effect.
Because jelly polish allows more of the natural nail to show through, it's a good choice if you want your angel manicure to feel especially glossy and lightweight.
SHOP ESSIE ARCTIC JELLY ON AMAZON →
essie Blush Jelly
Prefer pink? Blush Jelly gives nails a sheer wash of color without covering them completely.
It's especially good underneath a pearl topper when you want the finished look to feel warm rather than icy.
SHOP ESSIE BLUSH JELLY ON AMAZON →
OPI Kyoto Pearl
If you want to skip the separate pearl step, Kyoto Pearl is an easy shortcut.
The pearlescent white finish gives you that light-catching quality straight from the bottle and can also be layered over sheer pink or white for more dimension.
SHOP OPI KYOTO PEARL ON AMAZON →
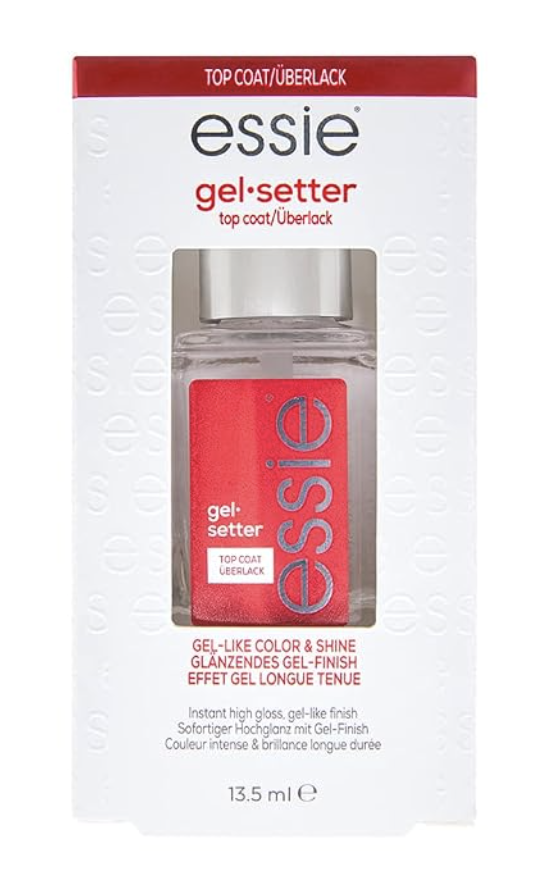
essie Gel Setter Top Coat
Angel nails are all about the finish, which makes top coat especially important.
A high-gloss formula like Gel Setter helps give sheer polish a smoother, glassier appearance while making the pearl underneath look more reflective.
SHOP ESSIE GEL SETTER ON AMAZON →
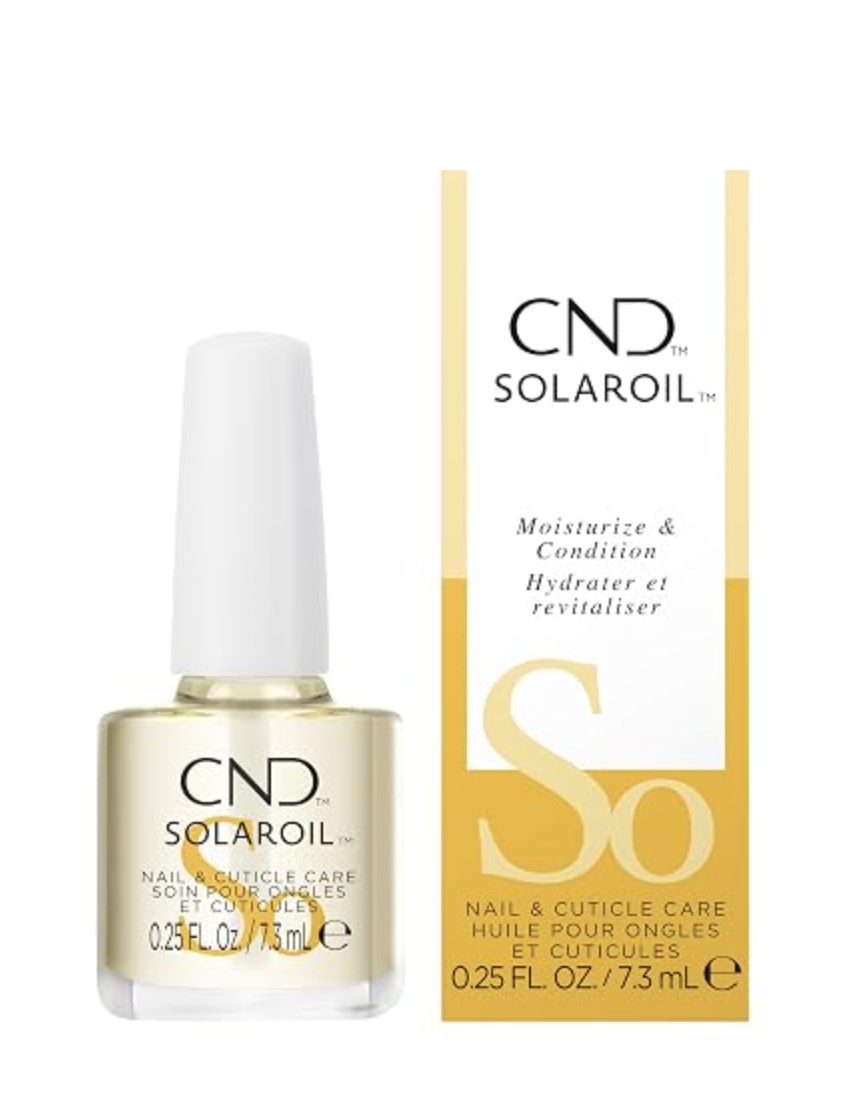
CND SolarOil Nail & Cuticle Oil
When your manicure is this sheer, the condition of the surrounding skin becomes much more noticeable.
Finish with cuticle oil to keep the nail area looking smooth and polished — particularly if you're wearing the barely-there version of the trend.
SHOP CND SOLAROIL CUTICLE OIL ON AMAZON →
Why Angel Nails Are the Natural Next Step After Milky Nails
There's a reason sheer manicures keep coming back.
They're easy to wear, they work across different nail lengths and shapes, and they're polished enough to go with virtually everything. Angel nails keep all of those qualities while adding just a little more dimension.
They're not a dramatic departure from the milky manicure. They're more like its next iteration: still soft, still glossy, still understated — just with a little more light.
And if you've spent the last few years collecting sheer pink and milky white polish, there's even better news: you probably already own half of what you need to recreate the look.
Cover Image Credit: @sansilt
Some of the products featured here may contain affiliate links, meaning we may earn a small commission at no extra cost to you. All recommendations are based on personal use, stylist feedback, or product performance.