Author Lainee Read
Ah, the '80s, when crimped hair reigned supreme. Do you remember the massive bright pink & gold plated crimping iron that would leave highway-sized indentations in the hair, oh and it would create frizz! Lots and lots of frizz! It was an all around epic tool but then suddenly it wasnt so cool anymore. No longer did women want huge crimped grooves in their hair, they were looking for a different form of texture.
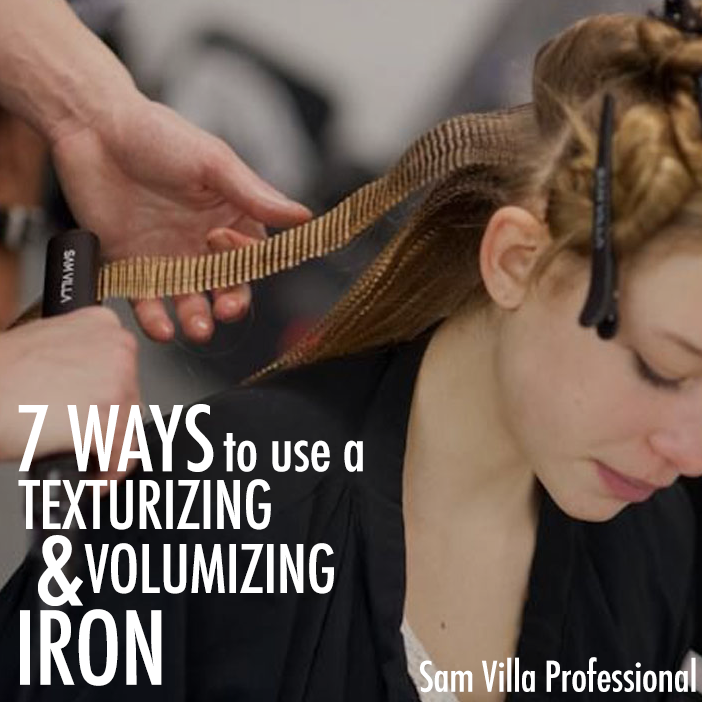
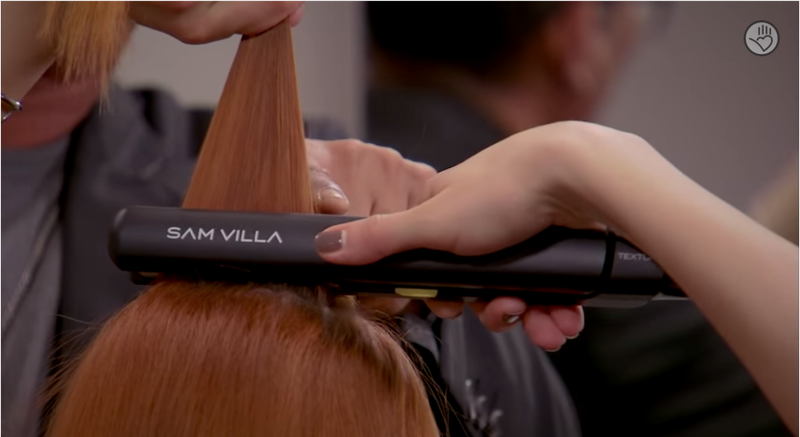
Now, lets NOT mistake the Sam Villa TEXTUR Iron as the new & improved crimper! While the iron may appear to have a somewhat similar appearance, the concept is actually quite different. The TEXTUR Iron is an amazing tool, but what's its purpose? What do you do with this iron and how often do you use it?
Here are 7 different ways you can use the texturizing iron that that will have you as giddy as a teenager at a Guns N' Roses concert!
First, lets talk about the concept of the iron.
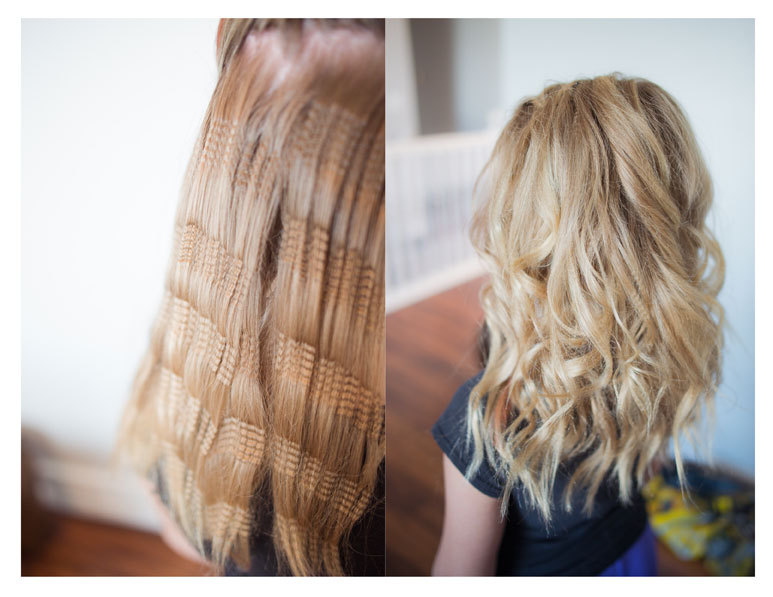
The TEXTUR Iron is designed to change the texture of your hair, which results in 3x more volume. When hair texture is changed, it becomes more pliable and easy to work with perfect for fine hair that lies limp. After the hair has been textured, simply brush out with a styling brush and watch the volume appear! The texture that the iron created will remain in the hair until washed out.
Now that weve explained the concept, lets talk about the different ways you can use the Iron.
1. Scrimping: Sam introduced us to the genius concept shorty after releasing the TEXTUR iron. The idea behind this technique is simple: change the surface texture of the hair to get curls to hold.
How to Scrimp Your Hair
- Go through your hair and compress using the texturizing iron from the scalp to ends.
- You don't need to texturize all of the hair, just compress, skip and inch or two, then compress again until you reach the ends.
- As you compress, you'll notice the hair strands thicken and the surface texture will go from smooth to a rougher feel. This is the texture you want in your hair!
- Next, curl your hair as you normally would and because of the added texture and grip, your curls will last all day long! Click here for the full tutorial!
2. Root Lifter: We've all invested in a large amount of root lifting sprays and we are all guilty of backcombing for days just to add more volume at the crown. The problem with root lifting sprays is that it can actually leave a crunchy finish that sometimes only lasts for a few short hours. While backcombing is tough on your hair, causing breakage and not to mention a mess of tangles!
How To Get More Lift at The Scalp
- Spray your hair first with a heat protectant spray. This will protect you hair from heat damage and will also help to set the texture in more. We recommend Redken iron shape 11.
- Take a section in the crown area that is no wider than the plates of iron, lift up and comb through, then compress using the TEXTUR Iron next to the scalp.
- Repeat this process throughout the entire crown area.
- Finally, smooth out the texture with your styling brush and voila, you have texture throughout the crown!
- Hot TIp: If your hair starts to fall flat simply massage your scalp with your fingers tips to awaken the texture and your volume will return.
- Click here to watch the full tutorial.
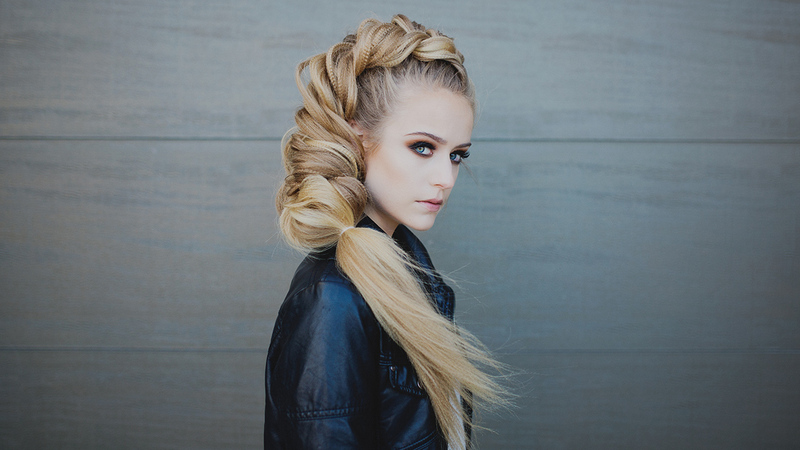
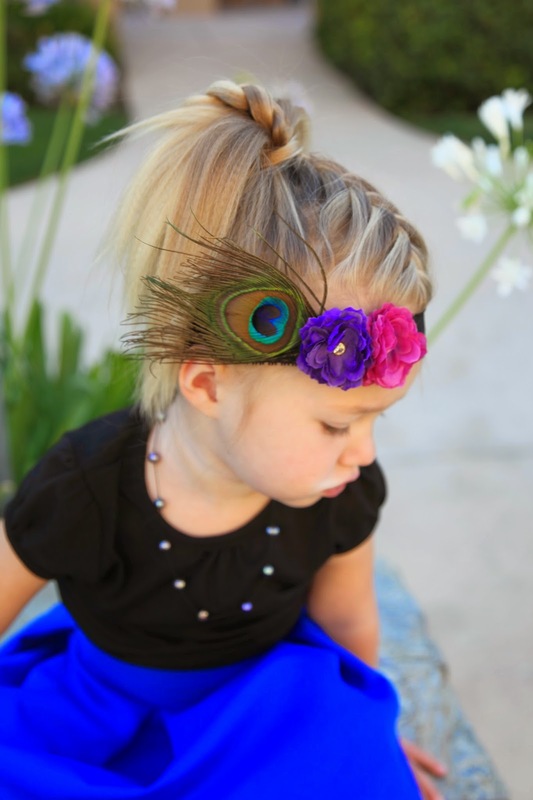
3. Bigger Braids: Who doesnt love a big braid! Unless you have mermaid hair or a ton of extensions to add in, you are left with a small thin braid. The TEXTUR Iron can be used on ALL hair types, from children to fine and thin hair.
How To Create Bigger, Thicker and Fuller Braids
Simple. Texturize the entire head for a full head braid or simply texturize the section you are braiding. By using the TEXTUR Iron, you will increase each hair shaft up to 3 TIMES it's normal size. That means ... BIG, THICK BRAIDS! Check out these big braids!
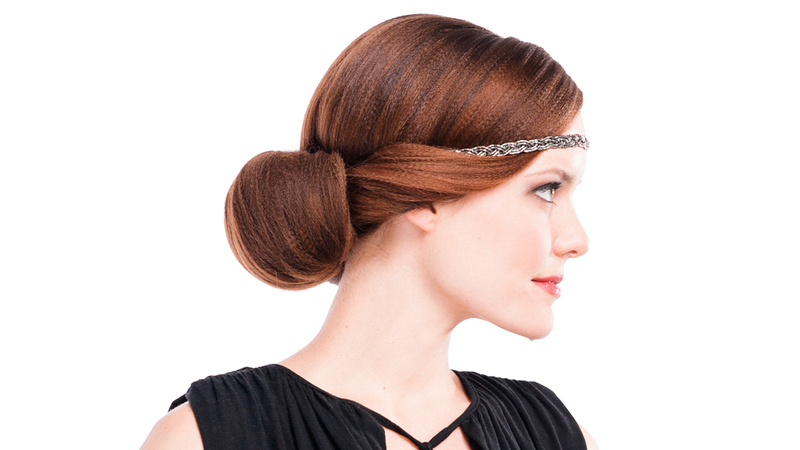
4. Updos: Updos run the same troubles as braids, you either lack the hair type or amount.
Make your updos easier by texturizing the entire head prior to styling and the possibilities become endless! Click here to see just how this technique can be applied to your updos.
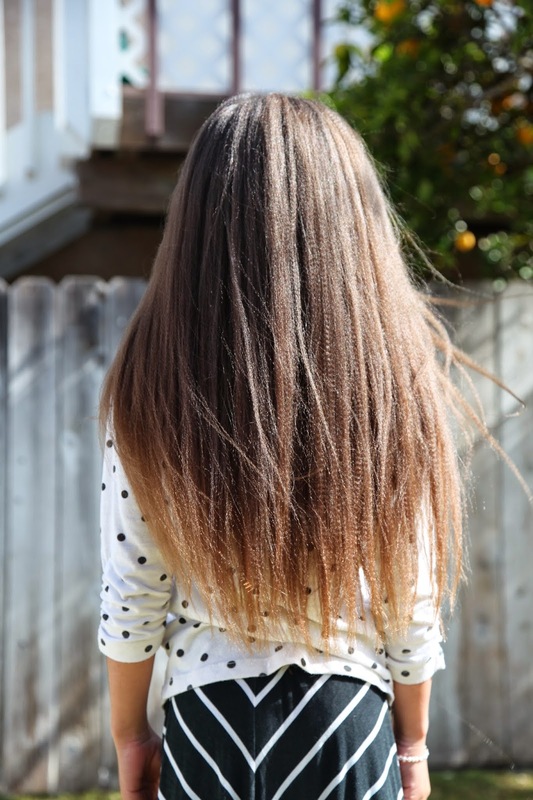
5. Create Volume for DAYS!: Big hair is in and the Sam Villa TEXTUR Iron is the key. After texturizing the entire head, remember to brush through the texture with a styling brush and then add polish and shine with Redkens Diamond Oil to achieve beautiful volume.
Make Your Texture Set Last For Up To 5 Days
- Day 1: Leave your hair down
- Day 2: Try the scrimping technique and add some curls
- Day 3: Test out a romantic side braid
- Day 4 & 5: Throw your hair into a messy top bun.
6. Bigger Ponytails: If you have thin and fine hair, your ponytails tend to be small and lifeless. Texturize the entire head, leaving out a face framing section untextured. Pull the hair back into a ponytail and cover the texture sections around the head with the un-textured section framing the face. Ponytails are a versatile hairstyle, perfect for work, a night out and yes, even the gym!
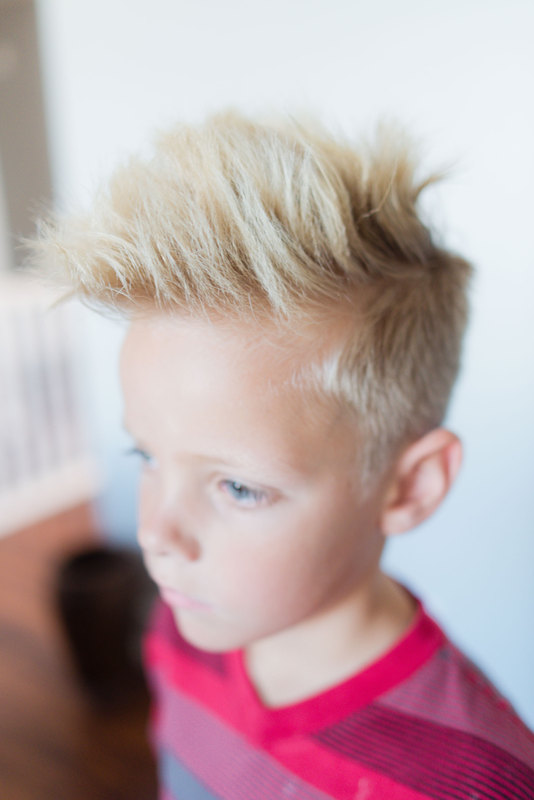
7. Mens Hair: That's right, the texturizing iron is NOT just for women. Whether you are dealing with a difficult cowlick or extra fine hair, texturize the hair and watch the magic happen! The key is to compress lightly and brush the textured sections out afterwards. Then add in product and finishing spray to sculpt and finish.
The possibilities with this tool are endless. Get creative and change the way you add more volume to your hair. From adding volume to increasing the pliability of the hair, the Sam Villa Texturizing Iron will quickly become your go-to daily tool.
Remember, the Sam Villa TEXTUR Iron is not a crimping iron...it's a texturizing and volumizing iron! Click here to order your TEXTUR Iron today!
We want to see your textured hairstyles! Tag your pictures on Instagram with #samvilla for your chance to be featured and dont forget to stalk us on Bangstyle!