Written by, Colortrak Artistic and Technical Director, Gregory Alan.
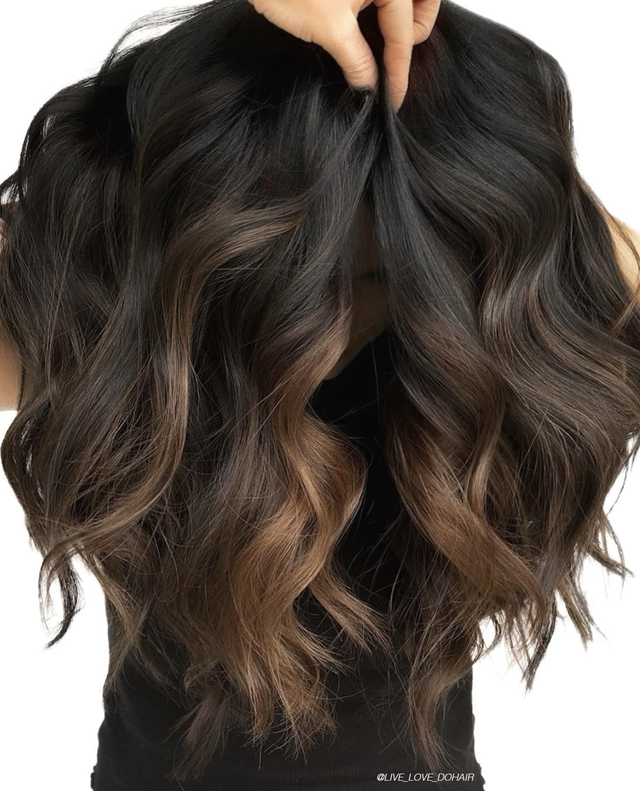
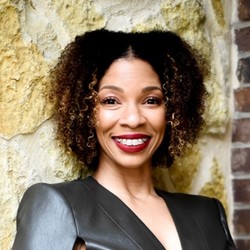
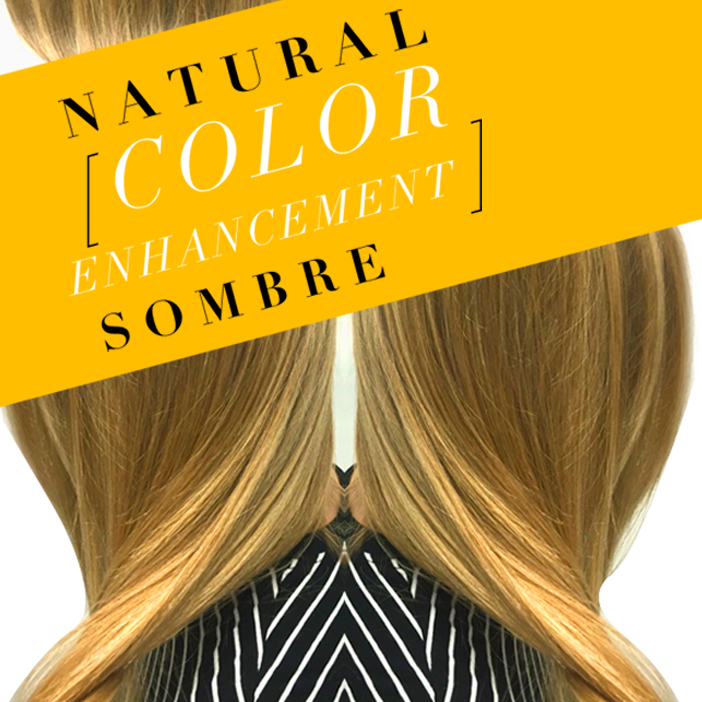
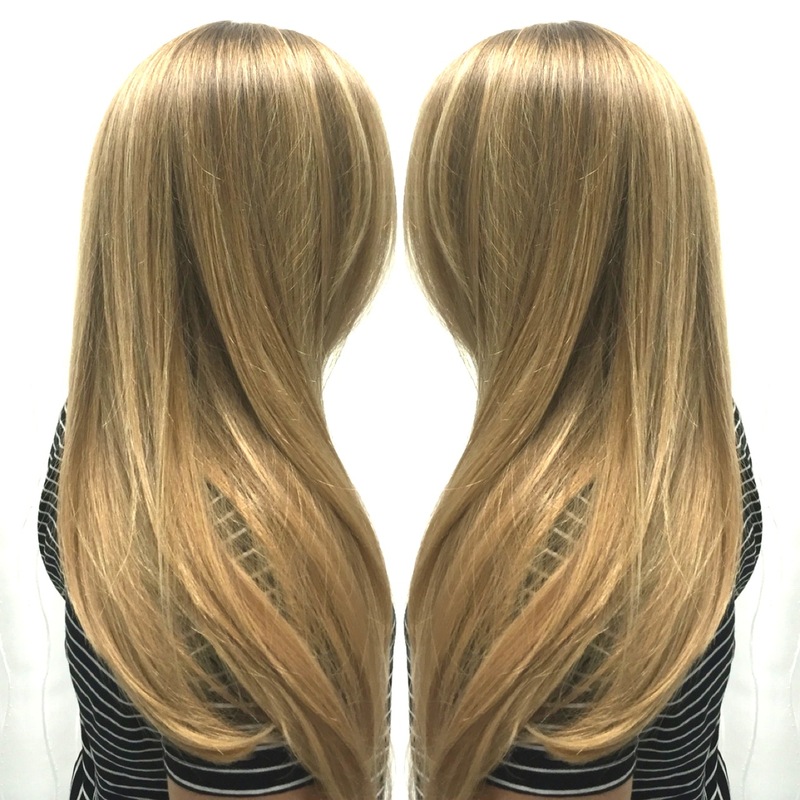
Creating a color enhancement is a great way to freshen up a client’s color with a more “lived-in” feel. The client below has some of the most beautiful natural color; she’s a natural level 7/8 with a subtle kiss of warmth. This client lives a few states away from Gregory Alan, her hairdresser, and visits him in South Florida about twice a year. Therefore, it’s important that he creates a hair color that ages flawlessly as her color is “lived-in” for half the year. For this particular visit, her hair color not only had that “lived-in” look, but also had a much darker root. During the consultation, she noted that she wanted to revive her hair color from a few years prior when it was a bit lighter with more dimension. To help her achieve the desired results, Gregory brightened the ends and softened the color at the root, while adding dimension.
Formulas Used:
Formulation 1 – Any Ammonia Free Clear Color such as Chromatics Clear or Davines 000. For this look, Davines 000 with 40 Volume + a drop of a 10/72 for a little pigment was used.
Formulation 2 – Cream Lightener with 20 Volume. We like the idea of a conditioning lightener here because we are not looking to make the hair too light, just bump it enough to reach a level 10 with a little bit of warmth left in the hair.
Step 1. Begin your sectioning using a Voluminous Grip Clip, to create a tear shaped section at the top of the head dividing the natural part in half (even if the part is asymmetrical, make your section asymmetrical as well).
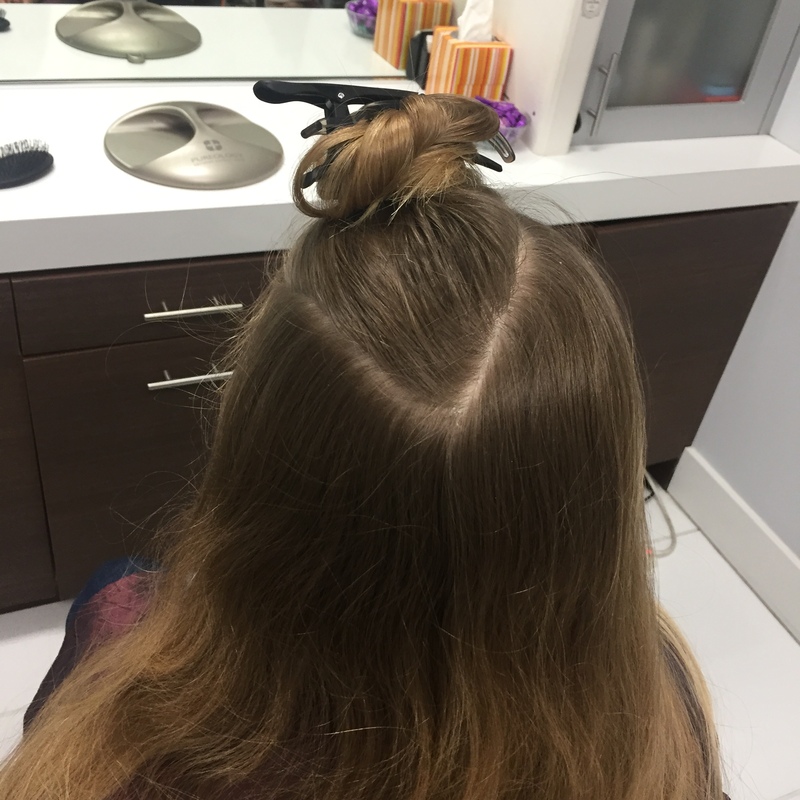
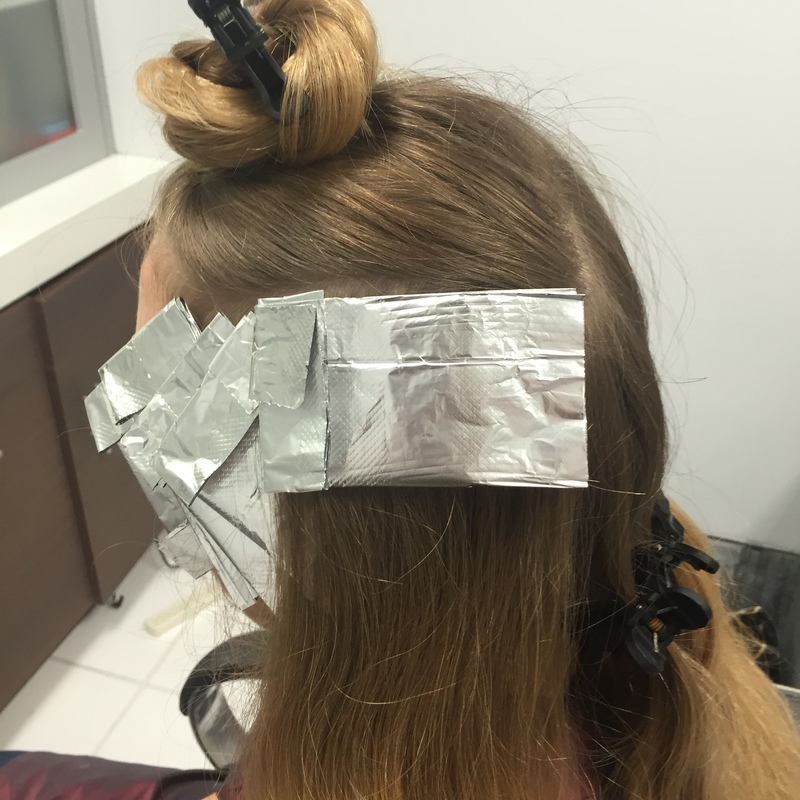
Step 2. Then take a diagonal forward section from the tip of the tear section in the back, to the top of the ear.

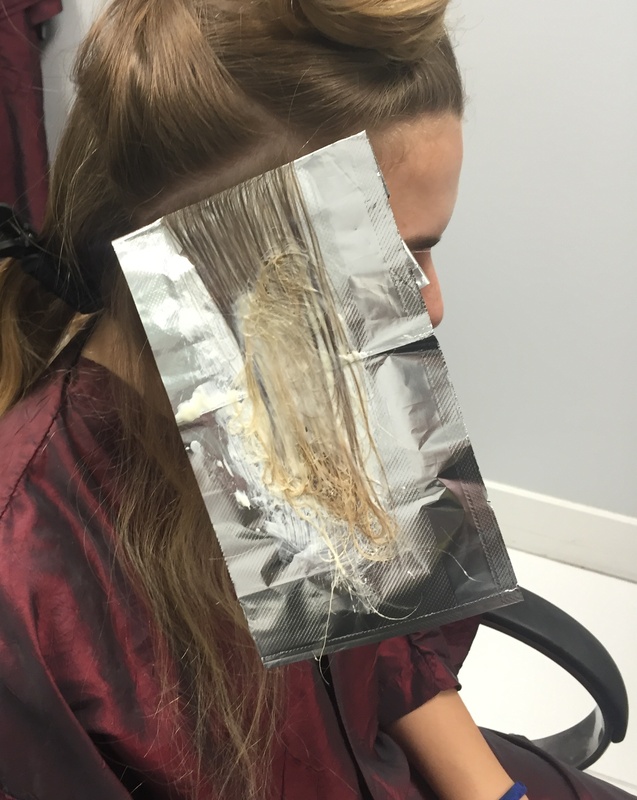
Step 3. Begin your application, alternating formulations 1 and 2. Take weaved and sliced subsections, using your Colortrak Pop Up Foil, and continue working diagonally up the section until you’ve reached the top.
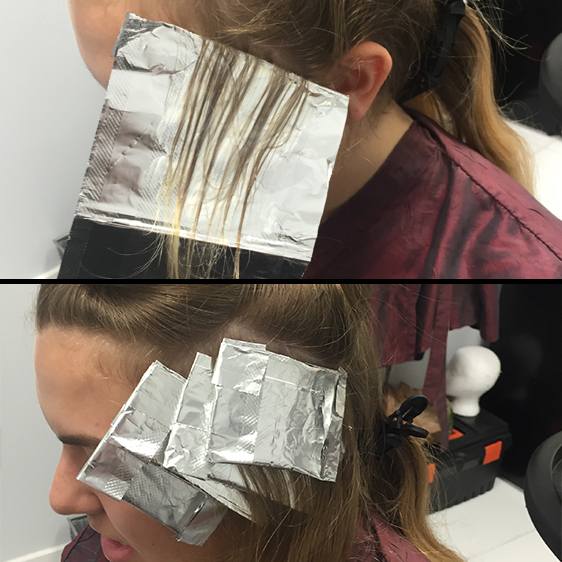
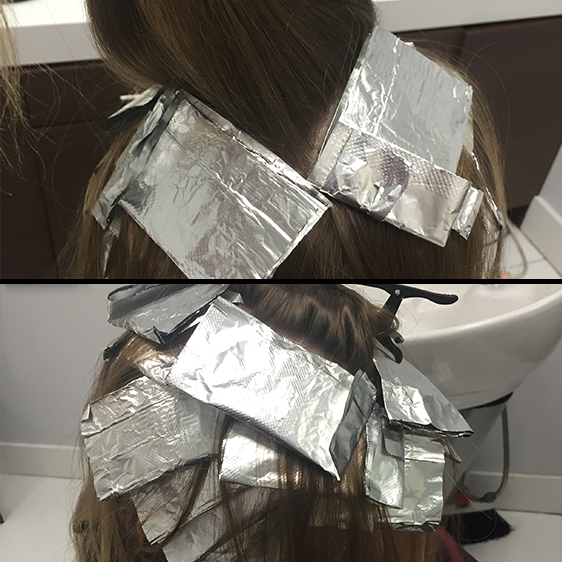
Step 4. Once the top portion of the section has been reached, use a horizontal section to create a larger sheet of color that lies over the diagonal sections.
Step 5. Repeat the process on the opposite side.
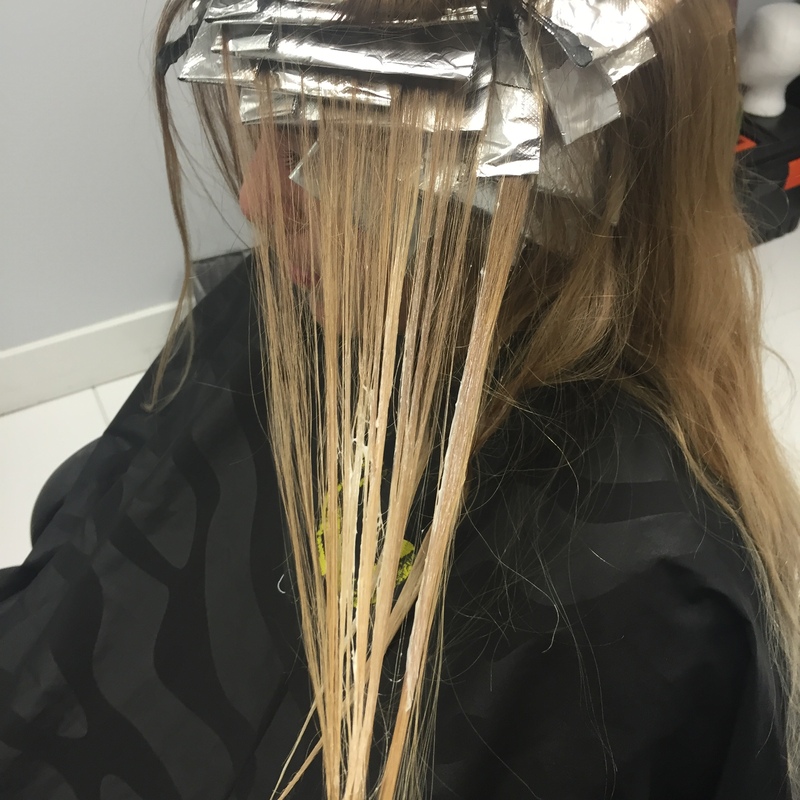
Step 6. Begin working with your tear shaped section on top by using a diamond application technique. You will continue to outline a diamond shape within the tear shaped section working from the outside in, until you’ve run out of hair.
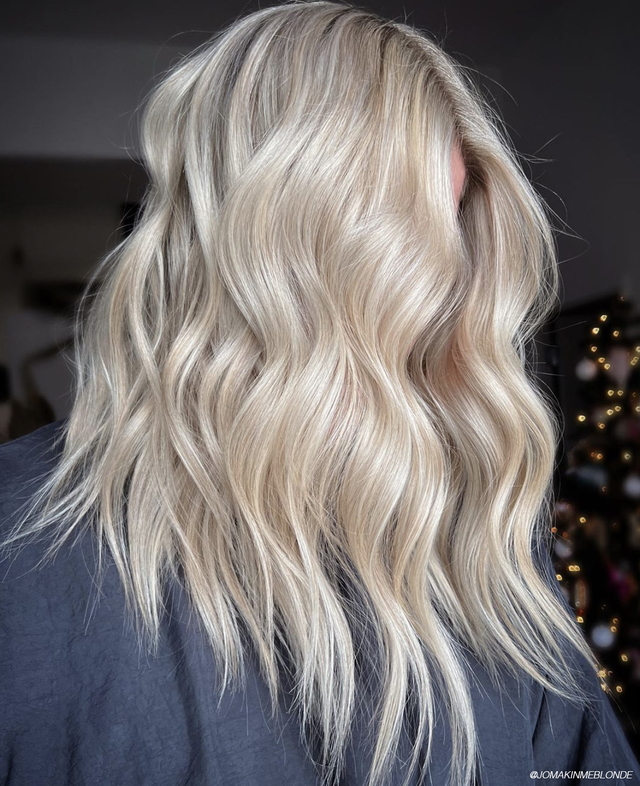
Step 7. To add more lightness toward the ends, use formulation 1 toward the ends to brighten and lighten the previous lightened pieces.
Allow the color to process, wash and style as desired.
For this and more articles SUBSCRIBE to our mailing list and STALK us on Bangstyle!