With a return to tailored cutting, bobs of all shapes and sizes made their way into trend forecasts all over the world. One of the most iconic stemmed from a style from 19th century France deemed “the French Bob.” This style also saw a renaissance in the 1920s and again recently as clients everywhere have been searching for a new look.
“A French bob is designed to be short near the jawline with a fringe that hits the brow area. I find it shorter than a chin-length bob with its signature ends slightly curving in towards the chin. It’s a great hairstyle to frame a long or heart-shaped face. It was popular in France in the 1890s, but today’s cool-girl version has blunt edges and heavy organic texture…so it’s radical, yet chic with the perfect amount of texture,” explains Sam Villa, Co-founder and Chief Creative Officer of Sam Villa and Global Artistic Ambassador for Redken.
Watch Sam Villa create a French Bob this video and keep reading for the steps below!
Points of Interest
- The cut is disconnected or detached, so it is important to section and clip the entire head first before starting to have more control.
- Many times, when cutting bobs holes may occur behind the ears. Focus on widening the side areas of the head by sectioning to the corner backs versus on top of the ear.
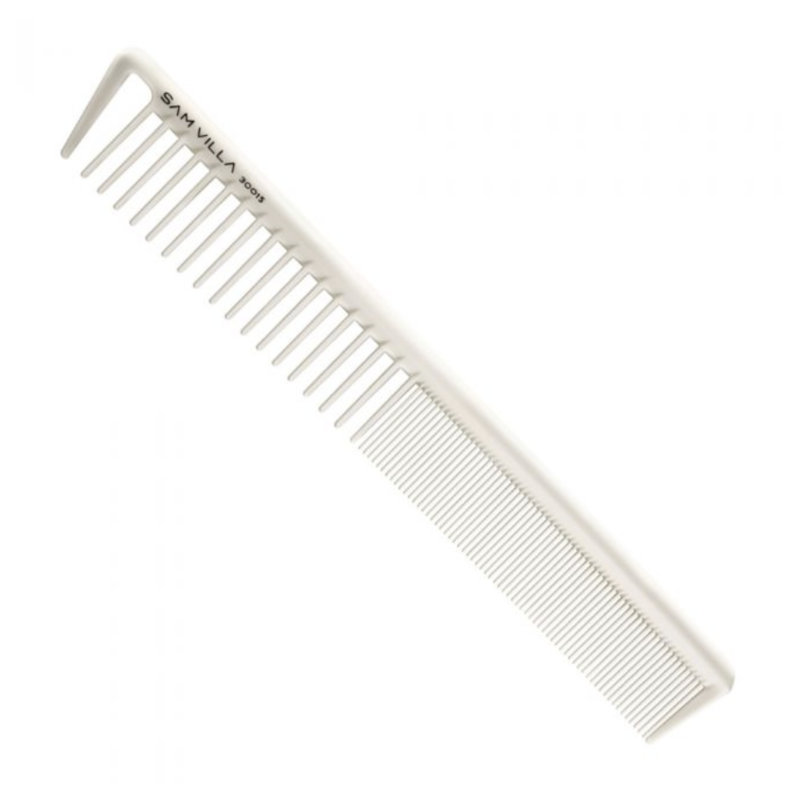
- A comb is a tool that can create many mistakes. The elevation is vertical, so the action of combing from underneath ensures getting the elevation up and above a horizontal line to a vertical degree of elevation. Adjusting combing habits can change the outcome.
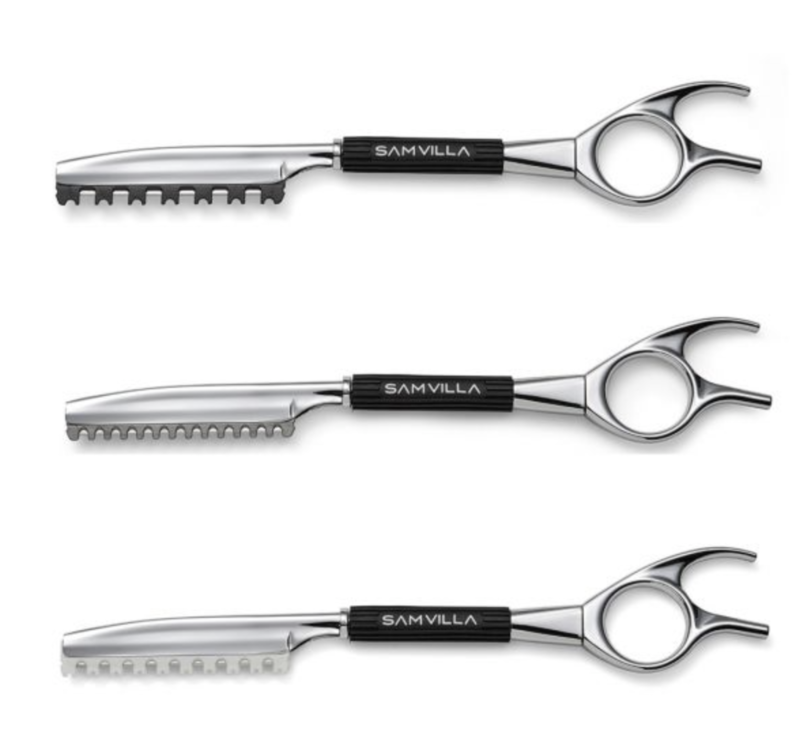
- Use a Sam Villa Signature Series Razor – hold it like a pencil and rotate it towards the body, keeping the elbow down. Longer strokes will create a softer effect. Remember, a razor is an emotional tool, allow the weight of the razor to do the cutting, not the pressure of the grip.
- Sides: The French Bob’s signature is the roundness of the bob line in the front side areas achieved by simply taking the corner of the bob off, using the lips as a point of reference.
- Top: Use overlapping sections to detach crown/top areas from underneath. “We have discovered by leaving the top and crown areas slightly longer, we are able to maximize volume,” says Villa.
- Fringe: Think inside out and layer a triangle fringe area prior to cutting the fringe line. This will guarantee a frothy soft interior. Simply, create a guide at the top of the triangle and over direct horizontal sections back to a stationary guide to create maximum length. Adjust the desired length freehand at the brow by pinch and cut to create an organic edge to the fringe.

To style, apply Redken Oil For All for added conditioning, accelerated styling, and shine. Then, blow-dry with tension for a smooth finish or dry with a diffuser for a more organic vibe.