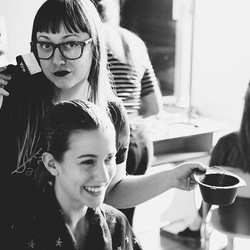
Whether you need a new style or an update to your tried and true color, Christine Silverman of Ramirez-Tran salon in Los Angeles, gives us the inside scoop on how she achieves her signature look. If you have thought about going brighter or blonder, this is definitely the place to start, she demonstrates how to keep color looking healthy and hair strong with her favorite product.
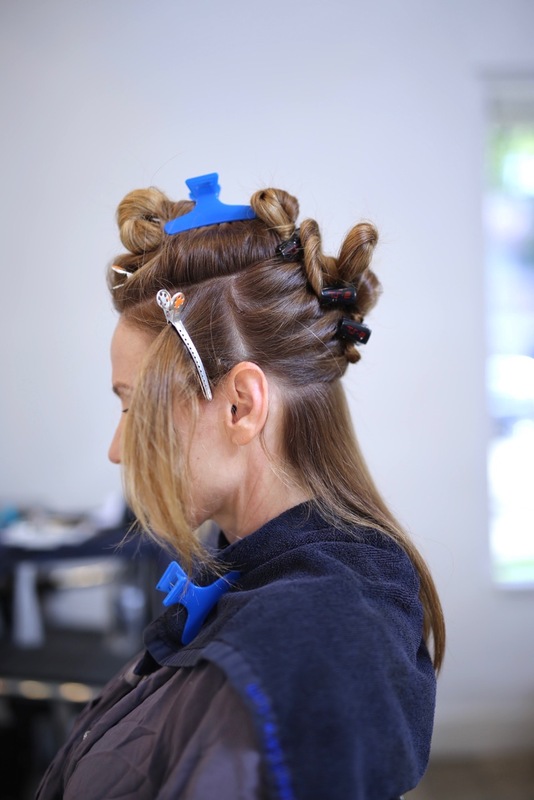
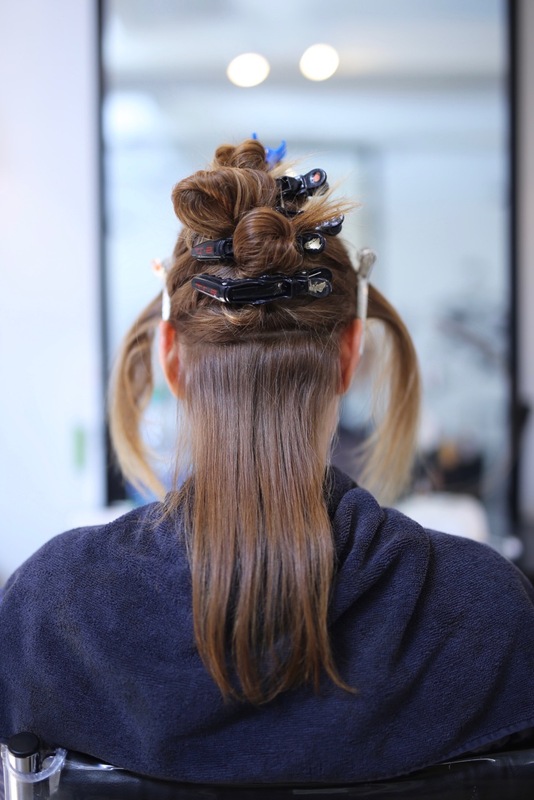
Step One: Sectioning
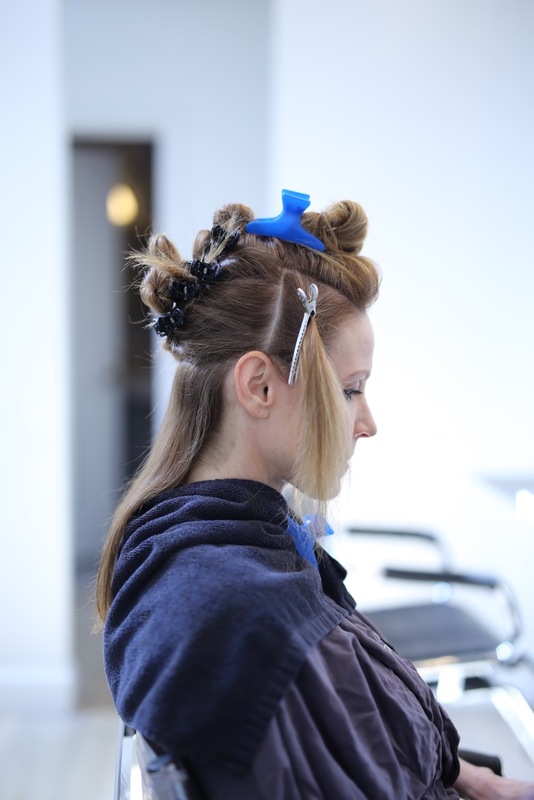
1. Have the client determine where their favorite part lies, also accounting for natural growth patterns (cowlicks) at back of head. Mark this area with yoyette clips.
2. Take a horseshoe shaped section from temple to temple including your previously marked parting. Gather this section on top of head with a butterfly clip.
3. Clip off vertical sections of hair in front of client’s ear.
4. Create one inch horizontal sections at back of head… going down as far as you want to add highlights.
Step Two: Mixing
1. Add one scoop Solaris Free Flow balayage bleach to the mixing bowl.
2. Mix in 40 volume peroxide until bleach is slightly thicker than sour cream. (approx 25 ml)
3. Add 1/8 oz Brazilian Bond Builder to mixed bleach. This ensures damage free highlights, deters product from puffing, and creates a smooth consistency of product.
4. Thoroughly blend together until product is clump free and is the consistency of sour cream.
5. Depending on the amount of hair the client has, you may need several bowls to finish your application. Not mixing too much product at once minimizes the oxidation process and allows for brightest results.
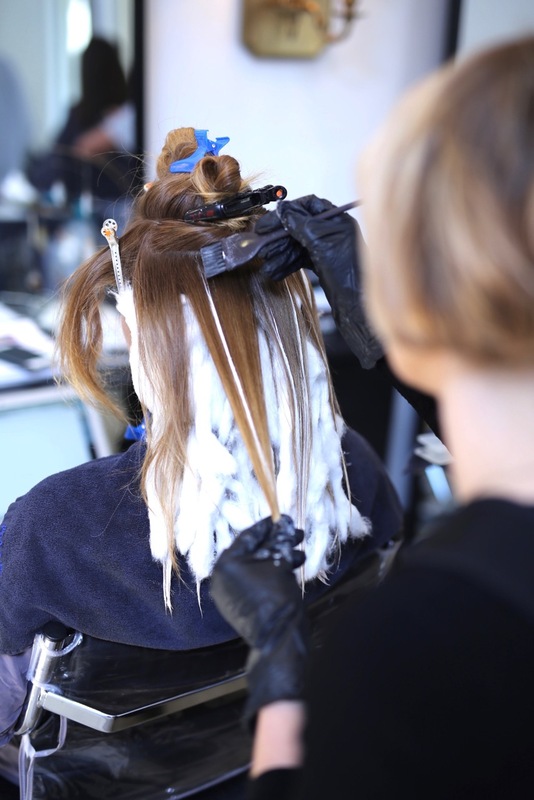
Step Three: Application
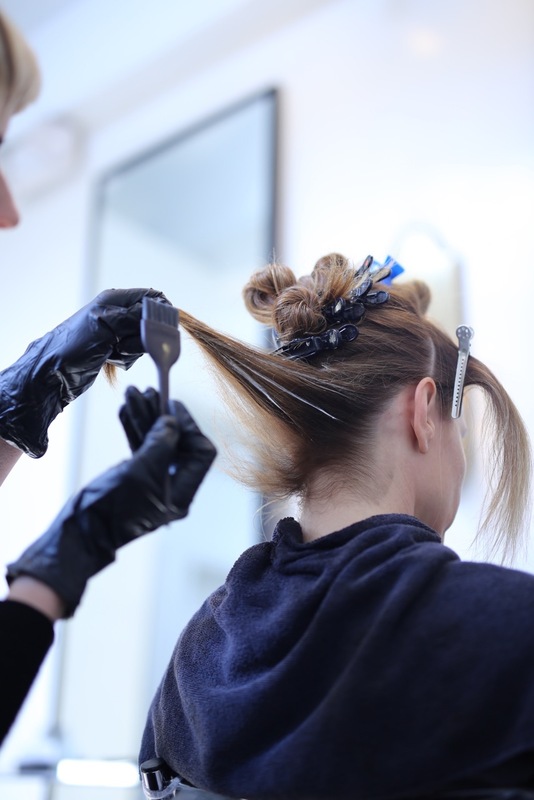
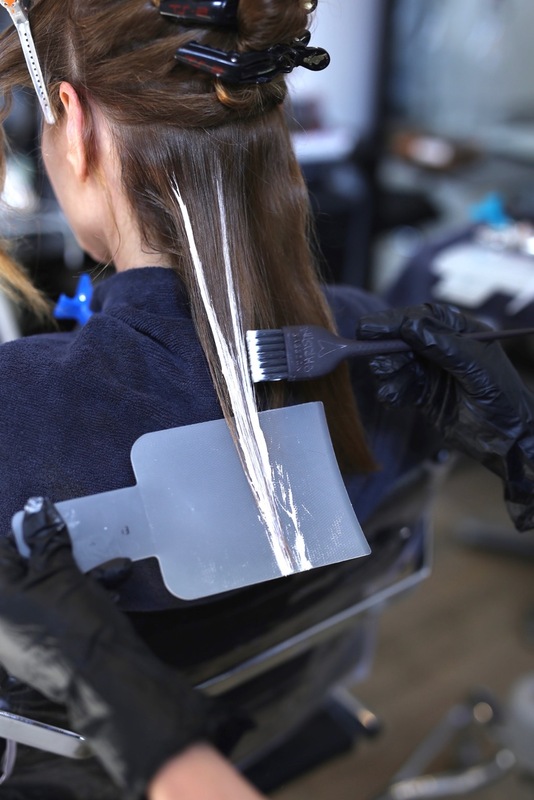
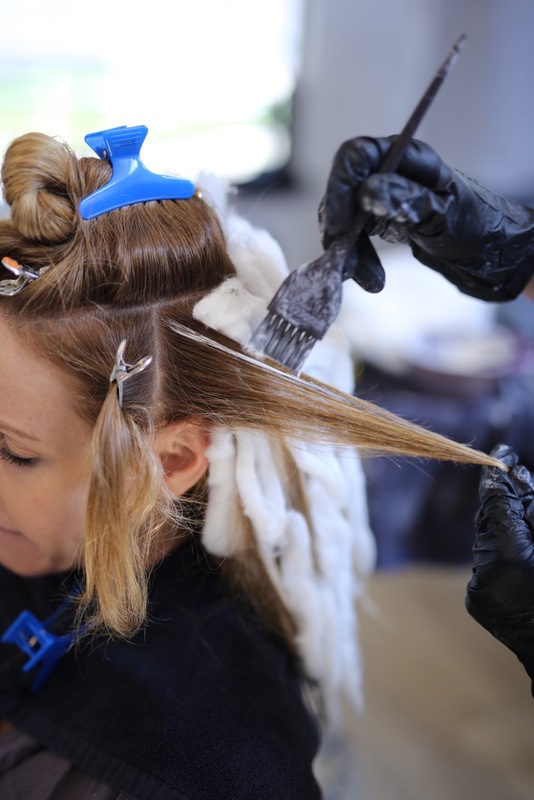
1. Apply product to sections using a swooping motion, concentrating on ends of hair for gradient or “melt” effect.
2. Feather up towards scalp to ensure no harsh lines.
3. Use 100% cotton coil to separate sections, this allows product to breathe and process and prevents sections from touching each other and spotting.
4. When nearing the top of the head, if you are comfortable with it, you can add a higher volume developer to speed the lifting process so that both the bottom and top of head lift equally by the time you are finished with application.
5. Refine product with olive oil mixed with bond builder. This stops development of any areas you want to fade out, as well as being beneficial to the hair!
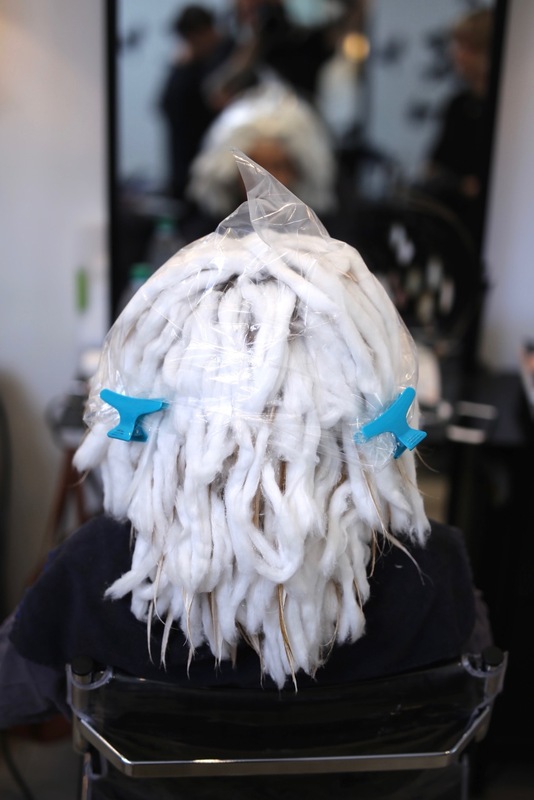
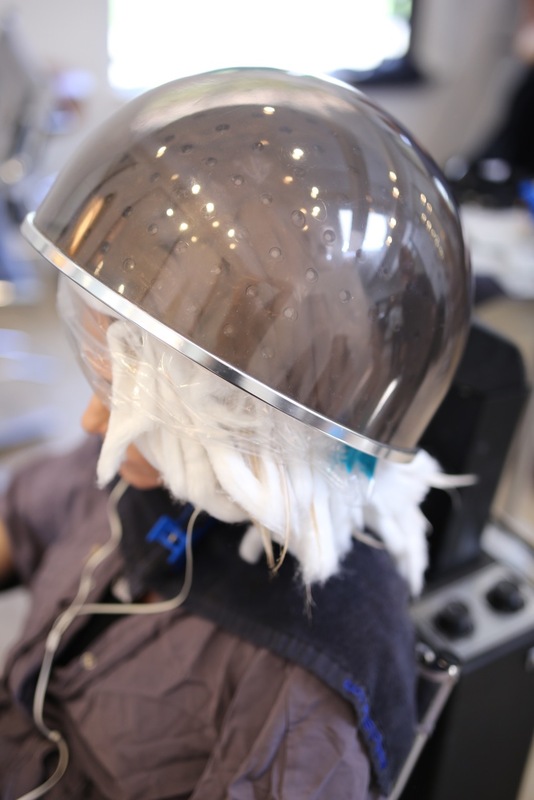
6. If further lifting is required, apply a plastic bag loosely clipped on top of highlights and place client under dryer, checking frequently to ensure there is no over processing.
Step Four: At the bowl
1. Remove cotton
2. Rinse highlights
3. In this client’s case, we left the highlights “makes” for bright golden hues to contact her warm base. If needed, apply a gloss to meld the highlights together and cancel out tones from previous highlighting. With each gloss, I add 1/8-1/4 oz Brazilian Bond Builder. Gloss is applied with a brush on the root to approximately three inches out, then left for about a minute and finally whooshed through the ends of the hair.
4. Shampoo gloss using B3 sulfate free shampoo for color. Follow with B3 mask to further seal the cuticle and lock in the color. I recommend that each client uses the B3 shampoo, conditioner and mask at home to extend the life of both their treatment and hair color. Formulated with the same breakthrough technology found in the b3 Brazilian
Bond Builder professional formula for hair that is noticeably healthier and resistant to breakage, this Color Care at-home line helps prevent color fade and color washout as hair is cleansed on a regular basis for longer-lasting vibrancy and improved pigment retention between color appointments.
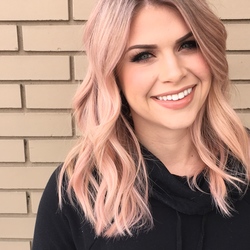
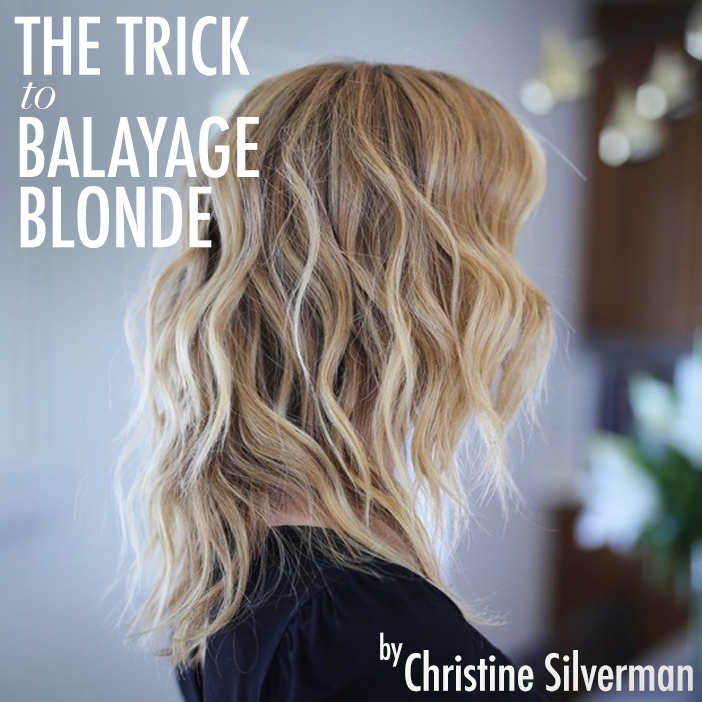
The Finished Result:
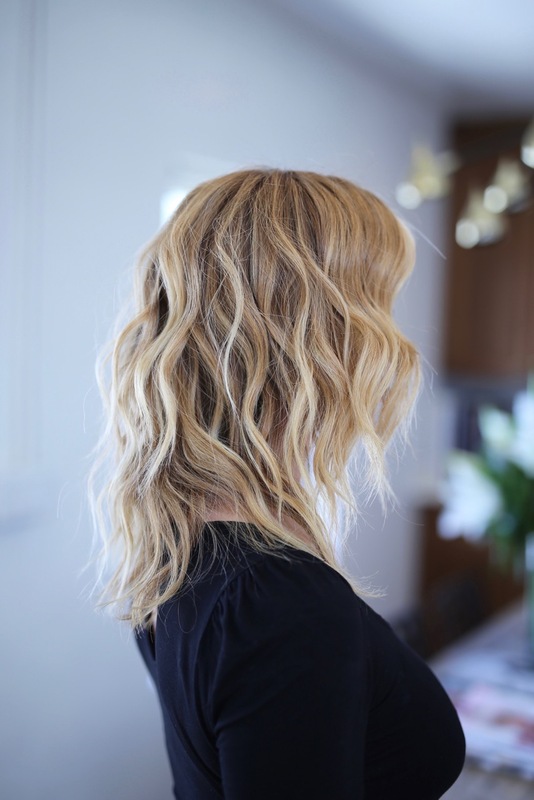
With B3 I am able to lift the hair to desired levels without the fear of breakage. It works beautifully when added to glosses to create extra shine, and ultimately extends the life of my color. Give your clients the color they want while keeping the integrity of the hair intact.
Be sure to stalk B3 Brazilian Bond Build3r on Bangstyle and stay tuned for all their latest color tips and tricks!