Unless you’ve been under a rock for the past couple of years, I’m sure you may have heard these words a time or two….”You’re a hairstylist, what’s your Instagram name?” Lets face it, people want to see your work and want to be in the “know” of what you’ve got going on! The amazing thing about Instagram is that it’s free marketing. And who doesn’t love free?!
If you’re asking yourself “How the heck do I begin?” Or “How do I get followers that will book with me?” The answer is pretty simple. Build a great feed, post your fabulous work, and they will come….IN DROVES!
Disclaimer: We want you posting ALL your hair art to Bangstyle…and sending your clients to Bangstyle to search and save hairstyles in preparation for their hair appointment. But, we also know in order to grow your client base, you need to post on Bangstyle, Instagram and Facebook. With that in mind, we have tips to help you grow your presence on all your social sites.
Creating a well curated, visually stimulating Instagram feed is pretty much a surefire way to not only increase the quality of your following, but ensure that you won’t just be “popular” but also “profitable,” and thats what we REALLY want! Sure “likes” are great, but if these people aren’t booking you, or referring their friends, it’s all for nothing.
The great news is that it’s not hard at all to create an amazing feed. You don’t need to be a professional photographer, or amazing at photoshop either. If you have a smartphone with a camera, you’re already on your way to being an Instastar! With these very simple steps below, we’ll show you how to double your following, keep it growing, and the money flowing. :)
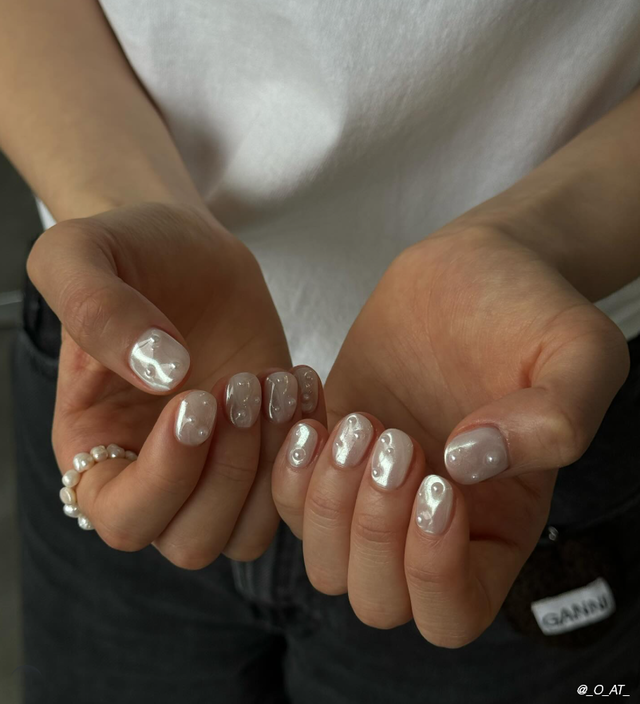
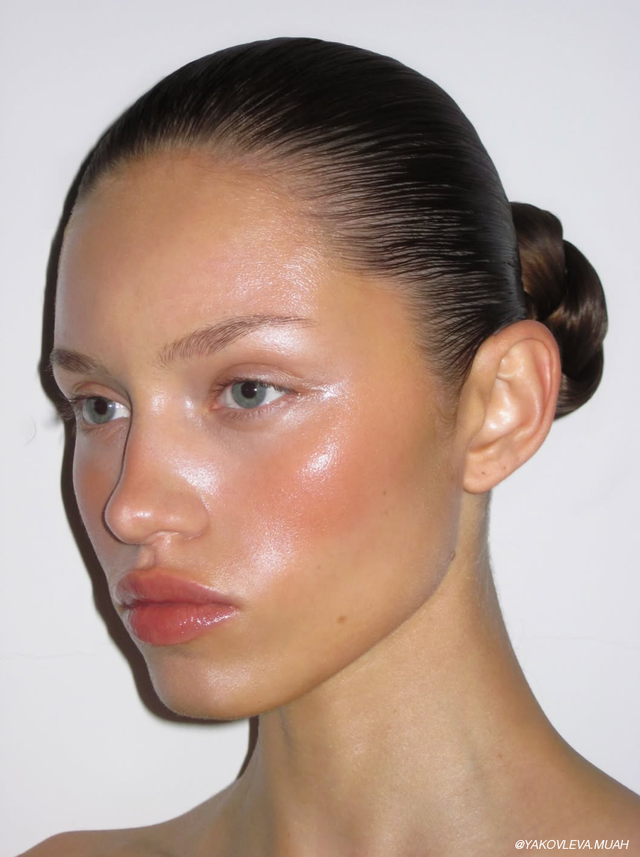
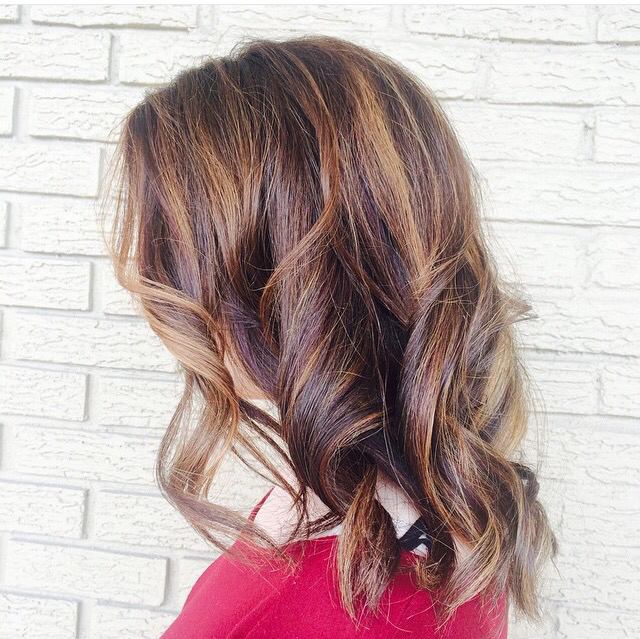 Hair by Christa Pharo on Bangstyle
1. Choose a great name: I know this sounds like an easy one, but you’d be surprised at how many people wondering why no one is clicking their name to check out their feed, probably have no clue that its because their name is “CoolKittyKaty8675309.” Honestly, if Katy was selling popsicles, that name would be perfect! But for a beauty business page, I’d suggest keeping the name as straightforward as possible. By all means, you can get creative, and in this case “StyledbyKaty” would be a great choice!
2. Business vs. Personal: Now here is where it gets fun! If you’re the type that likes to post your yummy lunches, your Saturday nights out dancing on tables and photos of your cats all the time… you may want to consider creating a separate page just for your business. Its totally fine, every now and then, to give your followers a “behind the scenes” look into what’s going on with you. Please just make sure it fits into your overall feed and aesthetic of your brand.
3. Take clear photos: Sounds simple enough, but seriously, a grainy, blurry or over-filtered photo won’t do you any good when trying to get people to see your awesome work. Adjusting the lighting and contrast on your photos is very simple (thanks to the app store) and can make a world of a difference in the way your overall feed looks.
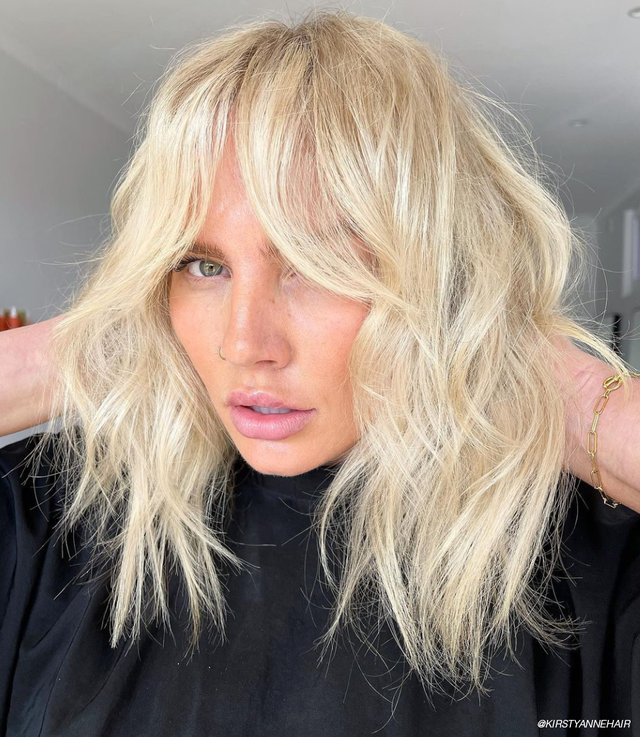
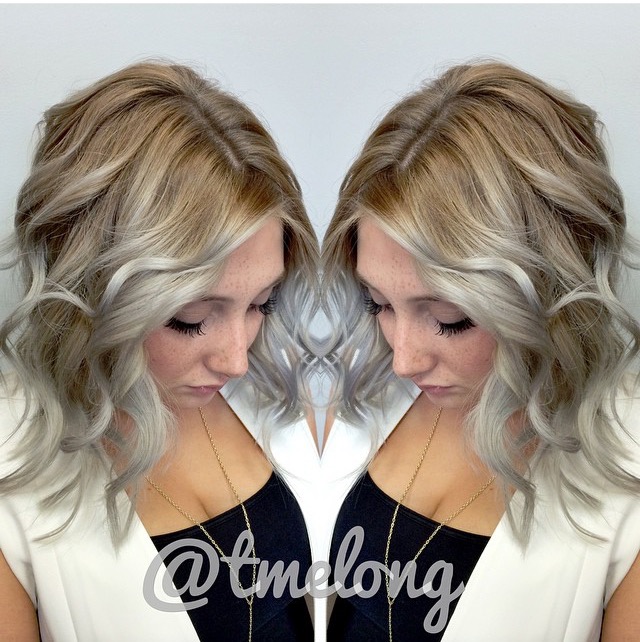 Hair by Thomas Melong on Bangstyle
4. Choose a theme, and keep your aesthetic consistent!: Now this may seem difficult, but it actually makes your job easier and your feed look more aesthetically appealing. Whether it’s choosing to post all your photos in one filter, or super colorful, or even with quotes every third photo, having a brand identity visible in your feed is a great way to attract new followers. Likewise, If you prefer to frame your photos or leave them full screen, be sure to do it with every photo. Looking at a cohesive feed where everything “makes sense” is not only easier on the potential followers to get a clear indication of what your feed is about, but also gives your current followers a reason to keep following. Hint: Your followers should know what your page is about in the first 6 photos they see! So when you’re posting, think about how the photo looks next to the previous post. Be sure to keep in mind that it’s Instagram, not concrete. It’s perfectly fine to sift through your feed occasionally and delete photos you don’t like, or that didn’t get the response you were looking for. :)
Stay Tuned for Part 2!!! More tips to come!