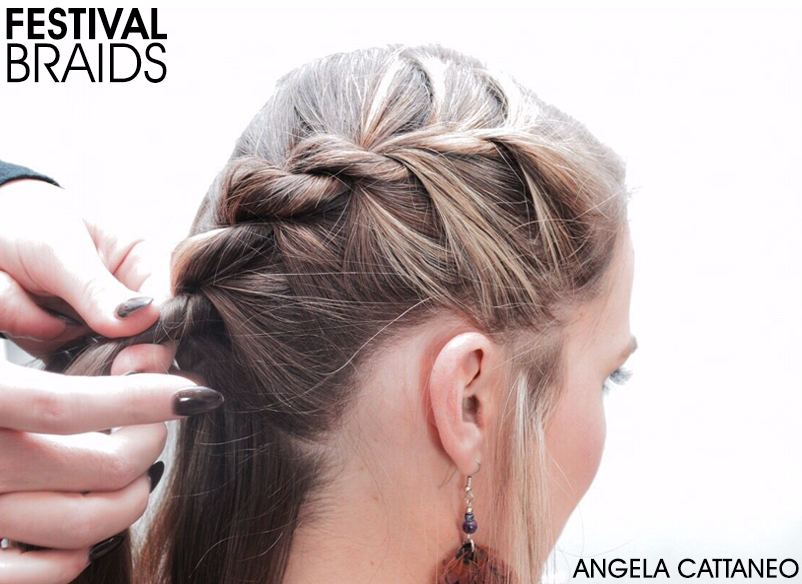
With Coachella around the corner and summer only a few weeks away it is time to refresh our arsenal of braided looks to keep up style looking fresh. To get the most fashion forward braid inspiration, we spoke to Angela Cattaneo of @BeyondThePonytail. She created the ultimate Festival Braid tutorial! Follow along below.
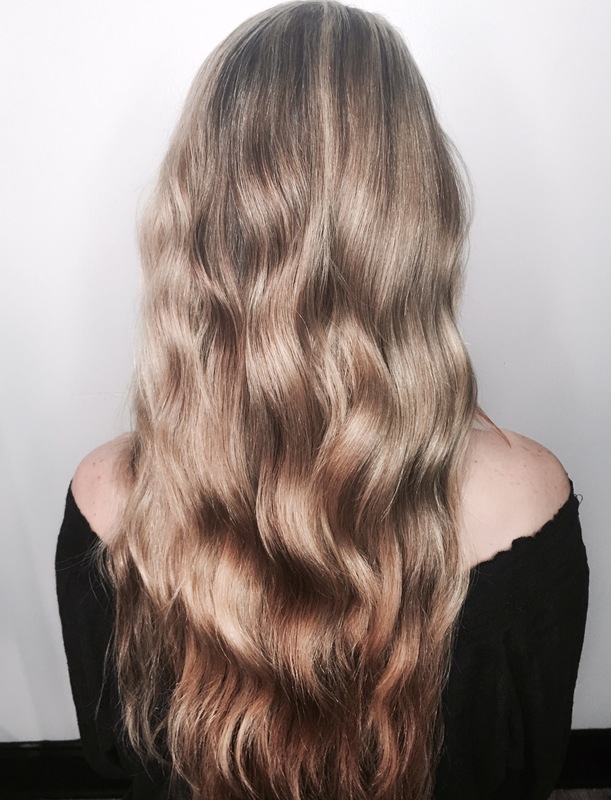
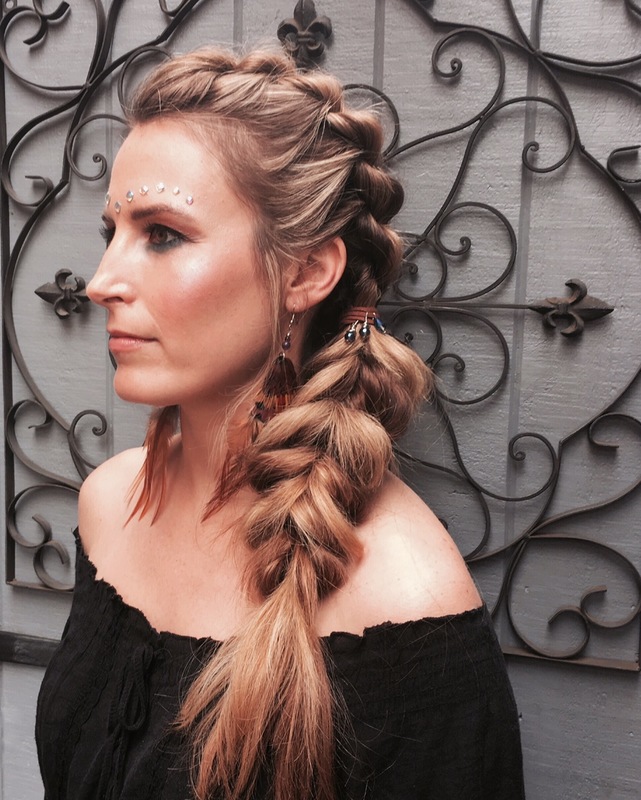
With FESTIVAL SEASON upon us, I wanted to create a look that used a combination of different braids that would both, lasts all day and also have a touch of softness. On my beautiful model Kathryn, instead of the traditional dutch braids, we used ROPE BRAIDS to secure her hair in place. Once we reached her nape, I wanted something that was a little softer, but again, would last all day. The PULL-THROUGH BRAID, because of the multiple elastics that are needed, does just that. Below is a step-by-step tutorial to recreate this look.
STEP 1: Prep hair with your favorite root booster or if needed a dry shampoo. To add texture, curl the hair with a quick barrel technique of choice and spray with texture spray and brush out curls.
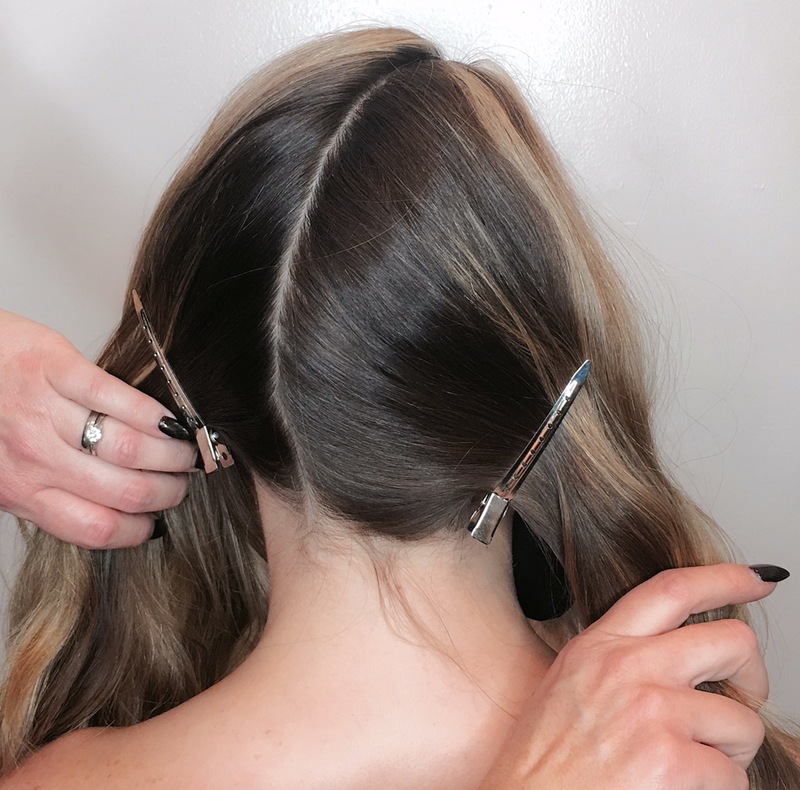
STEP 2: Section hair with a deep side part. Continue the sectional down the back of the head to the opposite corner at the nape.
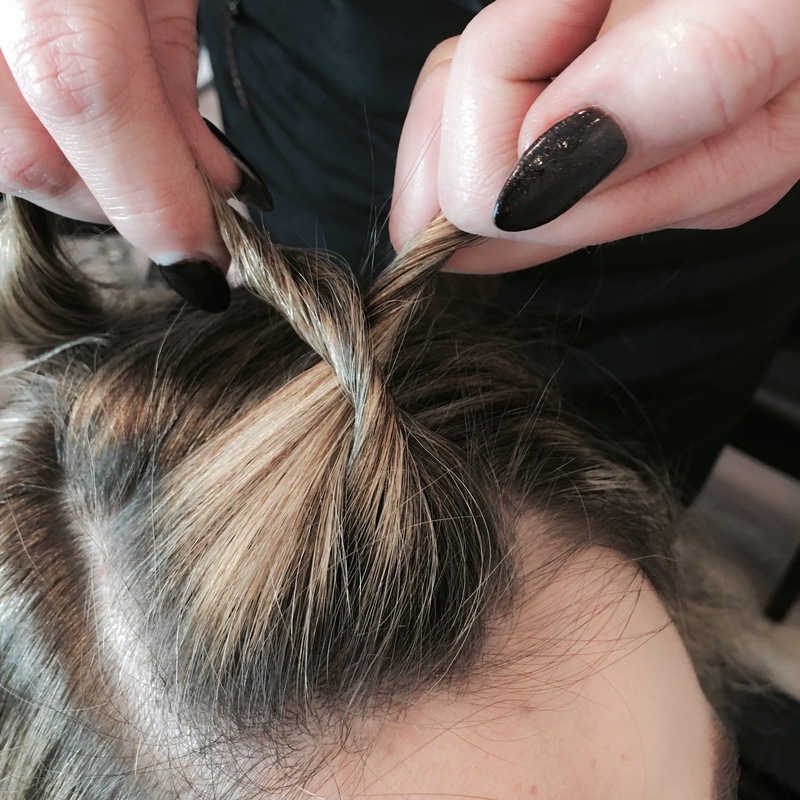
STEP 3: To begin the Rope Braid, take a diagonal section from the hairline and split that section into two.
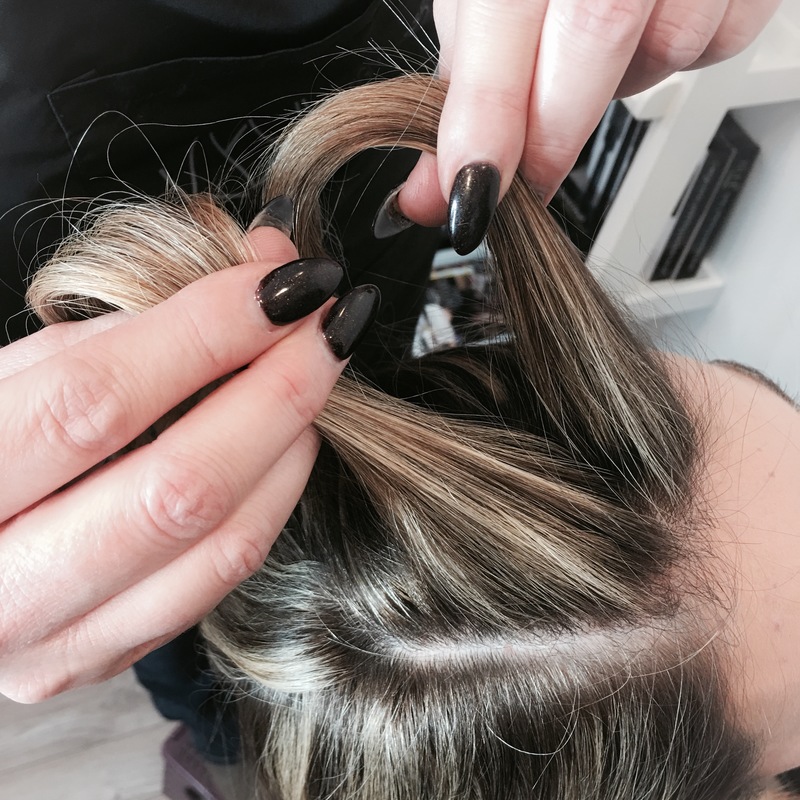
STEP 4: Twist both sections toward the face a few times.
STEP 5: Lift the section closest to the face up and over the other section.
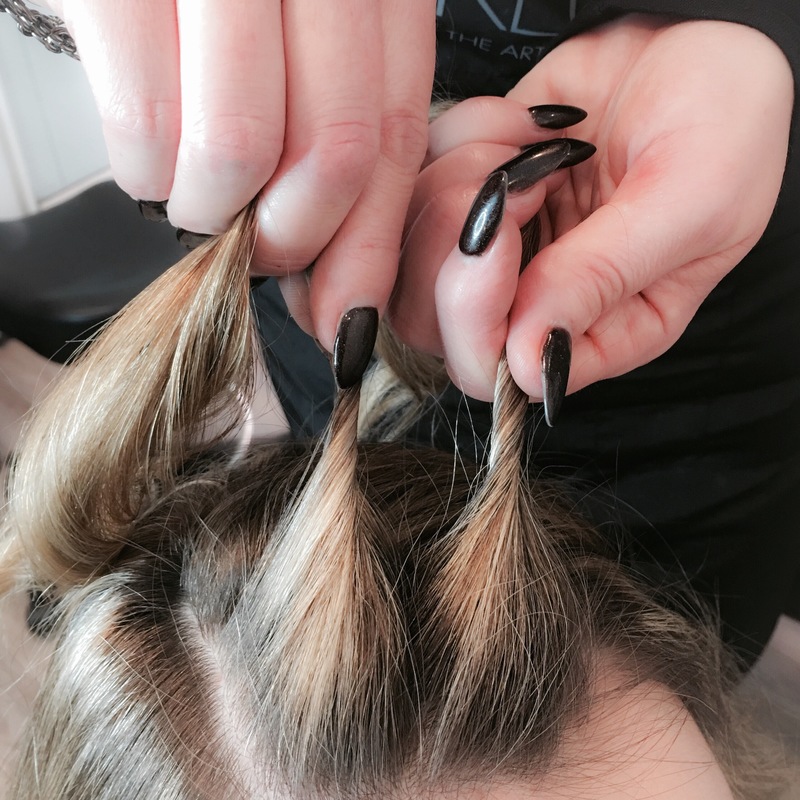
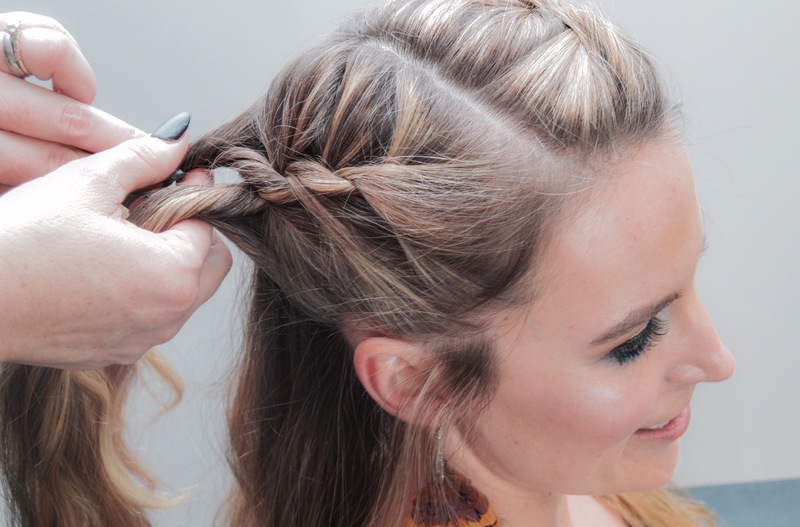
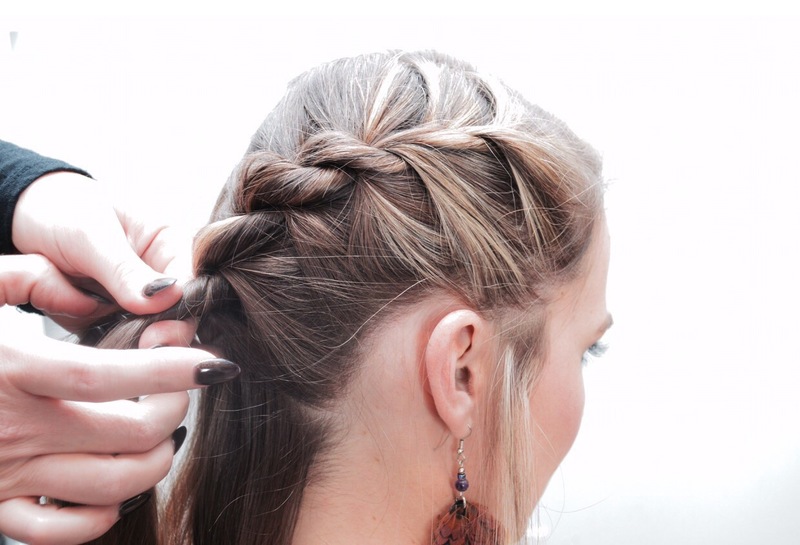
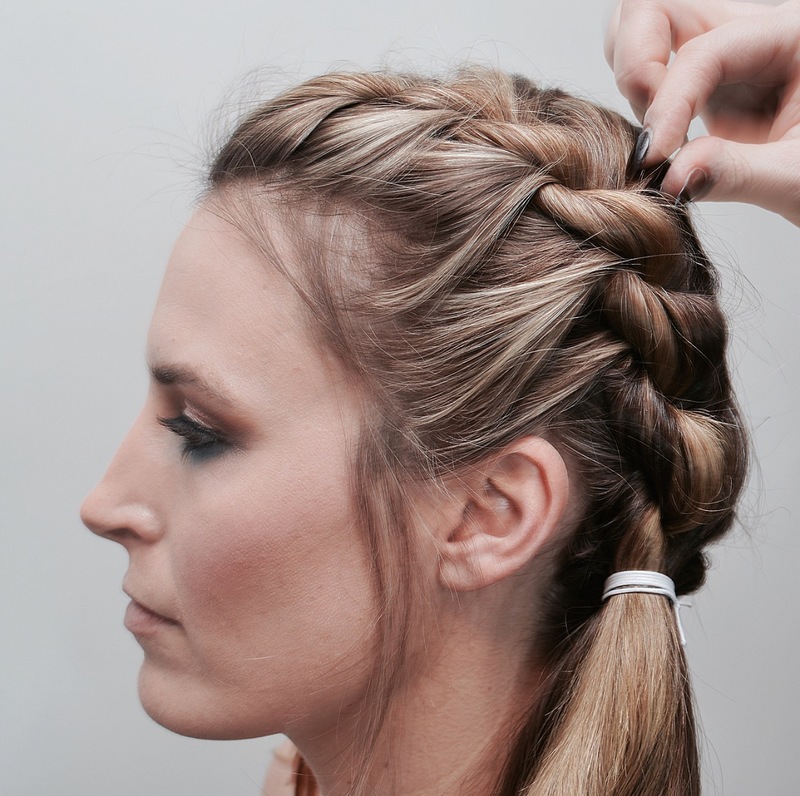
STEP 6: Continue to add hair to each section and twist towards the face. The section closest to the face is lifted up and over the other section. (If working on the left side of the head, the left section is lifted up and over the right. If working on the right side of the head, the right section is lifted up and over the left.) Continue this method until you reach the nape and secure with an elastic.
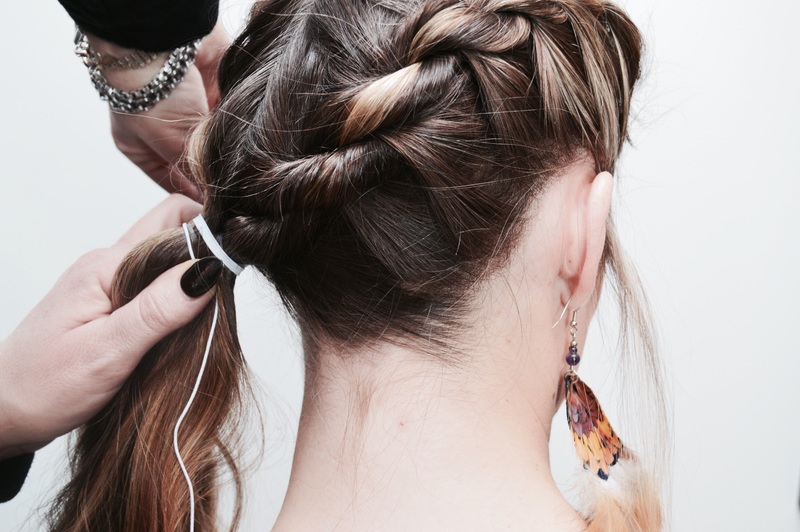
STEP 7: To secure both braids to the side, use an elastic cord and wrap 3 or 4 times around base. Tie into a knot and cut excess with scissors.
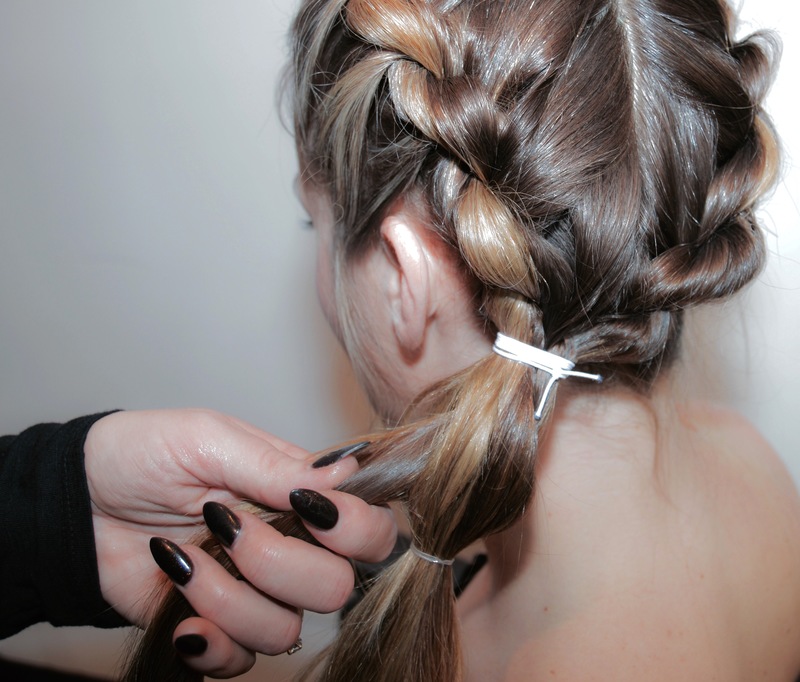
STEP 8: “Pinch and Pull” the Rope Braid apart to the desired look before starting the Pull-Through Braid on the remaining hair.
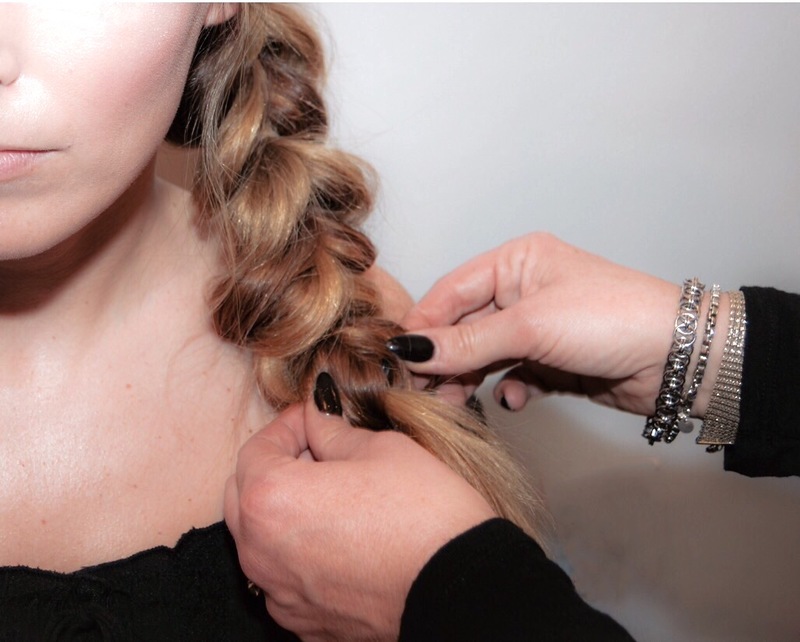
STEP 9: Take the remaining hair that is left in the ponytail and split it into two equal sections, top and bottom. Take a small elastic and secure in place about 1 1⁄2 inches down the top ponytail. Split the hair in between the two elastics and pull the bottom ponytail through the top ponytail. Place another elastic down 1 1⁄2 inches on the top section and repeat the process.
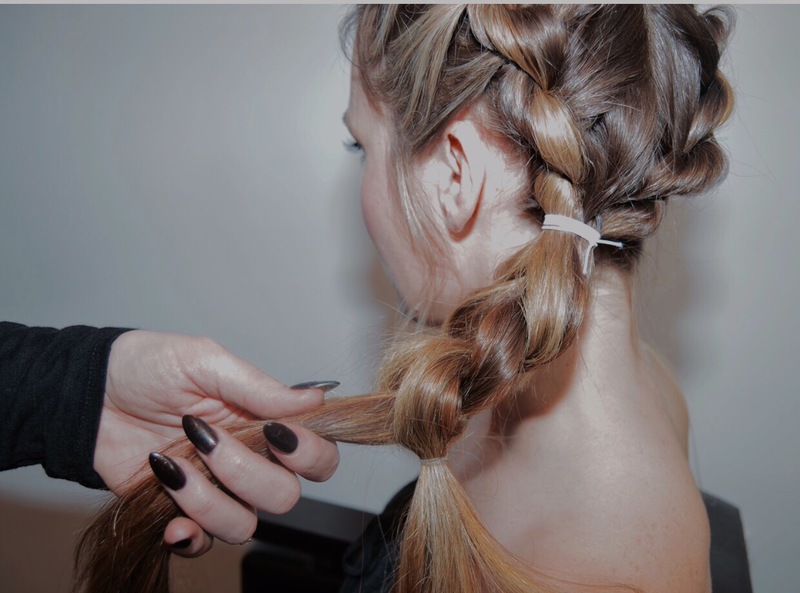
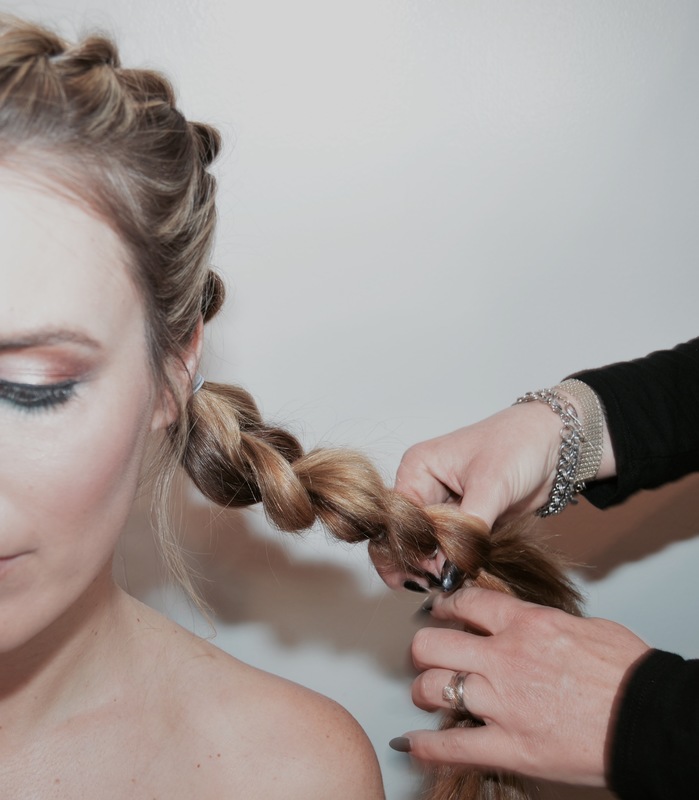
STEP 10: Continue to repeat this process until you reach the bottom, leaving about 3 inches of hair out to compensate for “pinching and pulling” the braid apart to “fatten” it up. This is always my favorite part! Pinch and Pull the braid apart until the desired look is achieved.
STEP 11: Add your favorite accessories and jewels to complete your look! With Kathryn, we added a leather rope with crystals around the base of her braid, feather earrings and jewels above her eyebrows. Let your CREATIVITY run wild...there are no rules!
For even more BRAID INSPIRATION, follow Angela's feature page @beyondtheponytail on Instagram.
Makeup Artist: Arianna Keenan