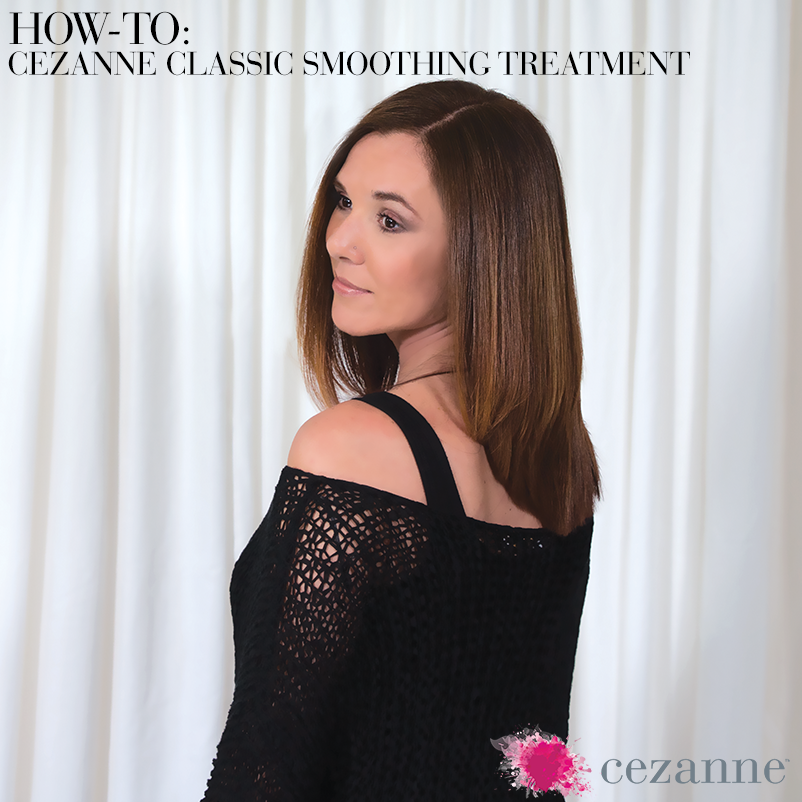
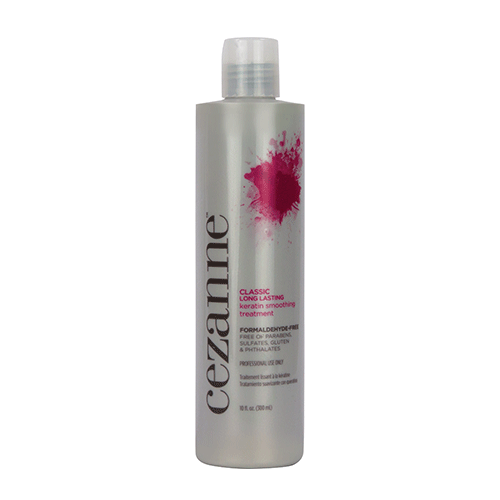
Deciding on whether or not to get a smoothing treatment can be a difficult task for your client. However, with Cezanne the choice becomes easier due to the fact that they have two different types; Classic and Express, their formula is 100% Formaldehyde-Free and does not contain from harmful chemicals!
The main difference between the Classic Cezanne Treatment and the Express is the amount of time the service will take and how long it will last. While the Classic takes only slightly longer in the chair, it will give your clients longer results as well, which is an option you should be sure to discuss with them prior to their appointment. Another factor is that you will want to give them a slight trim or dusting after the treatment to ensure the smoothest end result. If your client only comes in every few months for a treatment, they should be receiving a haircut regardless, so this is a great option for them!
If you’re thinking about adding this service to your salon or want to ensure you’re performing it correctly, follow along with the steps and video below!
Step 1: Prepare the hair to accept the treatment by gently shampooing the hair twice with Cezanne Clarifying Shampoo.
Step 2: Blow dry with your fingers or a vent brush, making sure to get the hair 100% dry.
Step 3: Shake the treatment well before you apply, measure one to one 1/2 oz. into non-metallic bowl and add more if needed
Step 4: Starting at the nape apply treatment one 1/4 inch from the scalp, mid-shaft to ends in medium one ½-inch sections. Massage into section.
Step 5: Distribute the treatment evenly with a fine-tooth comb before adding it to the sections already completed below. You will know you are using enough treatment if you have a small bead on your comb. If you have more than a small bead, you have used too much treatment. This extra treatment can be used on the next section.
Step 6: work your way up the head, repeating this process until you have the entire head saturated with treatment.
Step 7: After the treatment is applied throughout the hair, comb the entire head again, combing away from the face.
Step 8: Reapply the treatment to hairlines and porous ends, so the hair is completely covered. Your application is complete.
Step 9: Leave the treatment to process at room temperature for 30 minutes. No cap is needed.
Step 10: Rinse with lukewarm water with low pressure, holding the nozzle very close to the head. If the head is long, it is recommended to secure the length of the hair to the crown of the head with a non-metallic clip. This will allow easy access to the nape area.
Begin rinsing with a quick pass at the hairline and nape, once rinsed, remove the clip and continue to rinse the length of the hair. Coarse ends require less rinsing time,so you might need to hold them out of the water until almost finished with rinsing. Do not shampoo or condition.
Make sure not to completely rinse the product out of the hair. There should be a small amount of residue left. It should feel like the slip you would have with a deep conditioning treatment. * Keep in mind that long, thick, or coarse hair might take longer to rinse.
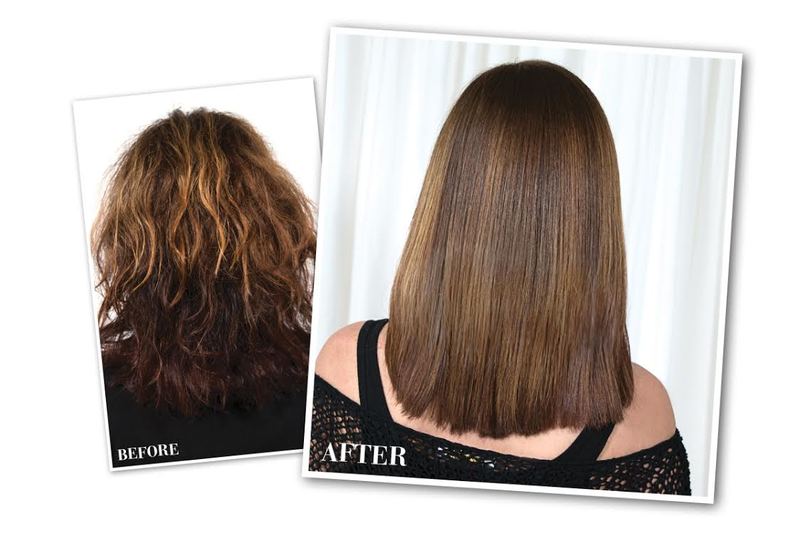
Step 11: Now, begin your meticulous blowout on the hair. Set the blow dryer on medium heat with a high airflow. Use a vent brush or your fingers to remove excess water. If the hair feels gummy or heavy, take the client back to the bowl and rinse again. Use a round brush or paddle brush to get the hair as smooth as possible. *If hair is coarse or thick – use a boar bristle brush to get the best result. You want the blowout to look immaculate, like you’re getting styled for a night out. The better the blowout, the less flat ironing you’ll need to do to get the hair silky. Make sure the hair is 100% dry before you flat iron.
Step 12: Flat iron the hair meticulously with the flat iron set between 380 and 410 degrees. *If working with high lift blondes or someone with very fragile, damaged hair, start at the lowest heat setting possible and work your way up until you get that silky, shiny hair. If you notice a large amount of steam as you flat iron, you’ll need to rinse the hair again.
Starting in the nape area, take one ½-inch sections and begin to smooth the hair by tapping the base of the section 3 times. Then continue to smooth the section by passing over with the flat iron, a minimum of 3 times. The main goal is to get the hair silky and shiny, this indicated that the hair is sealed with treatment.
Step 13: It is recommended that you give the client a quick trim or haircut to ensure a perfect finish.
Your client can now wash their hair, swim, go to the gym, or wear clips and ponytails immediately.
Aftercare is just as important as the service itself. To protect the treatment be sure to send your client home with Cezanne’s Perfect Moisture Shampoo and Conditioner for proper maintenance. And if your client enjoys blow-drying to flat ironing their hair, be sure to recommend the Perfect Finish Leave-In to protect their beautiful tresses from heat damage!
If you’re thinking about getting a treatment or simply want to pick up a few key products from Cezanne, follow us on Instagram @Cezanne_Hair and visit CezanneHair.com for even more helpful tips and tricks!
Cezanne Classic Keratin Smoothing Treatment
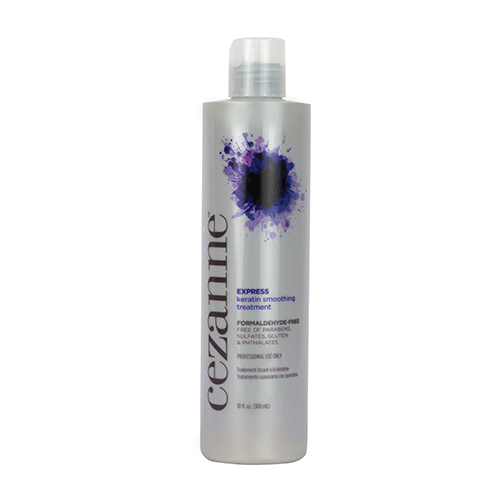
Cezanne Express Keratin Smoothing Treatment
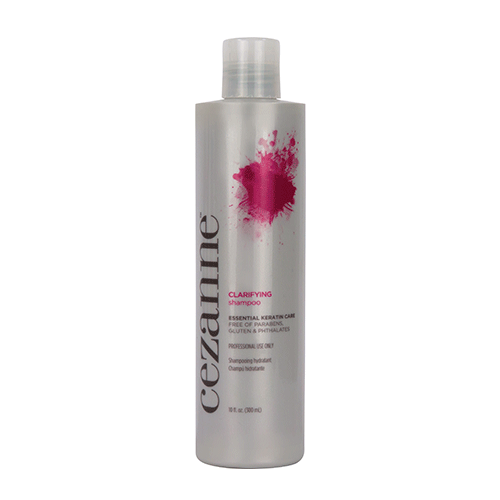
Cezanne Clarifying Shampoo
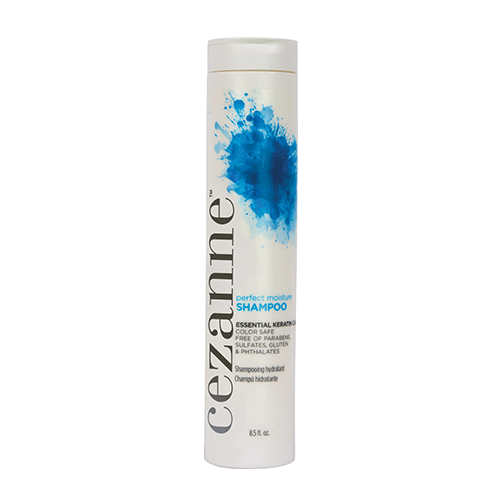
Cezanne Perfect Moisture Shampoo
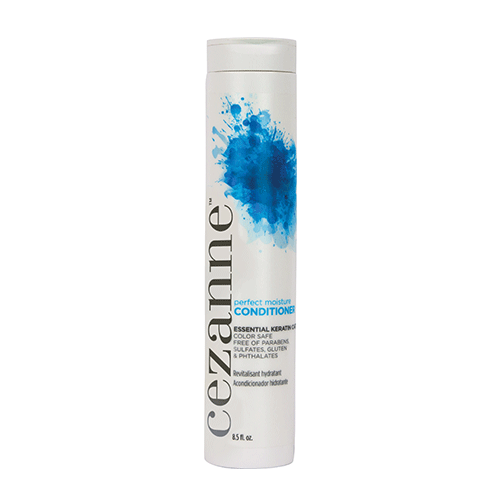
Cezanne Perfect Moisture Conditioner
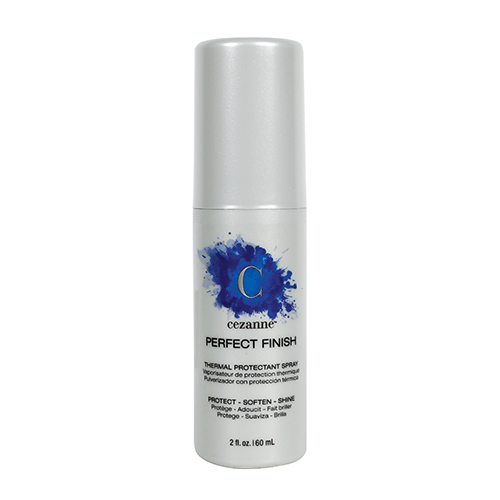
Cezanne Perfect Finish Thermal Protectant Spray