We’ve all been there, standing in front of the mirror with brush and blow dryer in hand, five minutes late with only half a blowout done. Many mornings (and a few evenings) you'll question your sanity, among other things. To ease the getting ready process and debunk a few bad habits, check out the top tips to quickly styling your hair and make sure your blowout lasts all day!
For starters — invest in the right tools!
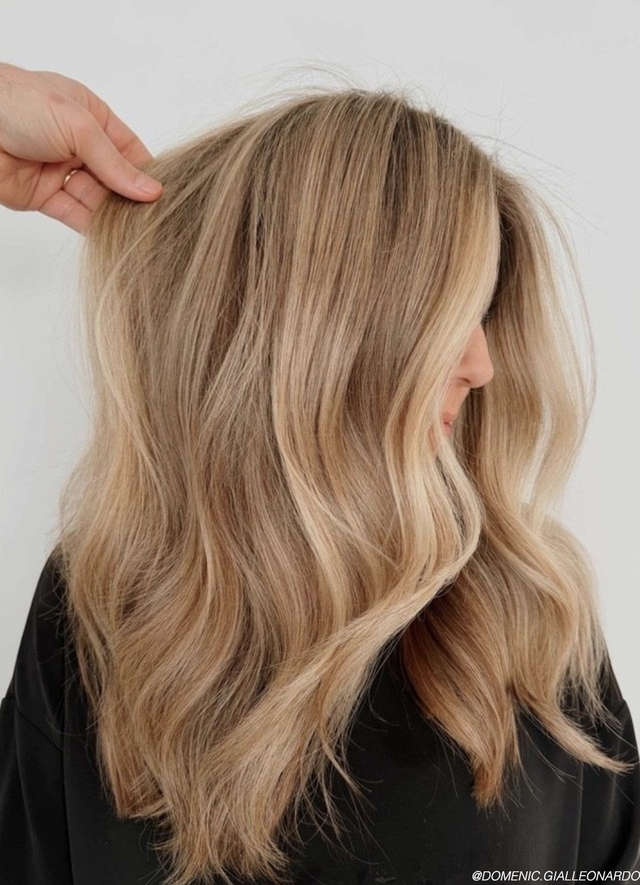
A quality blow dryer will transform your blowout. It allows cutting down on drying time, achieve better results and will cut down on damage caused by hot tools.
Try: Sam Villa Professional Ionic Blow Dryer

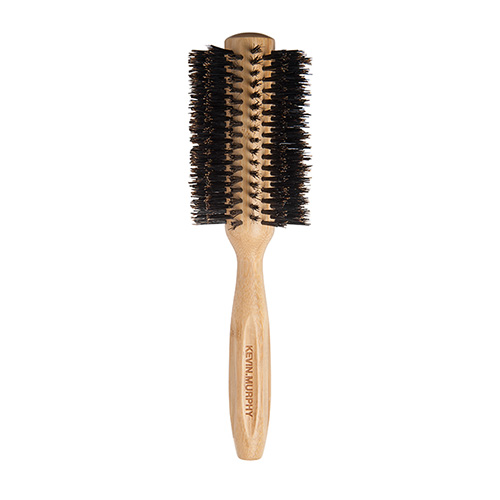
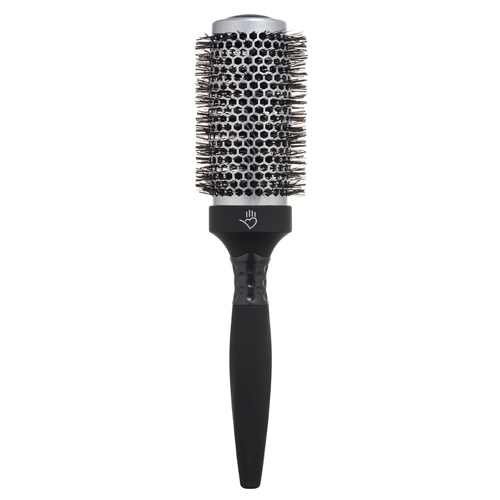
Pick up the right brush — it changes everything!
First, determine whether a boar bristle or thermal styling brush work best for your hair type – boar is usually best for coarse/thick textures, thermal brushes are great to speed up your blowout and add volume to finer textured hair. Then decide on the size of the barrel; smaller for shorter hair and smaller sections to add more control and curl, and larger for longer hair and larger sections to create a smoother look.
Try: KEVIN.MURPHY ROLL.BRUSH or Sam Villa Professional Signature Series Thermal Styling Brush
Work your angles: Follow these tips for hard to reach areas and pesky baby hairs!
The back of your head is nearly impossible to blow dry even for the most seasoned stylists. Whether your hair is fine or thick, curly or straight, pull back sections forward while drying. Properly sectioning hair ahead of time and securing with clips will ease the entire process. Take it one section at a time and make sure section is completely dry before moving on to the next.
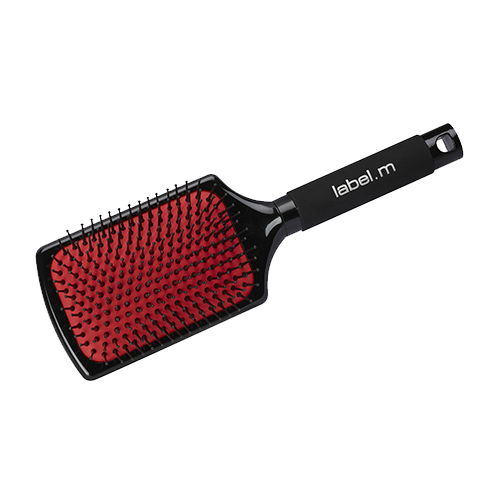
We suggest using a paddle brush to smooth and remove excess moisture and then going in with a round brush: Lay the section you’re working with on top of the brush and pull/roll the section forward, while aiming blow dryer (from the front) back on the section. Rolling the section with the brush forward instead of back will ease those tired arms while adding volume and taming texture.
Try: label.m Paddle Anti-Static Brush
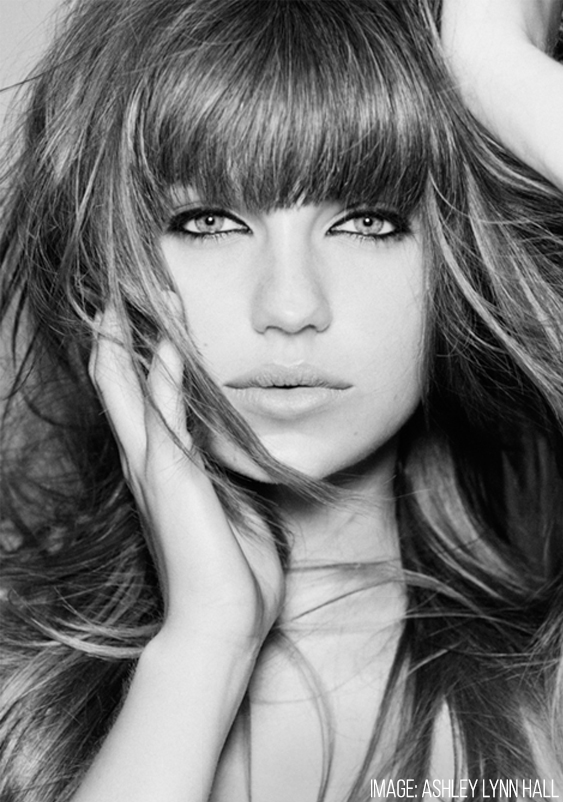
To finish the look and create a face frame: Use the nozzle on your blow dryer to help direct the air around the face, this can be used to control those pesky baby hairs as well. If you’re new at this, try turning down the heat on your blow dryer to avoid frying those delicate strands.
Start by making a few sections for your desired style and secure with clips. Beginning at the hairline, use a small round brush to roll the front section away from the face while pulling forward and down (toward your chin). While working this section, direct the air from the blow dryer away from your face in the same direction you are rolling the brush. Working this section diagonally forward gives a great bend in the hair that compliments anyone’s face shape. Tools are key to perfecting the section, but if a few strays are still popping up, use your fingertips to pull the last few taut while hitting them with heat.
Don’t forget to consult with your stylist about the best way to style your blowout for your cut, texture, and color! Although we all wish we could have a stylist handy every morning to help us master an awesome blowout, having right tools and a few tips can make all of the difference for your at-home blowout. Looking for more hair tips? Keep scrolling...