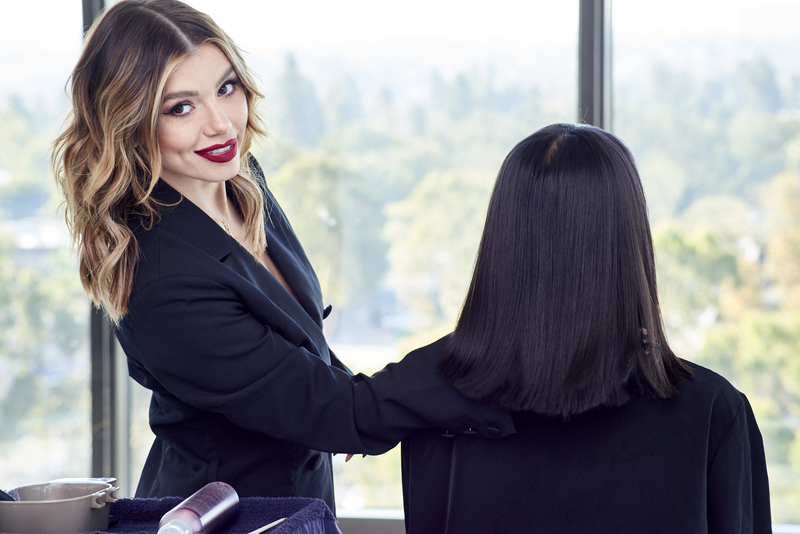
Mushroom blonde has been a huge hair trend for the past few seasons. Creating a brunette version of this was a natural next step! In this tutorial JOICO Brand Ambassador, Larissa Love created a gorgeous cool brunette transformation using the new Ash-Ash Series and a Prism Light technique. Keep reading to see the steps and learn how to get the look!
The Prep:
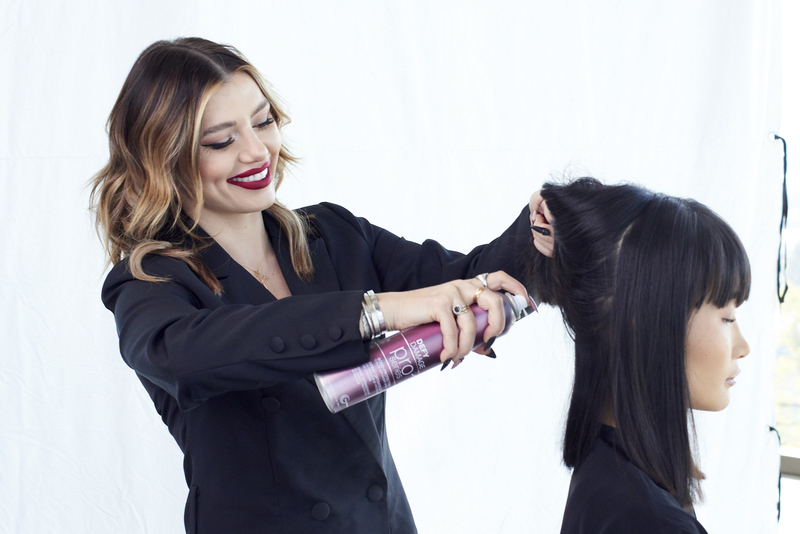
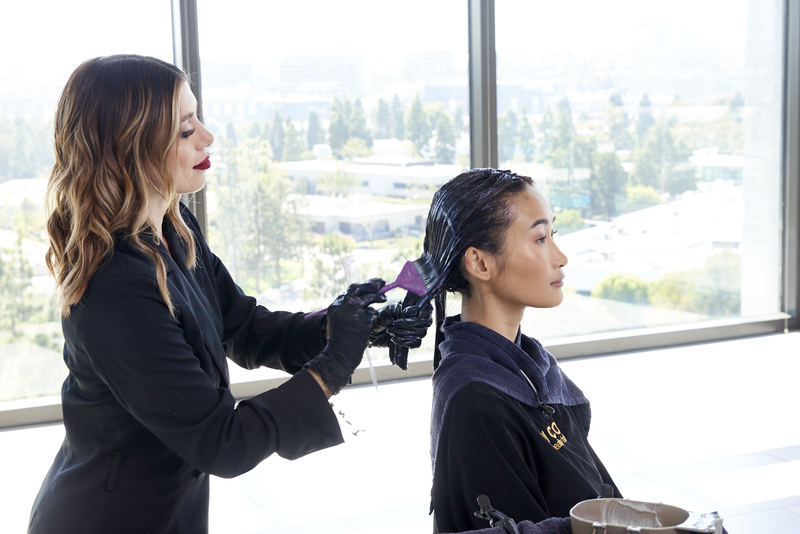
Our client, Miki, is a natural level 2 and has virgin hair. To ensure best results, we prepped her hair with Defy Damage ProSeries 1: Bond-Protecting Color Optimizer Spray and finished with Defy Damage ProSeries 2: Bond-Strengthening Color Treatment after coloring.
The Formulas:
Formula 1 – LumiShine Permanent Crème 5AA with 20 (6%) Volume LumiShine Developer
Formula 2 – LumiShine Permanent Crème 6AA with 30 (9%) Volume LumiShine Developer
Formula 3 – Blonde Life Powder Lightener with 20 (6%) Volume LumiShine Developer
Formula 4 – LumiShine Demi-Permanent Liquid 6AA with 5 (1.5%) Volume LumiShine Developer
Formula 5 – LumiShine Demi-Permanent Liquid 8AA with 5 (1.5%) Volume LumiShine Developer
Get The Look:
STEP 1:
Prep with Defy Damage ProSeries 1 by shaking the can vigorously and then spraying short bursts to 2-inch sections and combing for even distribution. Make sure to spray away from the face for client comfort.
STEP 2:
Defy Damage works right away so you will see immediate shine and softness. ProSeries 1 is an easy 1 step spray that requires NO formula changes, NO mixing, NO developer changes and NO timing changes. This step will help provide greater and more even lift, greater and more even color deposit as well as make the hair 5x stronger while providing 80% less breakage.
STEP 3:
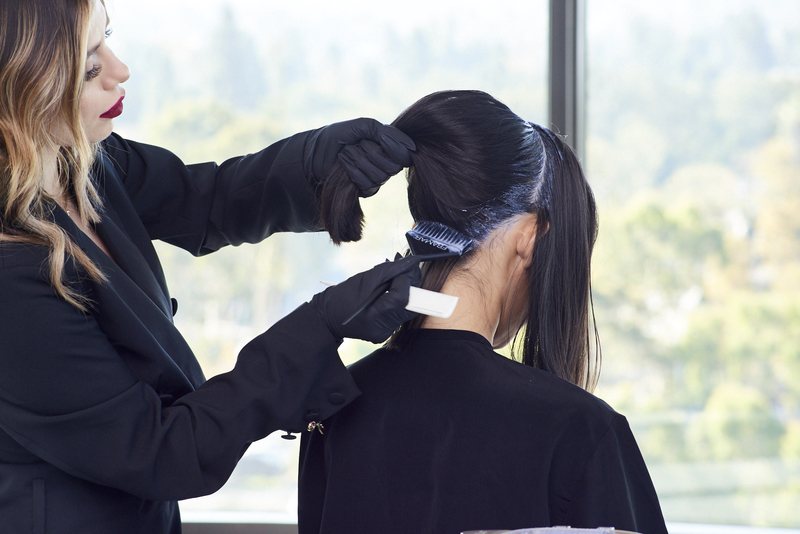
Apply formula 1 to the base throughout the entire head.
STEP 4:
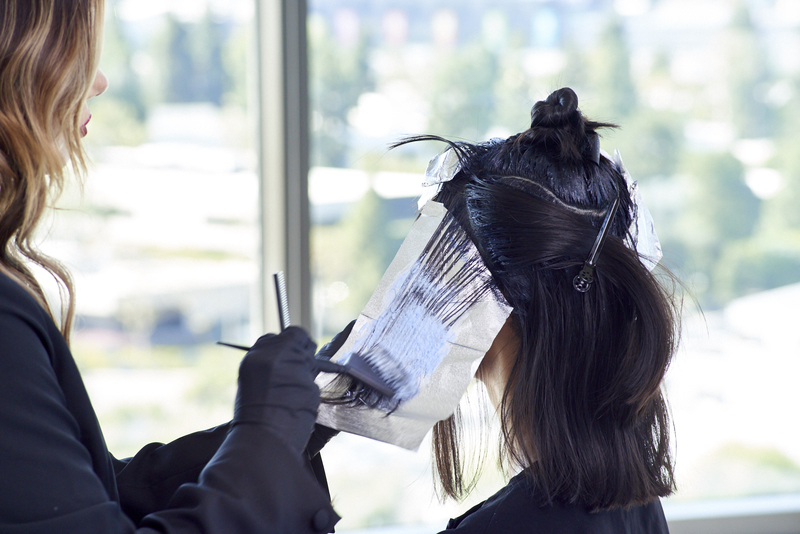
When applying color at the front, make sure you take diagonal back partings so that all sections stay nice and clean and away from the face.
STEP 5:
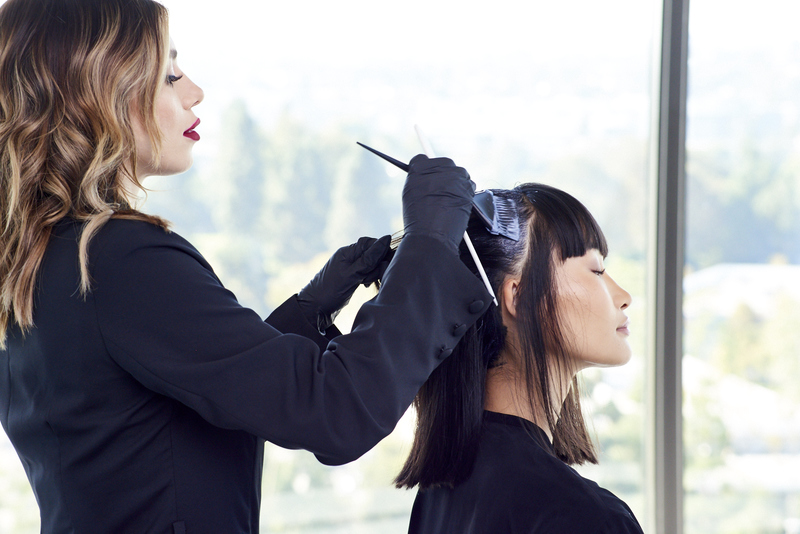
Section a triangle out from the fringe, then take a horseshoe section out from the arch of the brows that extends below the crown in the back.
STEP 6:
Working on one side of the fringe at a diagonal, take weave partings and apply formula 3 below the regrowth formula through the ends.
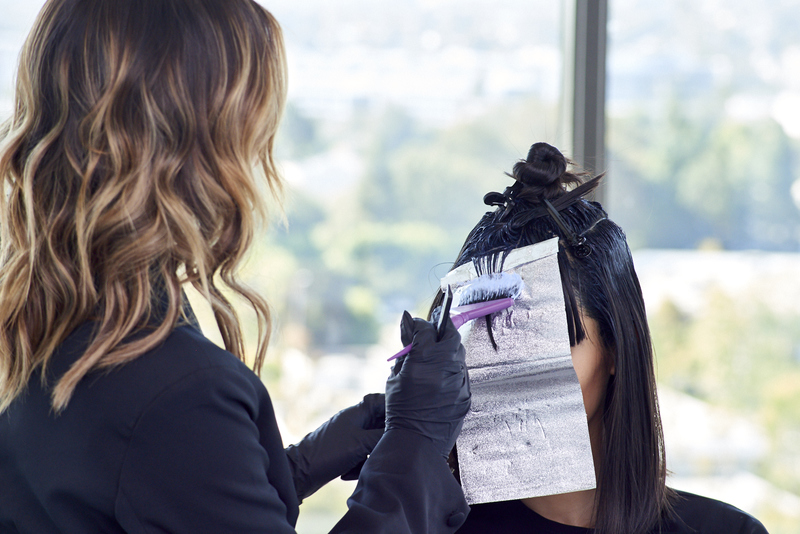
STEP 7:
Continue working with weave partings, adding babylights. The amount you add should be based on client consultation, hair type and density and the fringe length. Adding too many babylights on a short fringe will create spots or a banding look, so be sure to tailor this based on your client's texture and density.
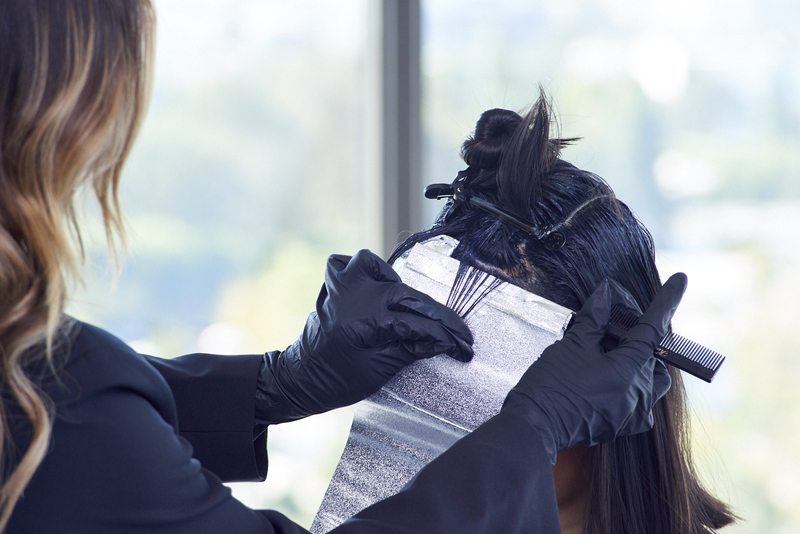
STEP 8:
Working with a fine weave parting that starts at the ear to the horseshoe parting, apply formula 3 from growth through the ends. *Don’t overlap the two formulas.
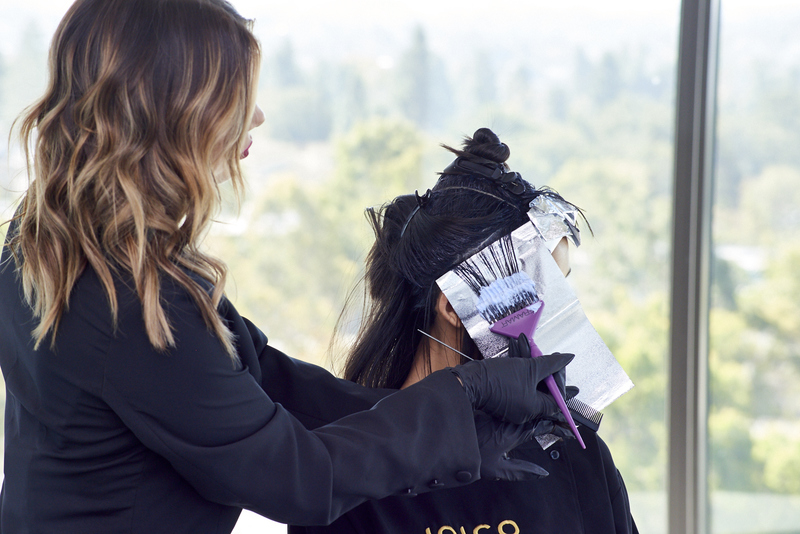
STEP 9:
Continue taking diagonal back weave highlights working off the horseshoe section.
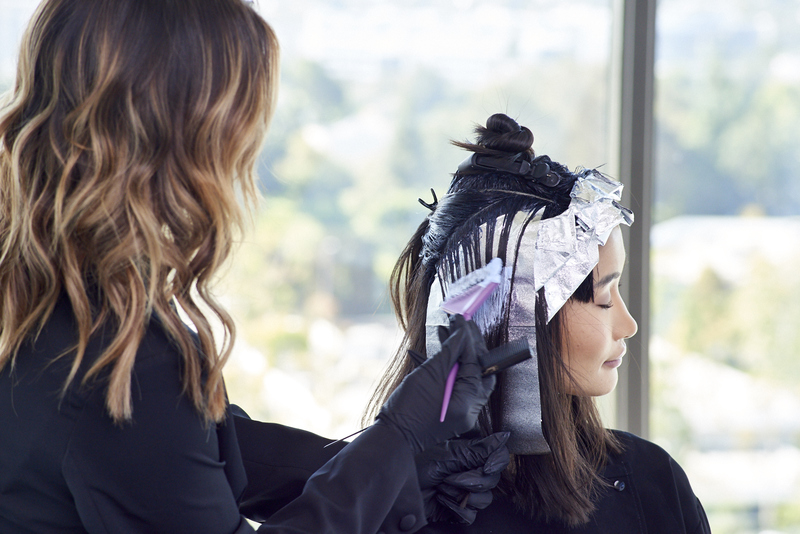
STEP 10:
Repeat on the other side
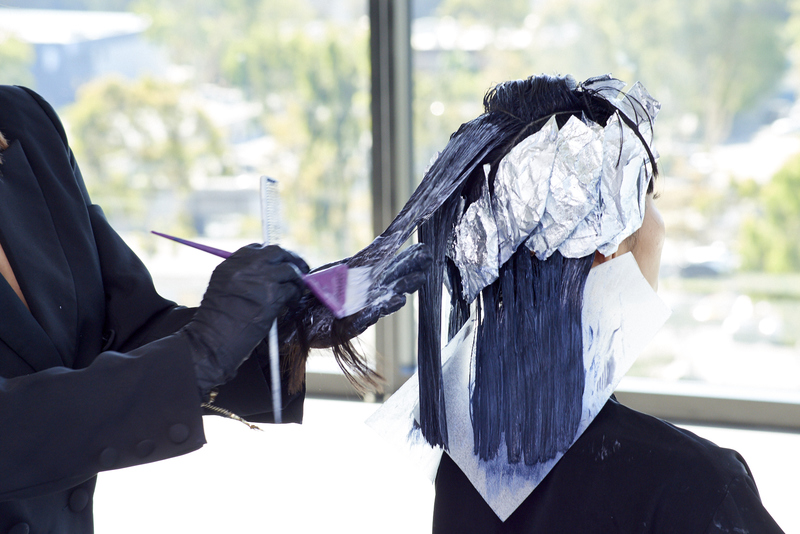
STEP 11:
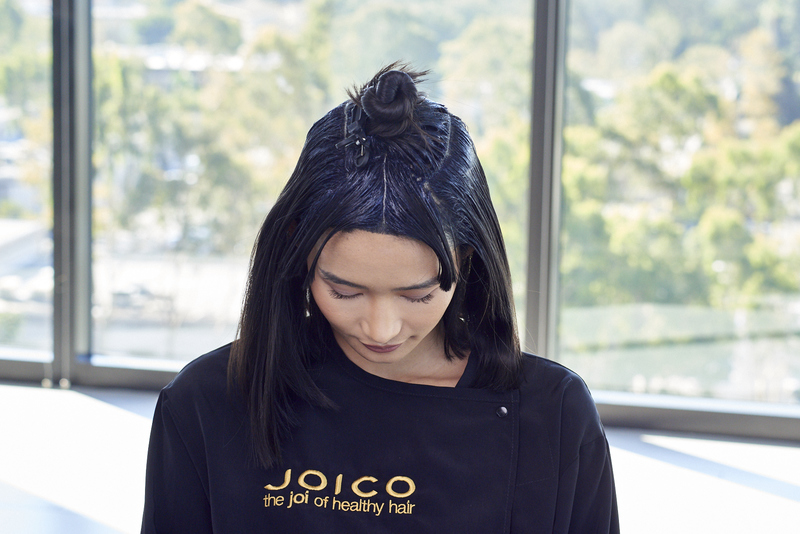
Apply formula 2 to the rest of the hair and use a melting technique to diffuse into the base.
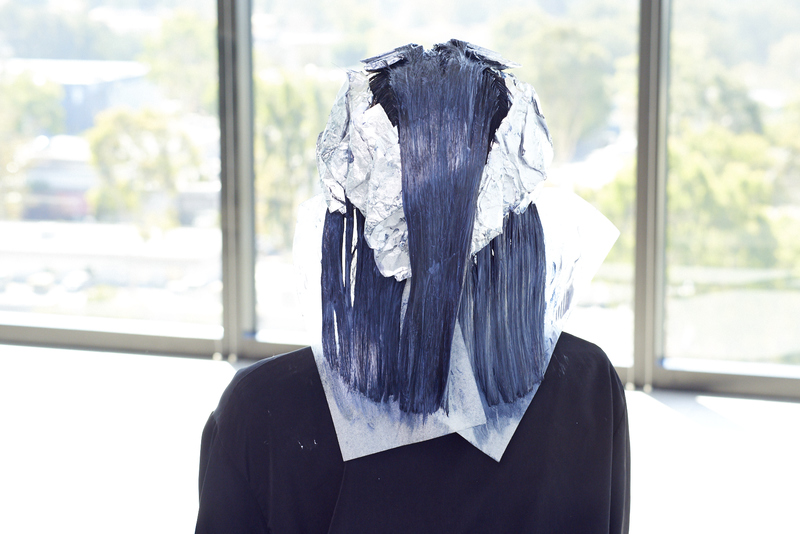
STEP 12:
Process for 35 minutes, then rinse and shampoo with Defy Damage Protective Shampoo.
STEP 13:
Apply Formula 5 in a teardrop method and formula 6 through the mids and ends
STEP 14:
Process for 5-15 minutes. Rinse and shampoo with Defy Damage Protective Shampoo. Then, apply Defy Damage ProSeries 2 on damp and process for 5 mins and rinse and style as desired.
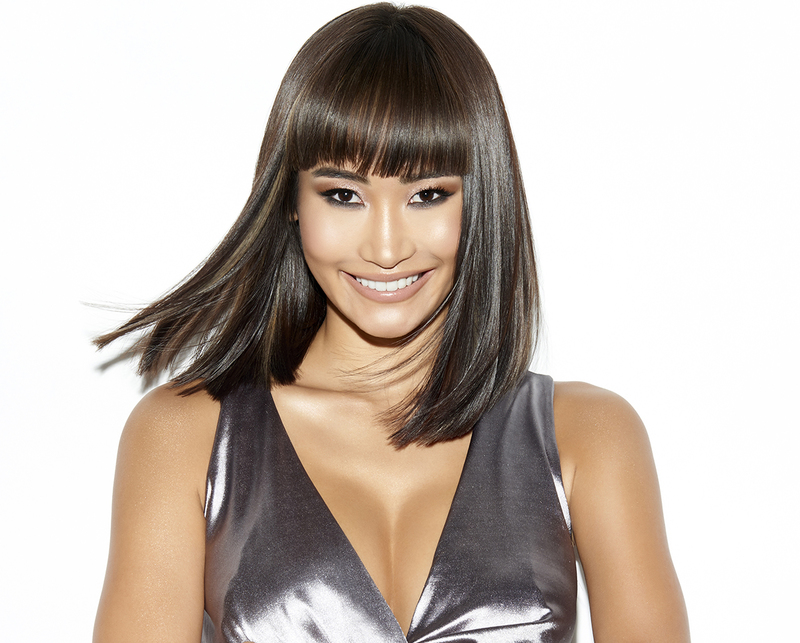
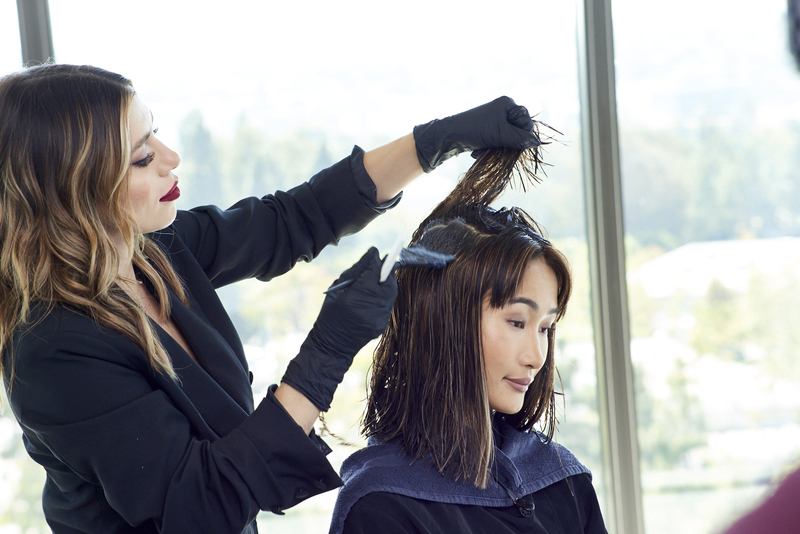
The Finished Look: