Want to master that effortlessly undone, "cool girl" hairstyle that looks like you woke up flawless? Say hello to ghost waves — the dreamy, soft waves that are as wearable as they are stylish. This barely-there texture is all about movement, minimalism, and a whole lot of modern edge.
“These floaty waves get better with time — they soften and separate and really have a ‘cool girl’ vibe going on,” says Anna Peters, Sam Villa ArTeam Member and owner of re:TREAT Color + Hair Design and Studio.
Whether you're headed to brunch, a creative meeting, or just vibing through your day, ghost waves give your hair that perfect touch of texture without trying too hard.
What Are Ghost Waves?
Ghost waves are soft, relaxed waves that lie flat against the head, creating a natural, effortless finish. They're created with a special wave technique using a flat iron — and the key is all in the movement.
Unlike classic beachy waves or tight curls, ghost waves are low-key, floaty, and more refined. Think less "vacation curls" and more "editorial cool." And yes, they're ideal for next-day hair — they only look better as they relax.
The Tool Behind the Trend
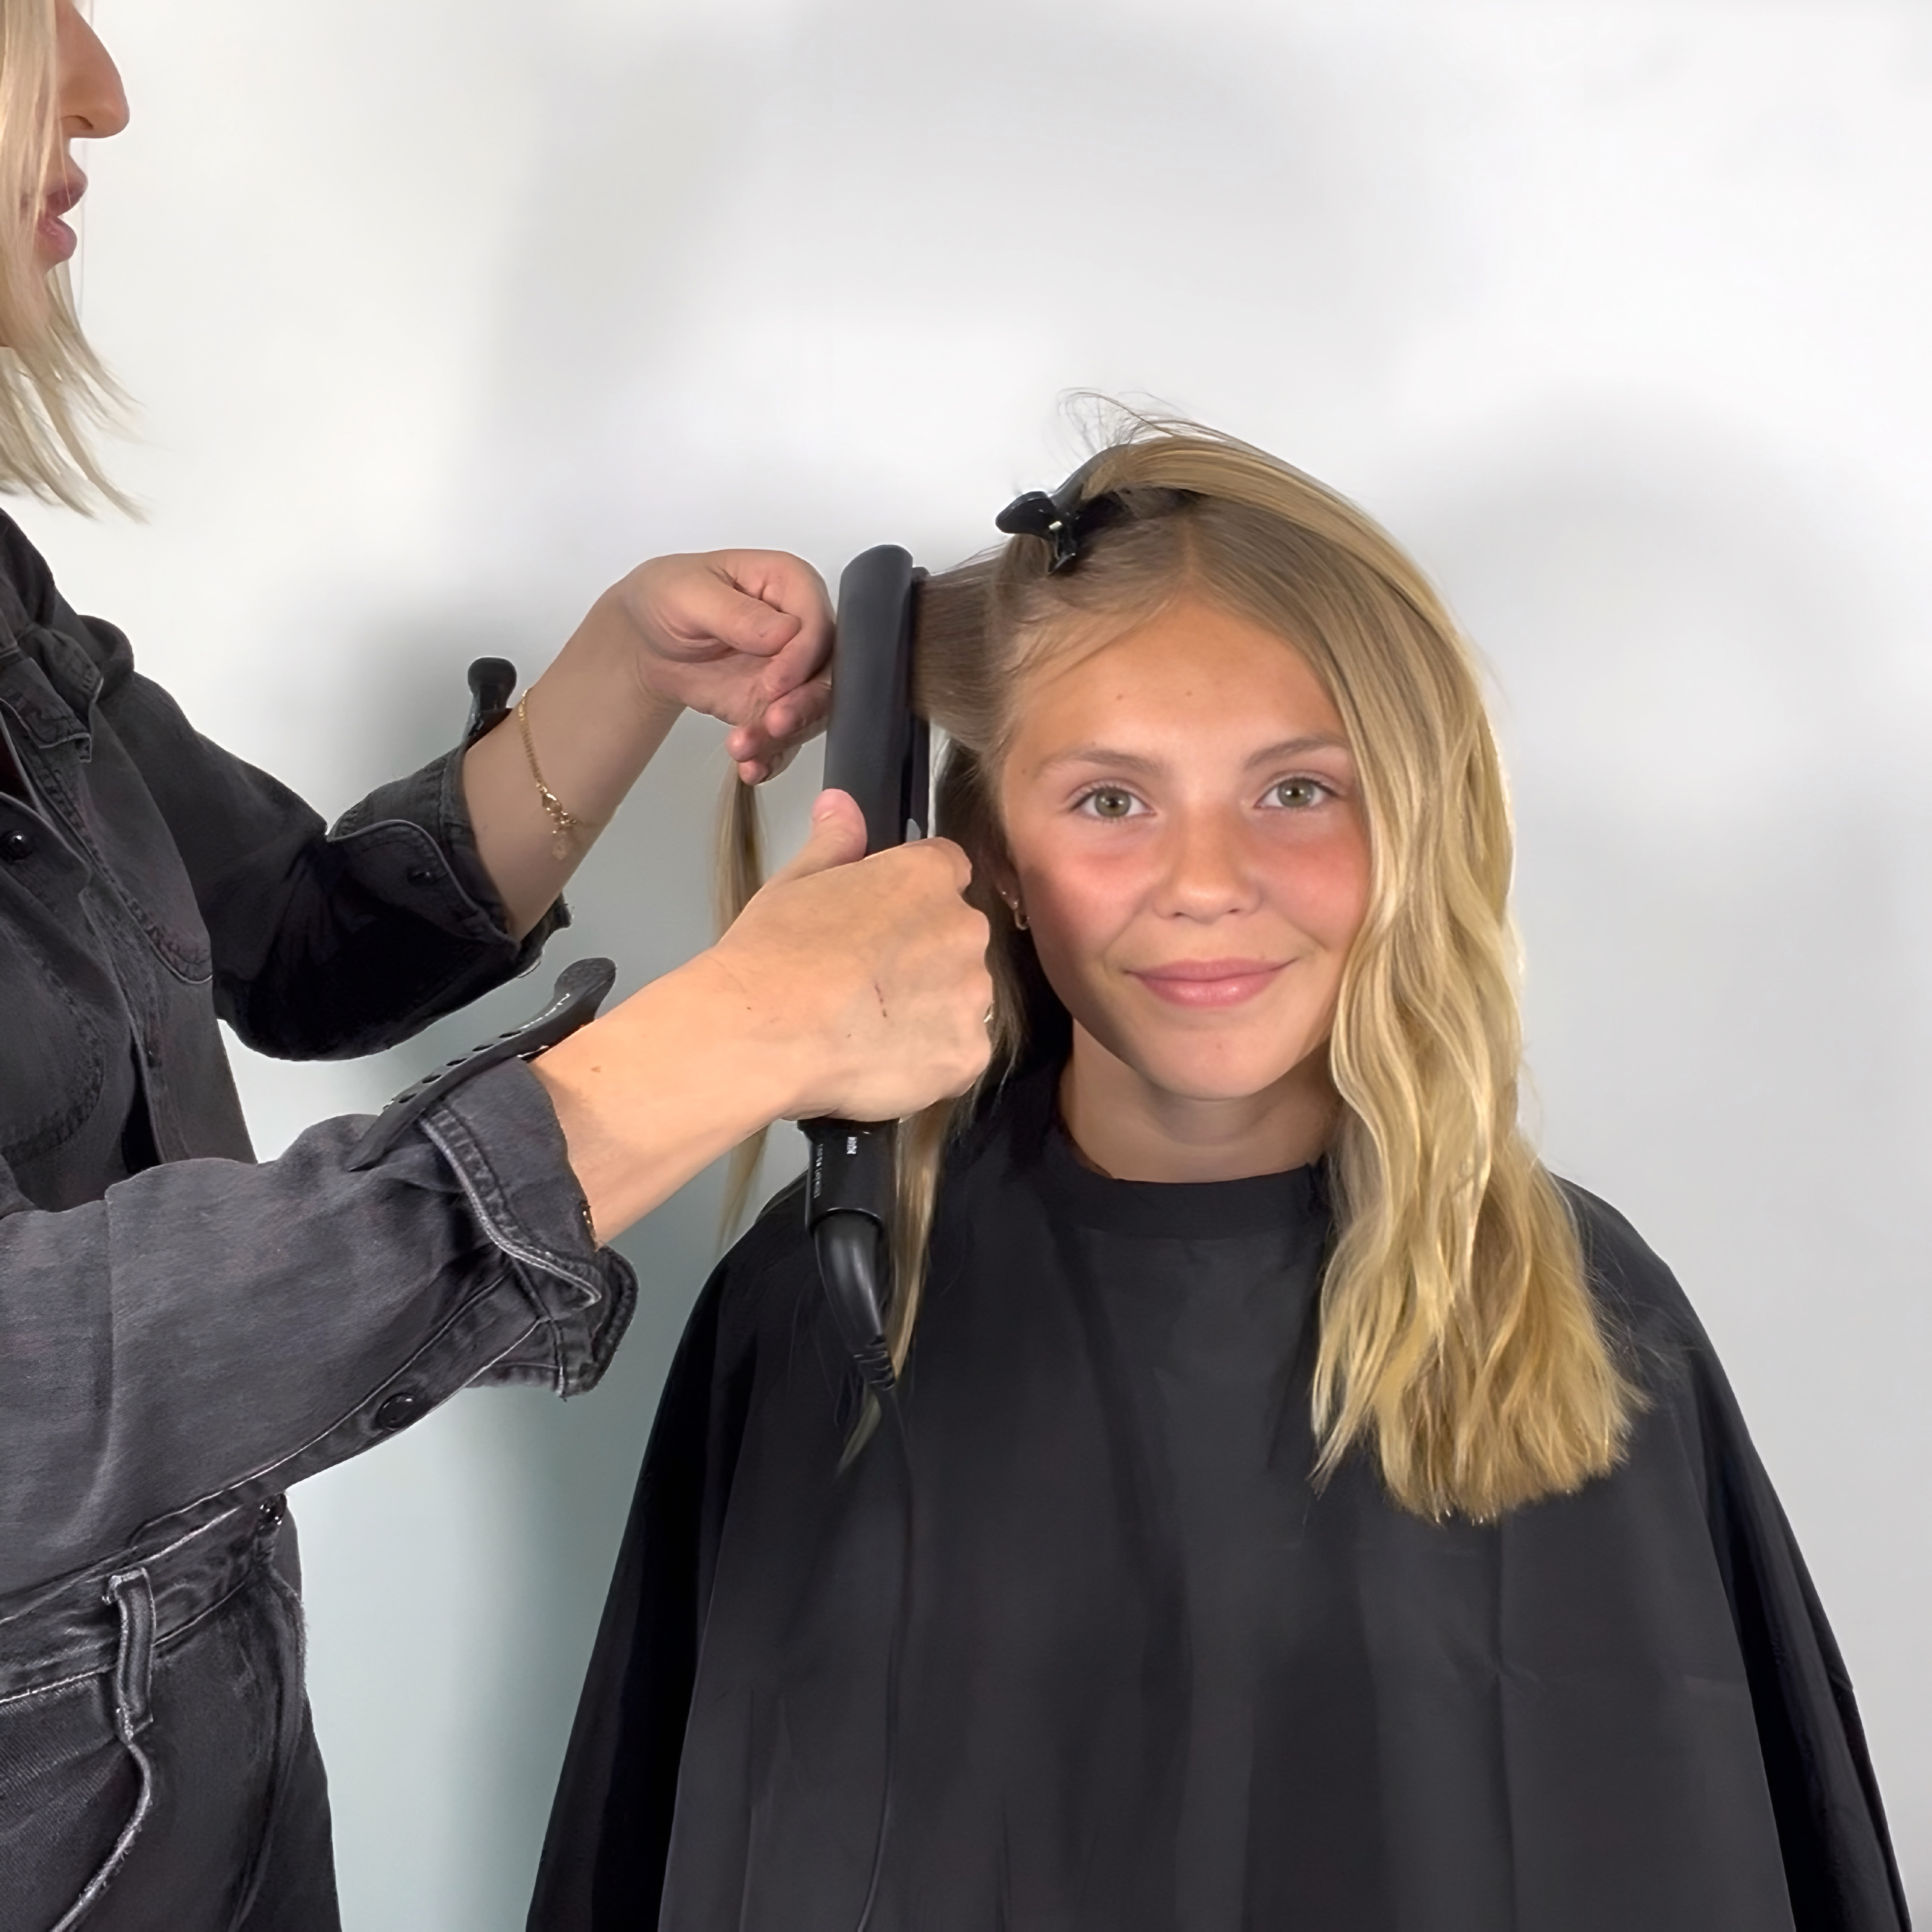
To get the look, Anna Peters uses the Sam Villa SLEEKR Professional Straightening Iron — a pro-favorite tool that features curved, rounded plates designed to glide through hair smoothly while shaping soft, natural waves. This design prevents harsh lines of demarcation and creates seamless bends that mimic natural texture.
Sam Villa SLEEKR Professional Straightening Iron


Step-by-Step: How to Create Ghost Waves
Here’s how to recreate Anna’s signature ghost wave technique at home or in the salon:
1. Back Sections
- Take horizontal sections and comb through to smooth the hair.
- Insert the flat iron about 1 inch down from the roots.
- As you compress the iron, pull the hair to the right using your pointer and middle fingers while pulling the iron to the left.
- Continue moving down the section, alternating directions — iron right, hair left, then iron left, hair right.
- Repeat until the ends. The result: waves that lay flat against the head.
2. Top Sections
- Take horizontal sections at the top of the head.
- Rock the iron out, pull downward, then rock under and continue pulling down.
- Repeat this motion down each strand.
- These sections float over the back layers, adding a light, voluminous pop on top.
3. Side Sections
- Split each side section in two and clip the top portion up.
- Starting with the bottom, take diagonal sections angled toward the face.
- Repeat the same wave technique used in the back.
- Release the top half and apply the same motion for consistency.
4. Finishing Touches
- Detail the ends with the iron to refine and define the look.
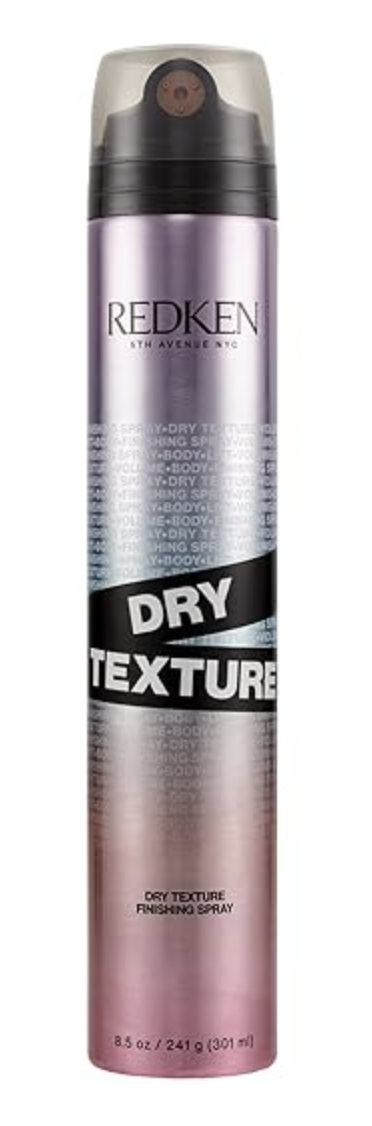
- Finish with a light texture spray like Redken Dry Texture to enhance movement and separation. Look for something airy — not sticky — to preserve the invisible feel.

Some of the links in this post are affiliate links. This means that Bangstyle will collect a small share of the sale from any purchase you make from the products we recommend.