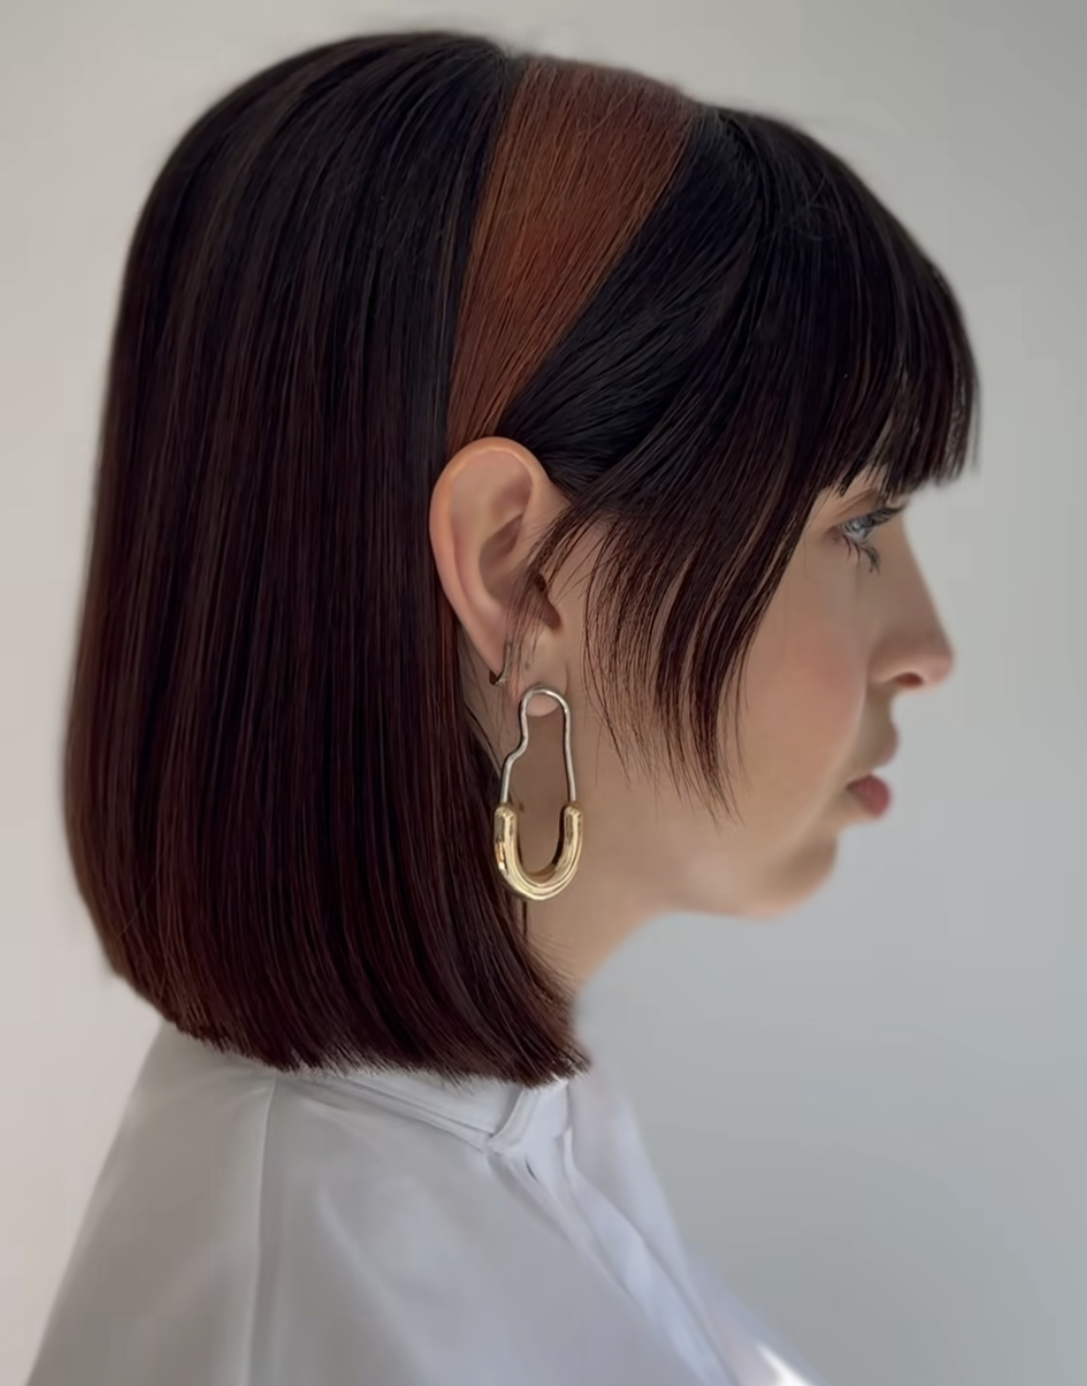
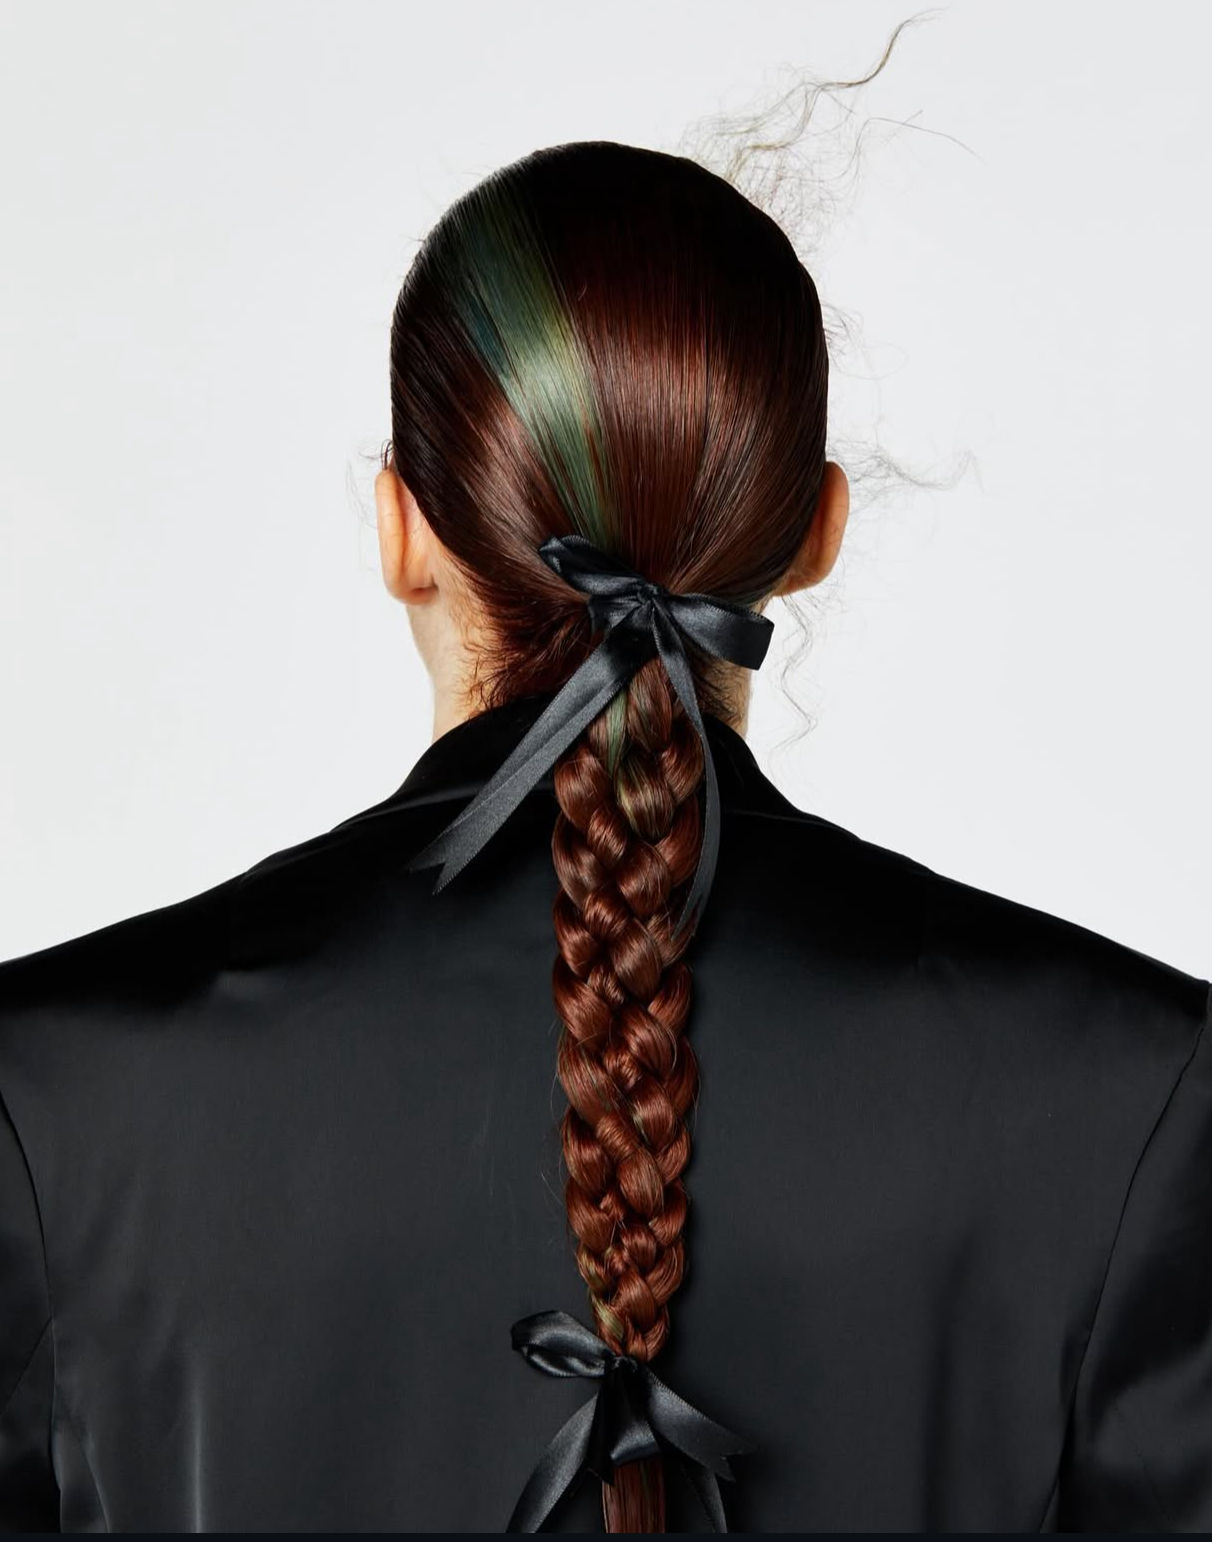
Simple yet striking, the With the Band colour technique from Brooks & Brooks is redefining statement hair. More than just a panel of colour, this look channels runway energy straight to the salon. Whether it’s the Alice Band Effect by Marlon Hawkins or the Invisible Line by Charlie Illi, this high-impact method is set to elevate your colour services for Autumn/Winter 2025.
“The technique combines foil and freehand application to create bold bands of colour – like hair accessories you never have to remove,” says Charlie. “It’s technically demanding, but that’s what I love about it!”
The Inspiration
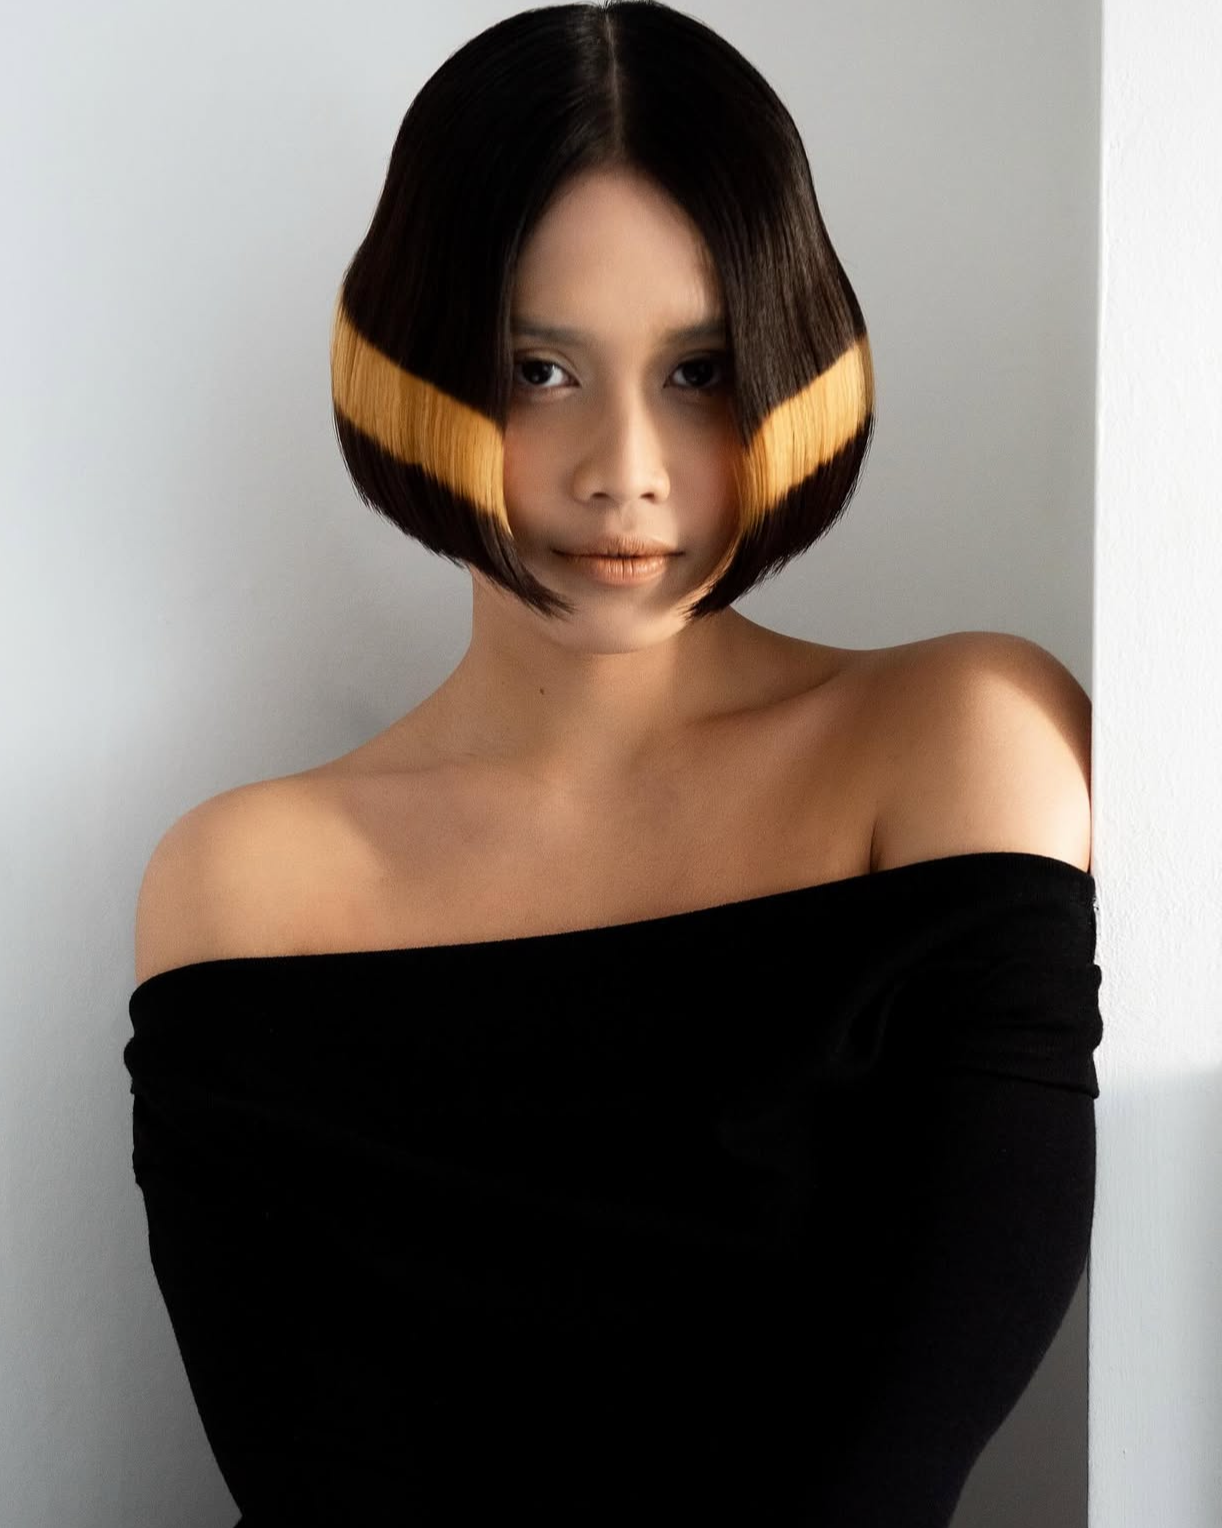
For Charlie, hair is the ultimate everyday accessory – a permanent statement piece that can amplify individuality. Inspired by the oversized, colourful Alice bands spotted across Fashion Week runways, she set out to recreate the look using pure colour artistry.
Why It Works
- Uniqueness: No two looks are the same – placement is tailored to the person in the chair.
- Versatility: Works with bold, saturated tones or soft, delicate pastels.
- Editorial Edge: Perfect for clients who want fashion-forward hair with a personal twist.
For her model, Charlie chose a warm terracotta shade – a blend of mahogany, violet, orange, and yellow – on an undercoat of level 8 for maximum vibrancy.
Pro Tip: For pastel effects, lift and pre-tone the hair before applying colour.
Charlie’s Top Tips
- Cut First: Start with a strong foundation cut – here, a one-length Roxy bob with exaggerated weight at the occipital bone and a short fade into the neck.
- Map Your Sections: Use four clean sections with a cross-bun technique for precision.
- Foil Meets Freehand: Pre-lighten your mapped band section using foil for control, then layer sections with a natural fall, freehand painting as you go.
- Control the Lift: Avoid taking pre-lightener all the way to the ends to maintain the Alice Band effect.
- Finish with Flair: Leave the colour raw for bold vibrancy, wrap-dry, and add a soft bend at the horseshoe hairline.
Get the Look: Step-by-Step
Step 1: Cut First
Map the lines with your cut. For the Roxy bob, exaggerate weight at the occipital bone with a fade into the neck.
Step 2: Sectioning for Colour
Divide hair into four sections with a cross-bun technique, keeping partings parallel to the head.
Step 3: Painting the Line
On your first 5mm section, lay on foil, secure with masking tape, and pre-lighten (9 levels, 20 vol). Tape over to prevent bleed.
Step 4: Layering Up
Add the next section with natural fall, freehand painting the line. Repeat to the top.
Step 5: Finishing Touches
Leave colour raw, wrap-dry, and create a soft bend for editorial polish.