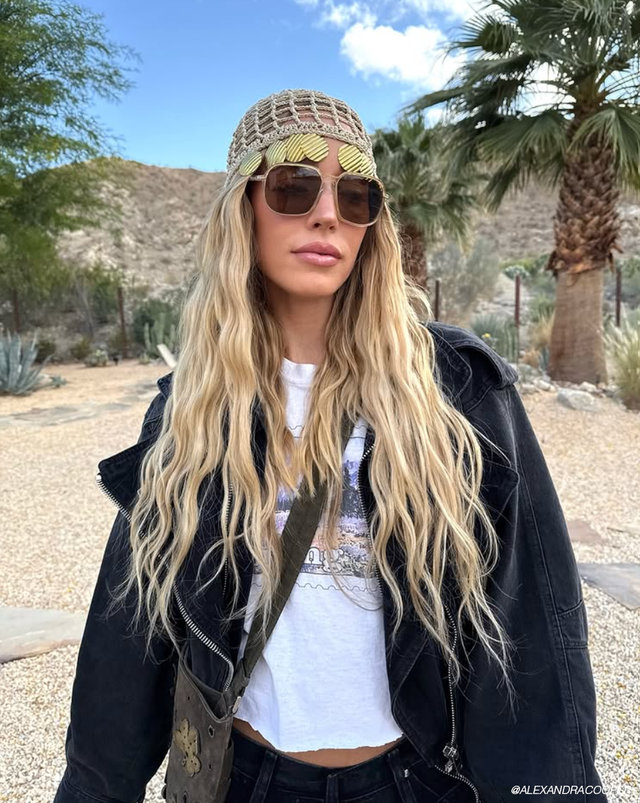
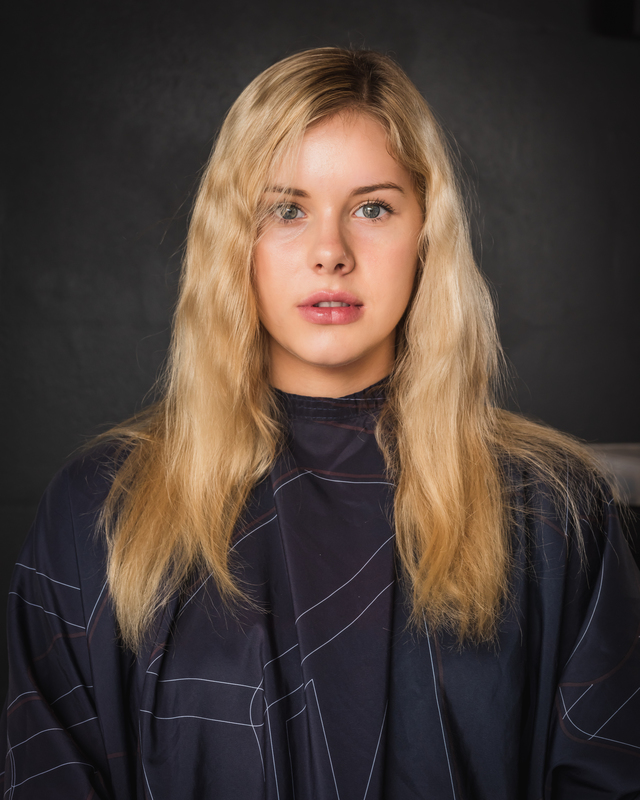
Undone beach waves — they’re not just a fan-favourite and an obvious choice for warmer days, they have evolved into a statement. With the development of new products, beachy waves have come a long way from their conception, which is exactly what the KEVIN.MURPHY line originally set out to do. As the story goes, one of the brands’ signature products – HAIR.RESORT – was born on the beach during a photoshoot when a wave crashed into the set and the rest is history…
Now, with beachy and undone waves at the height of their popularity, KEVIN.MURPHY has a plethora of products to help you get the look. In this tutorial, Lucas Dowling utilises them to create an effortless undone feel. Follow along to see the steps that will help you achieve undone beach waves instantly. *Spoiler alert – it’s all about picking the right products!
UNDONE WAVES – GET THE LOOK: PART I
PRODUCTS NEEDED:
THE STEPS:
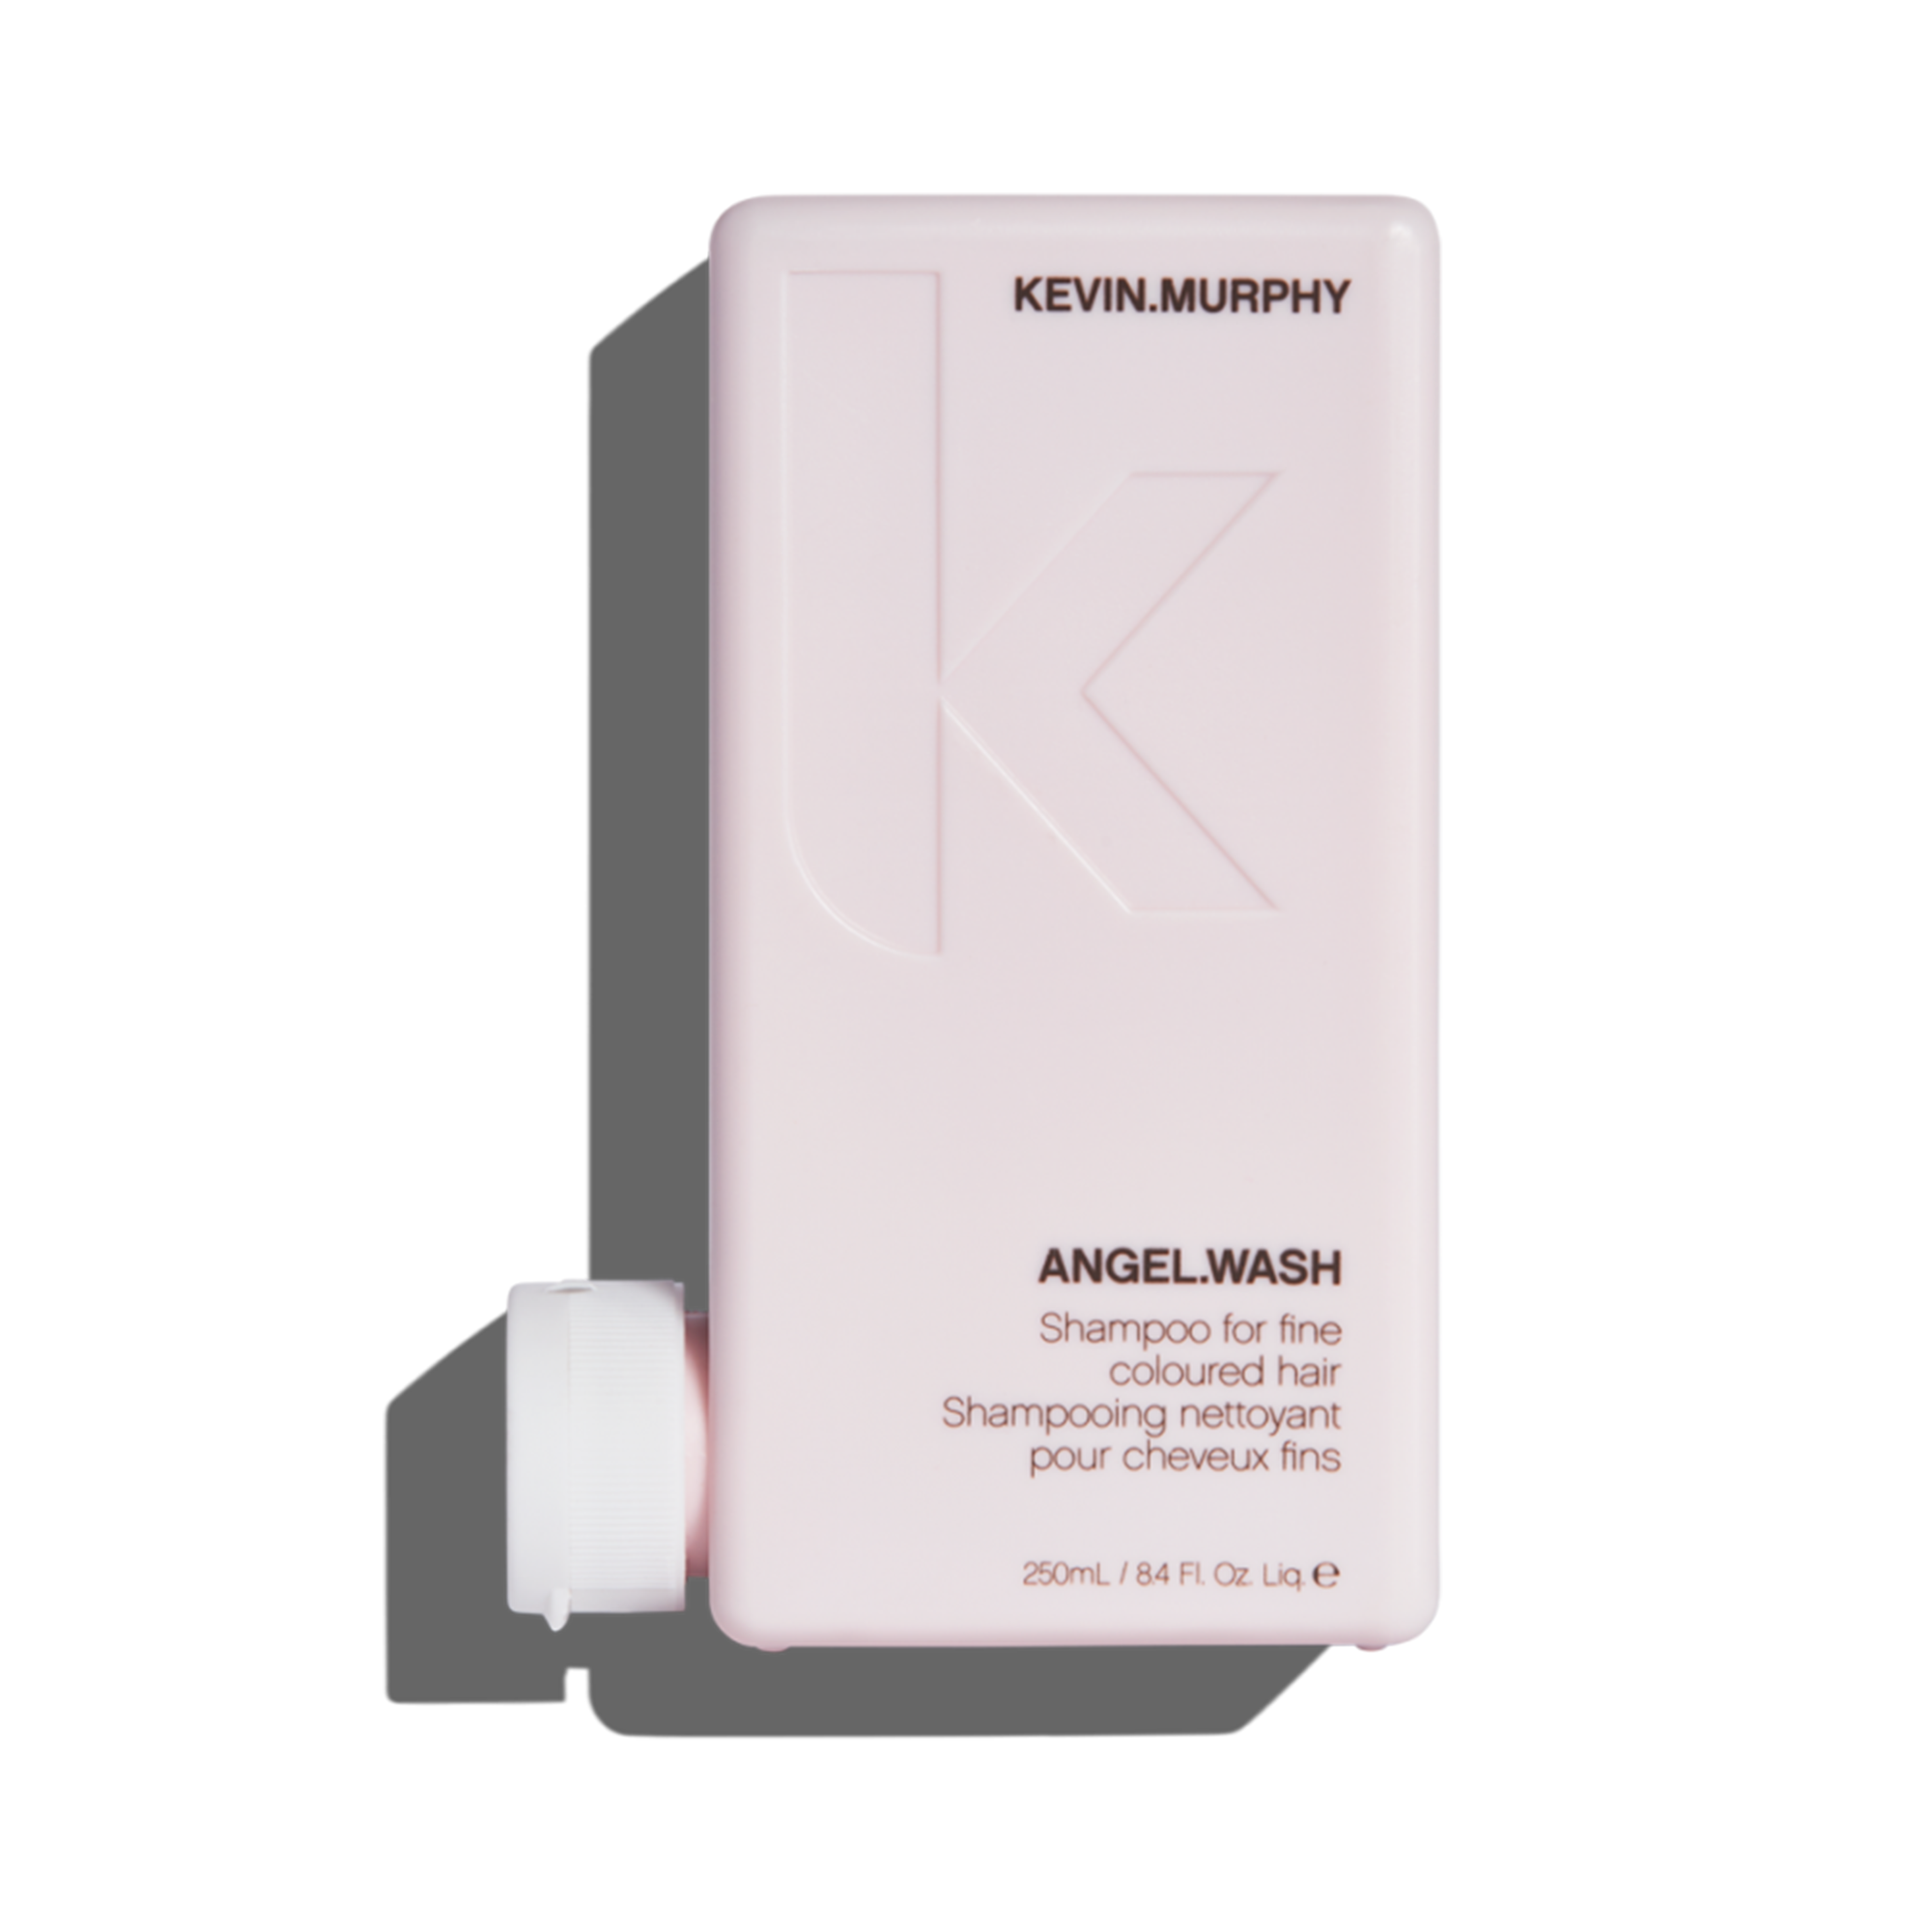
- To achieve the look, start by cleansing hair with ANGEL.WASH and ANGEL.RINSE.
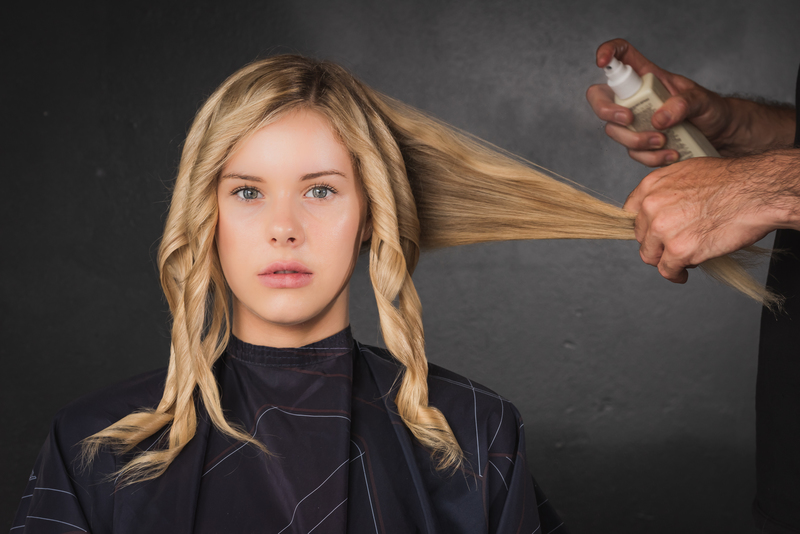
- Then, prep hair for heat work with 2-3 pumps of HEATED.DEFENSE and apply ANTI.GRAVITY.SPRAY starting at the nape and continue forward to the front hairline. *Application tip: Take 1-inch horizontal sections and apply 4-6 sprays, depending on the density of the hair.
- Parting hair to your liking and blast dry using your fingers first. Try not to stretch the hair out too much then use a round brush to refine any frizzy areas.
UNDONE WAVES – GET THE LOOK: PART II
PRODUCTS NEEDED:
THE STEPS:
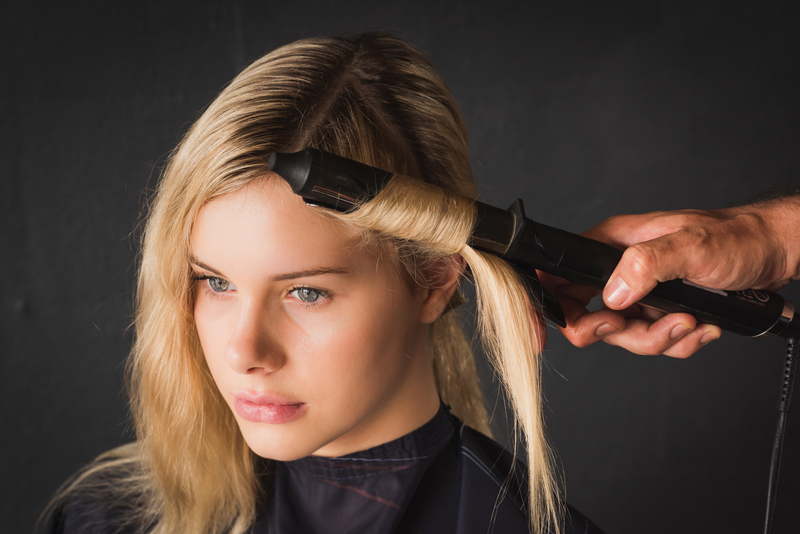
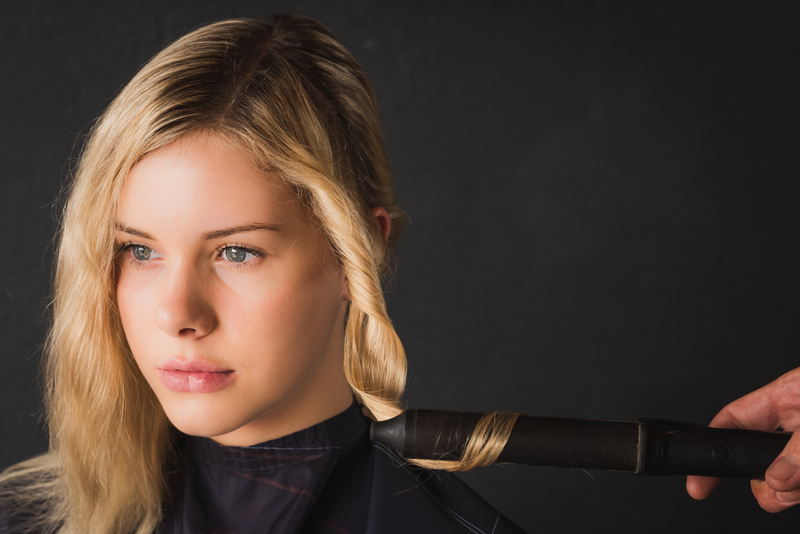
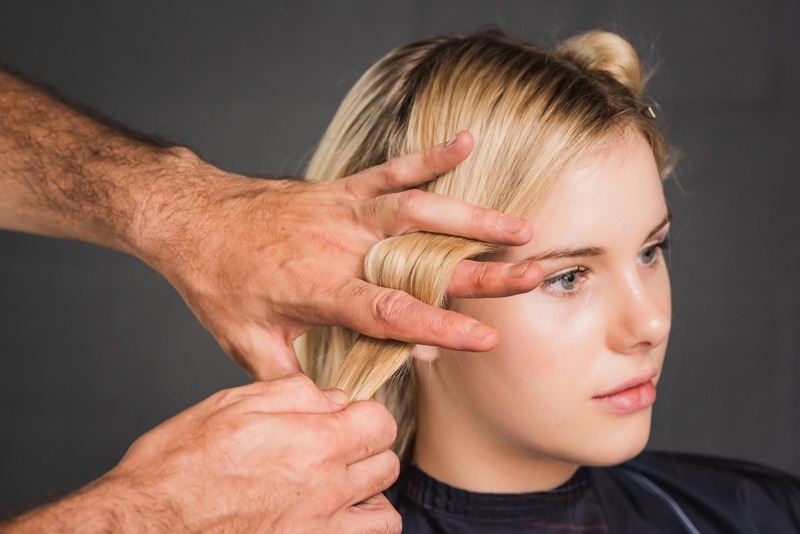
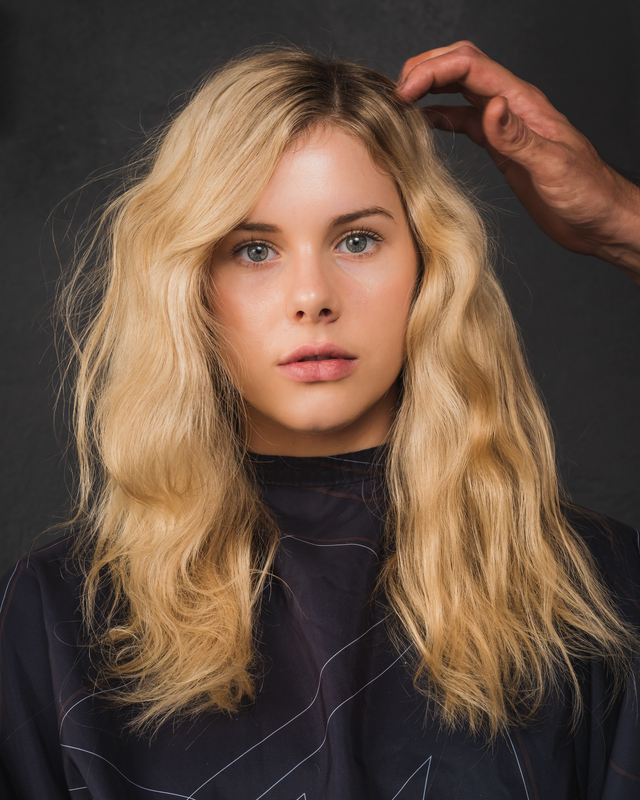
- Starting at the front parting, take a 1 1/2 inch vertical section and lightly mist ANTI.GRAVITY.SPRAY. Project hair forward keeping the tong on a 45° with the point up facing away from the face and make one wrap back towards the head. After the hair has heated twist hair off the end of the tong and repeat the process on the mid-lengths and ends of the hair.
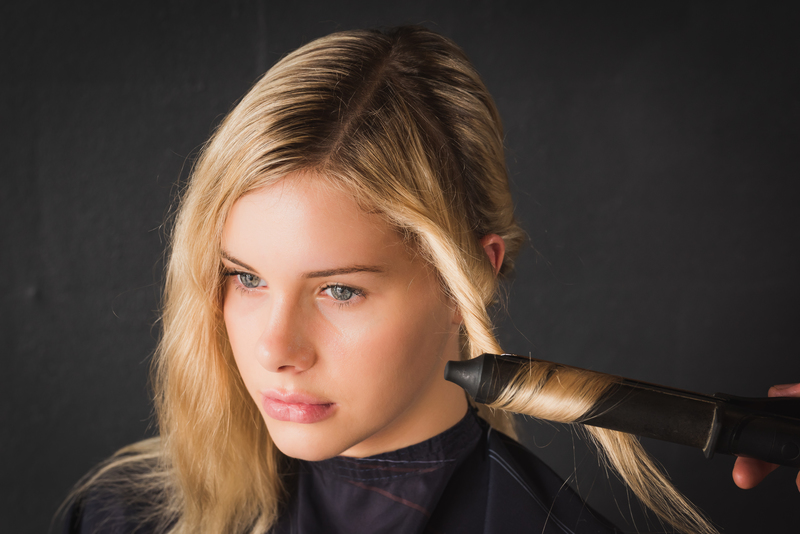
- Repeat the process on the next vertical section continuing to wrap away from the face. It should be between 3-4 sections, depending on density, to reach the middle back.
- Repeat the process on the opposite side.
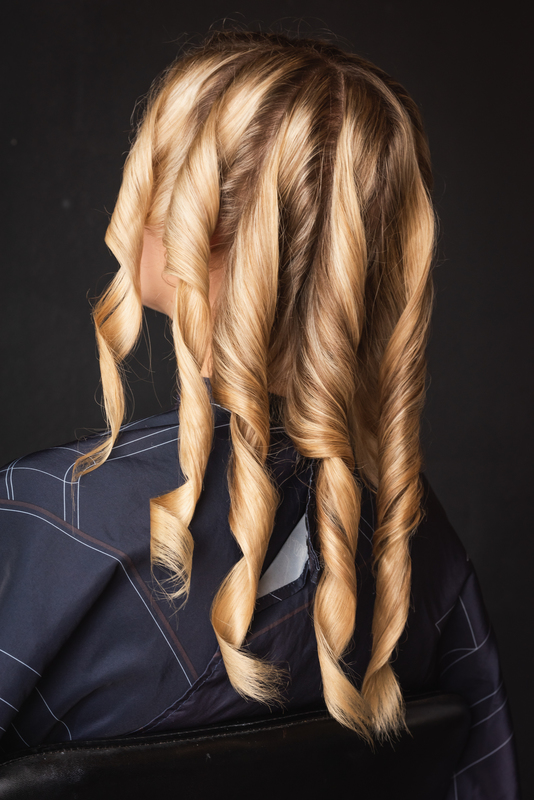
- Once cooled use a TEXTURE.COMB to brush out the set.

UNDONE WAVES – GET THE LOOK PART III
PRODUCTS NEEDED:
THE STEPS:
- Split the hair into four sections.
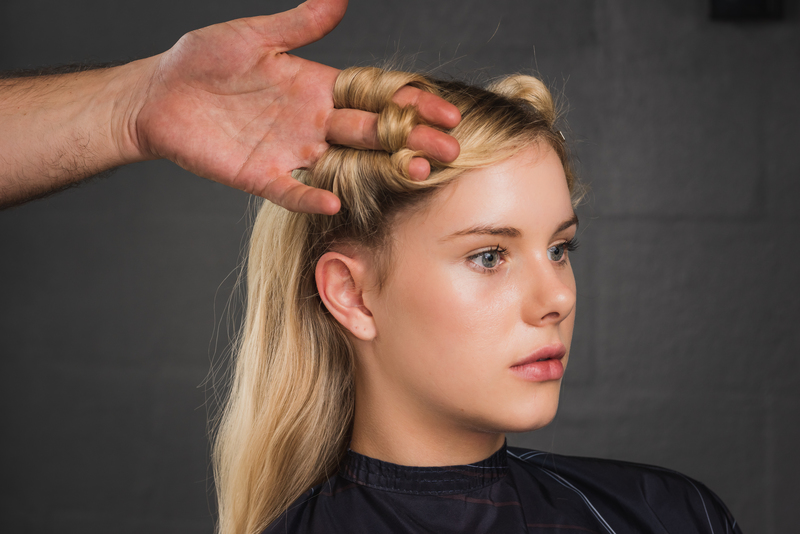
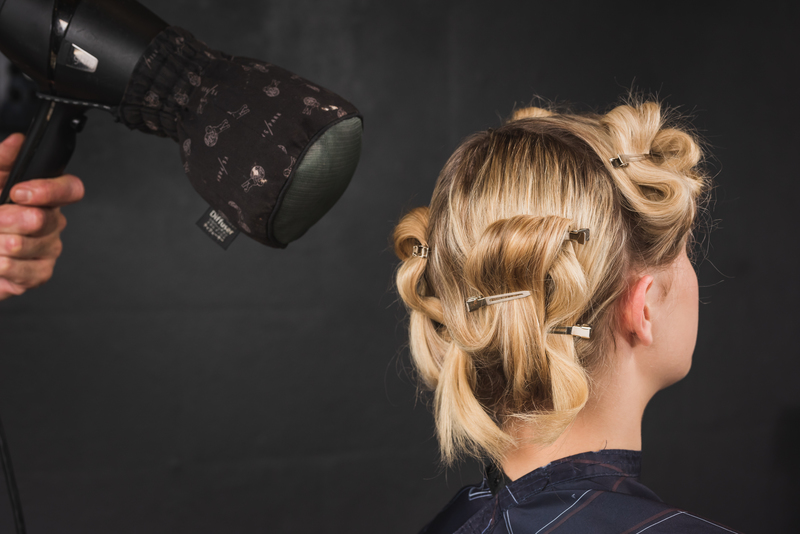
- Starting at the front sections, lightly mist HAIR.RESORT.SPRAY, then wrap in a figure 8 pattern around your index, middle and ring finger. Hold in place and remove your fingers then secure with a pin curl clip. Repeat the process on the opposite side and continue to the back until all four are complete.
- Give the whole head a light mist with HAIR.RESORT.SPRAY and gently heat with a diffuser.
- Let cool for 5 minutes.

UNDONE WAVES – GET THE LOOK PART IV
PRODUCTS NEEDED:
THE STEPS:
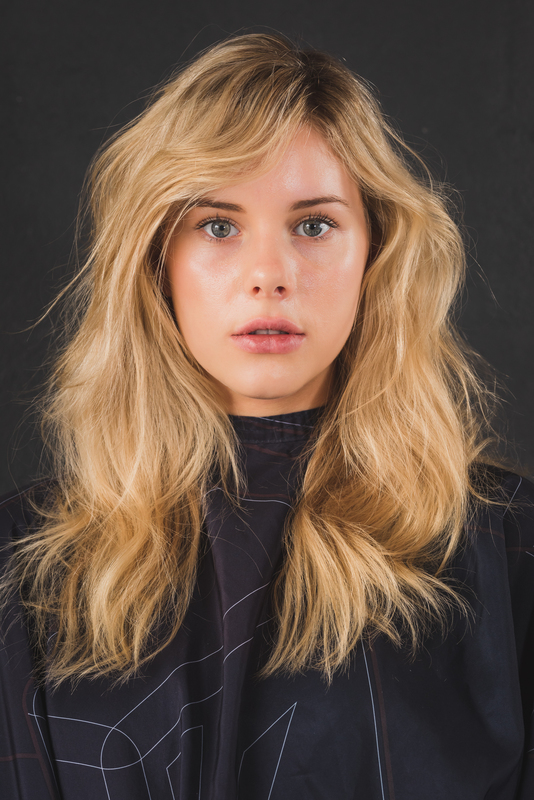
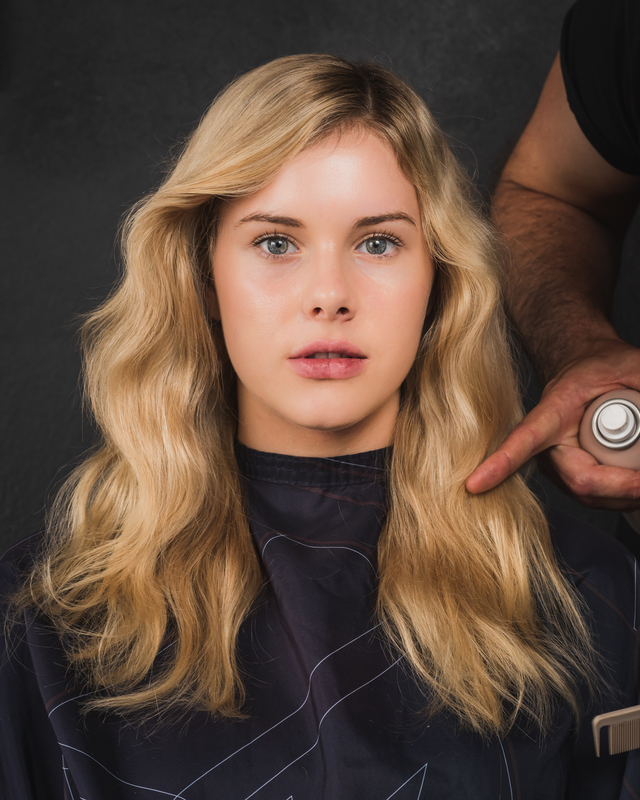
- Once cooled remove the pin curl clips, brush out with the TEXTURE.COMB and then refine with a fine-toothed comb.
- Then, finish with BEDROOM.HAIR for an airy yet textured hold.
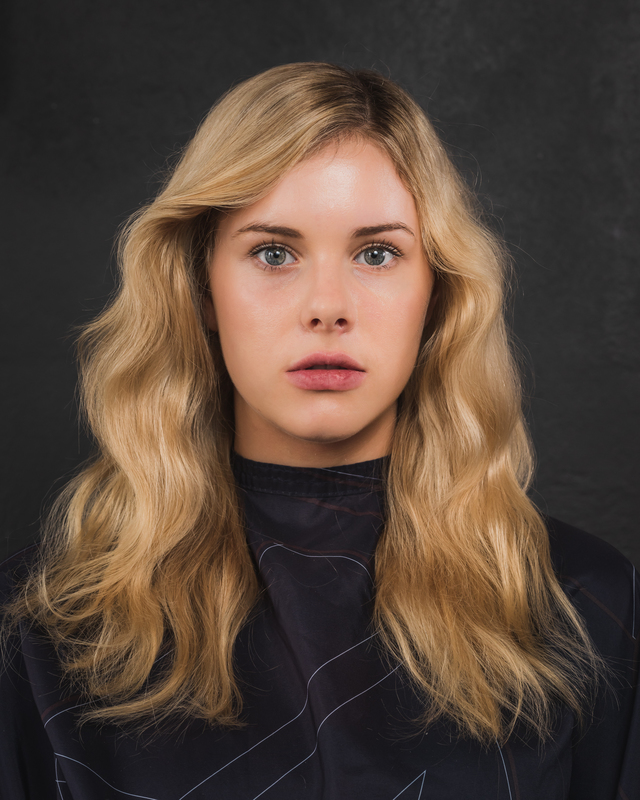
FINISHING TOUCHES
For a more exaggerated look. Section the hair into a horseshoe after the first set and complete 4 figure 8’s on the underneath then another four on the top. Also, you can pinch the hair around a small tong to refine any bends around the face before finishing with BEDROOM.HAIR.
For even more swoon-worthy styles be sure to follow Lucas on social media @Stable.Space and visit his website www.stablespace.com.au for even more inspiration!