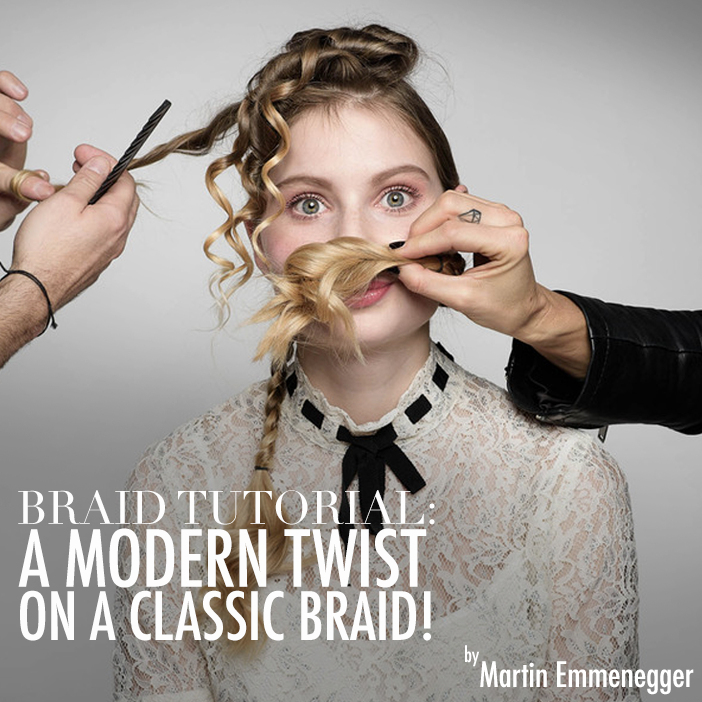
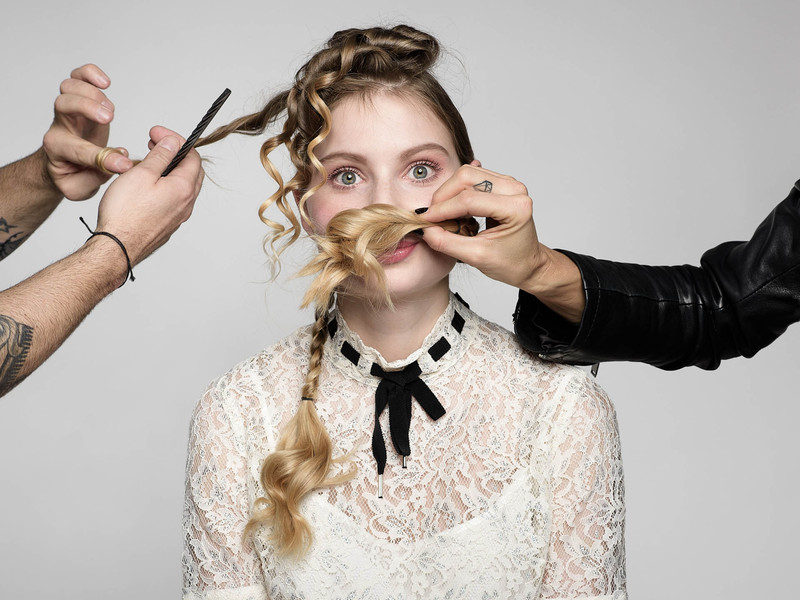
In part two of this adorable tutorial, Martin Emmenegger shows us how to take the romantic braid a step further and turn it into a polished look, worthy of any editorial. We have a feeling we'll be seeing this style on the streets very soon! Follow the steps to get the look and recreate the look yourself...
Step 1 For maximum shine and grip prepare the hair with PAUL MITCHELL Sculpting Foam und and blow dry it with the PAUL MITCHELL Express Ion Round L.
Step 2 On the top of the head clip a horseshoe section away. Split the rest of the hair in 2 sections a big zigzag part down the back of the head.
Step 3 For maximum shine add some PAUL MITCHELL Gloss Drops to both sections and do a regular tight 3 strand braid on both sections. Fix it with an elastic and make sure that you have about 10cm of hair not braided left over.
Step 4 Open the horseshoe section and set the hair with your PAUL MITCHELL Neuro Small Styling Cone to add a wavy-curly texture. Repeat the same technique also at the ends of the braids. Use PAUL MITCHELL Hot off the press for heat protection.
Step 5 Give your horse shoe section a little brush through to expand your texture and do a soft airy backcomb with your PAUL MITCHELL 413 Sculpting Brush. Roll the hair under and fix it with Bobbypins. Make sure that some strands will fall into the face.
Step 6 Backcomb the ends of the braids.
Step 7 For perfect hold finish your look with PAUL MITCHELL Hold me tight.
Be sure to stalk Martin on Bangstyle and take a peek at his Romantic Braid Tutorial, here!
Credits:
Hair: Martin Emmenegger
Make-up: Jana Mueller
Photos: Beat Steffen
Model: Billie-Jean Harper