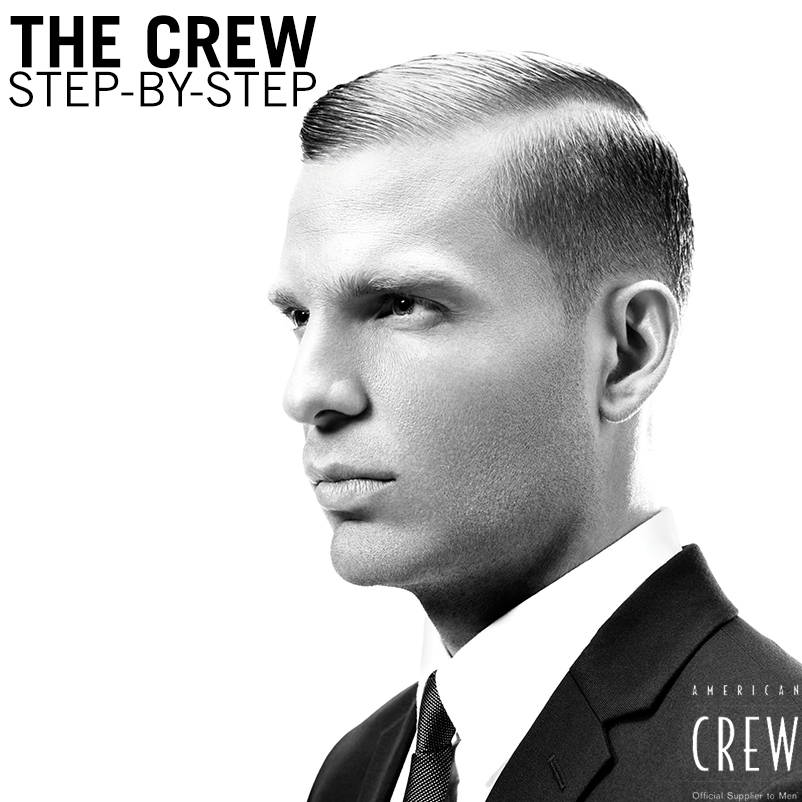
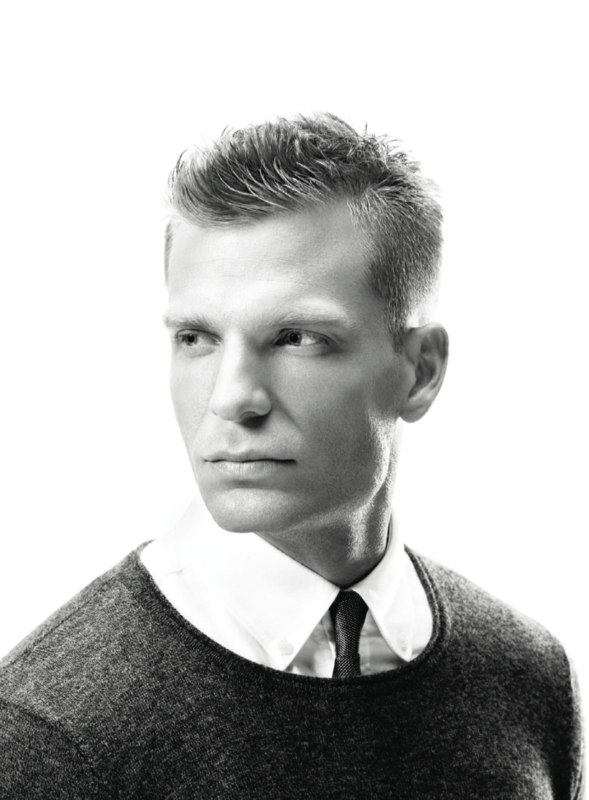
This effortless crew cut shows off style and grace within its lines and shape. Historically crew cuts are short on the side with graduation up the sides to the front. The front section is on the longer side and gives a slight nod to a pompadour. This cut works well on hair with a moderate to high density with a balanced head shape. Follow along the steps below to get the cut and style.
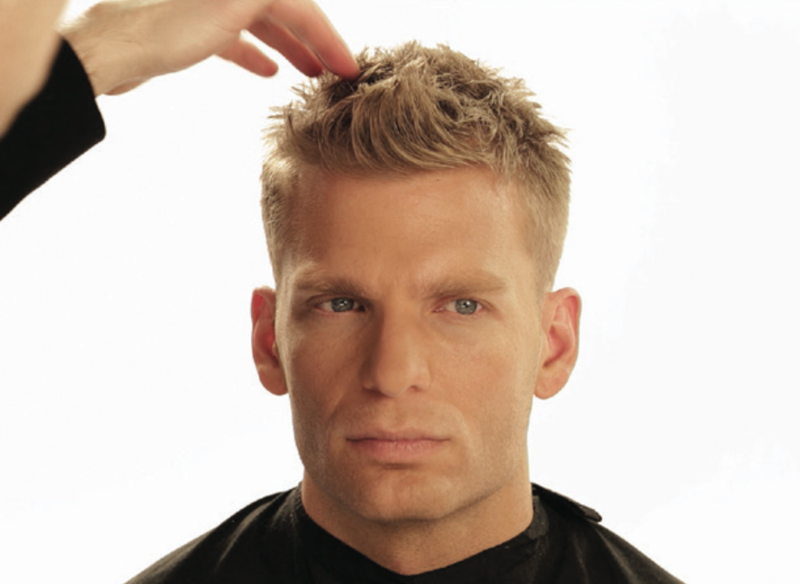
BEFORE: PRODUCTS USED:


THE STEPS:
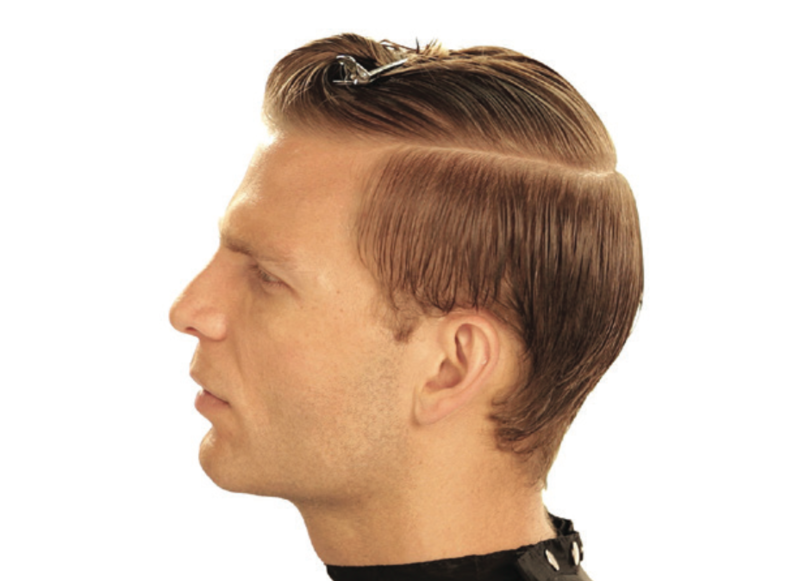
STEP 1: HORSESHOE PART
Start by separating the top from the bottom with a standard horseshoe parting resting at the center of the recession.
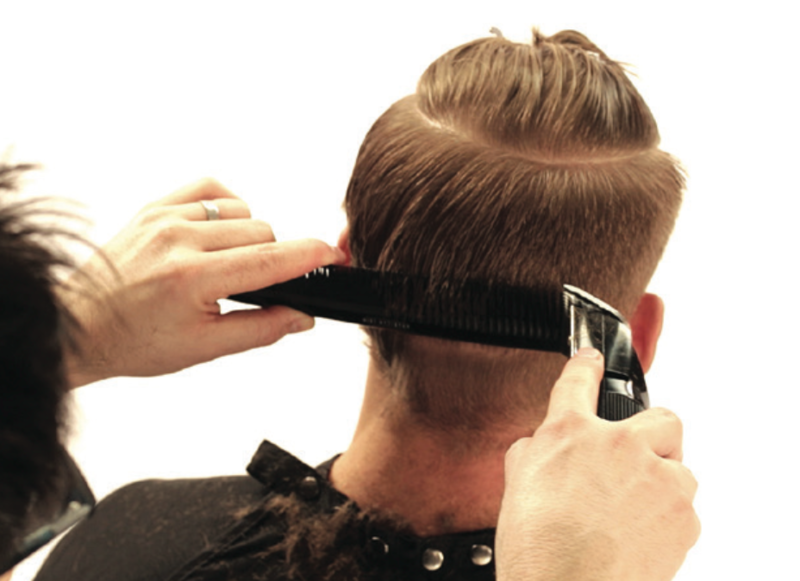
STEP 2A: ESTABLISH THE BASIC HEADSHAPE
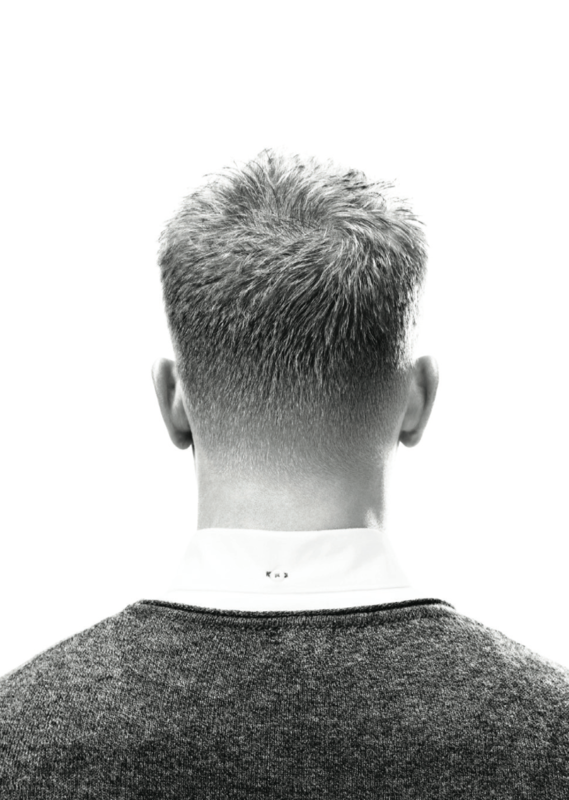
Anchor the comb at the lowest hairline, and then pivot away from the head. Just under occipital, change to a square cutting angle with teeth of the comb pointing up. The desired result is low scalp exposure.
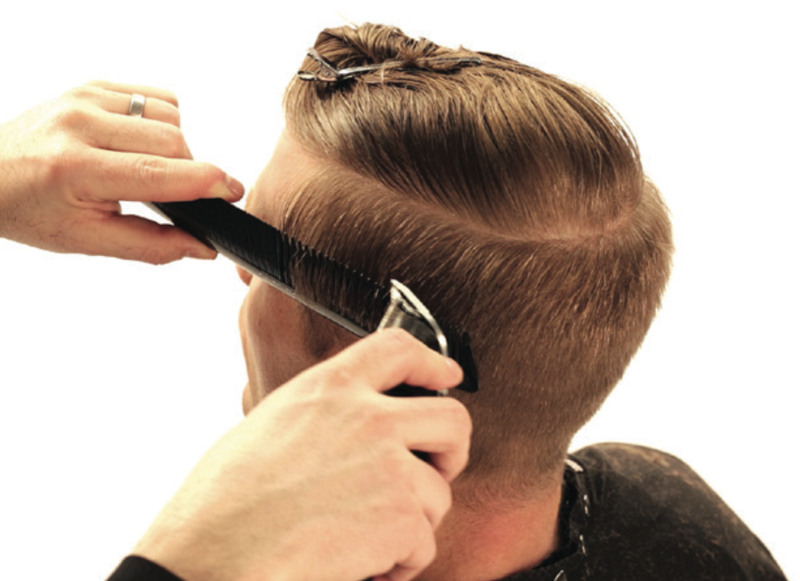
STEP 2B: BALANCE
When cutting with degrees of scalp exposure, visual balance is most important. Maintain visual attention from side to side.
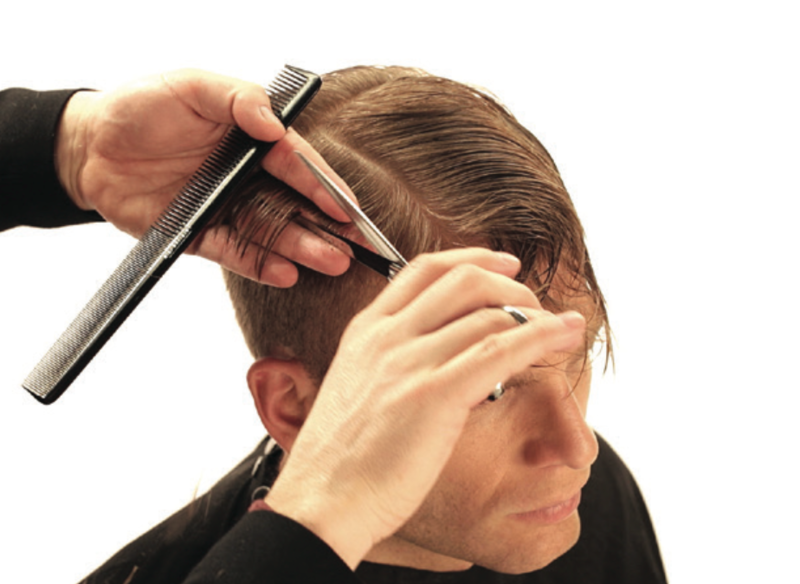
STEP 3A: TRANSITION
Prepare for The Transition, by creating a T-parting at the center of the top of the head.

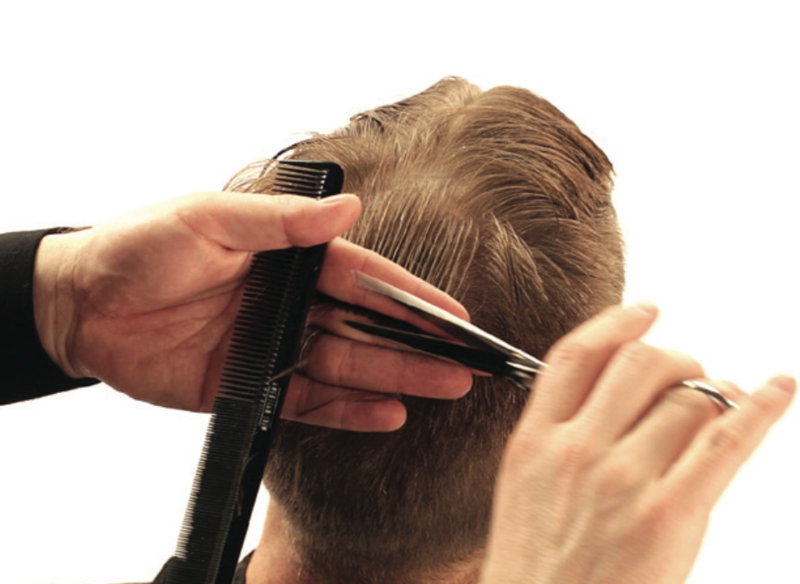
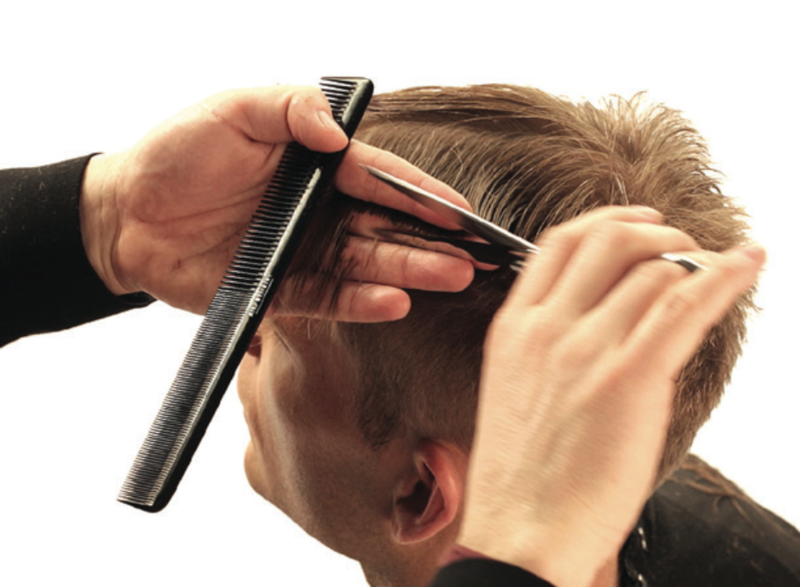
STEP 3B: HORIZONTAL CONNECTED
Use horizontal sections for a greater degree of weight, filling in the head shape as the head rounds to the top. Connect to the guide under horseshoe parting. Pull each section straight out and cut to the guide until the center-top is reached.
STEP 3C:
Divide the crown area into 3 sections. Within these sections, create horizontal sub-sections. Fully connect to your guides. Pull each section straight out, parallel to the floor. Keep the tension low but controlled.
STEP 3D:
Work up the head using basic sections that are easy to control until the t-parting above the crown is reached. Remain completely connected to the length previously established at the beginning of the haircut and use consistent and low tension.
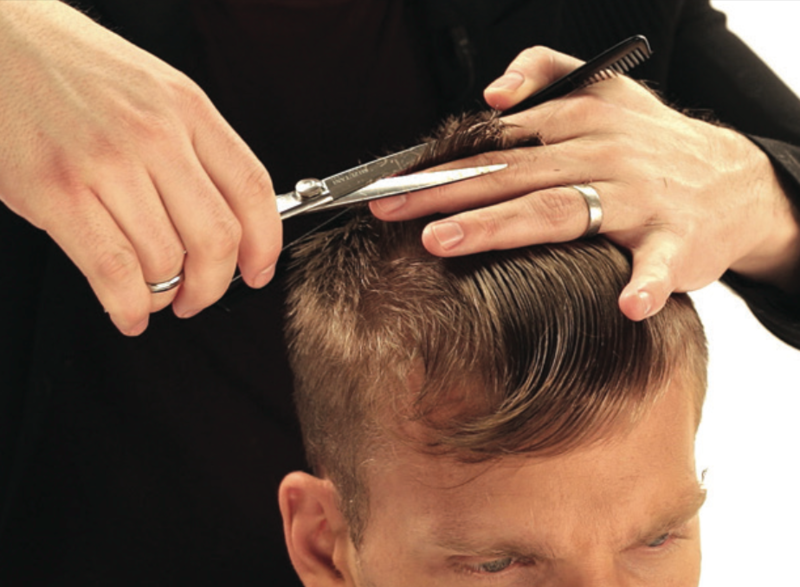
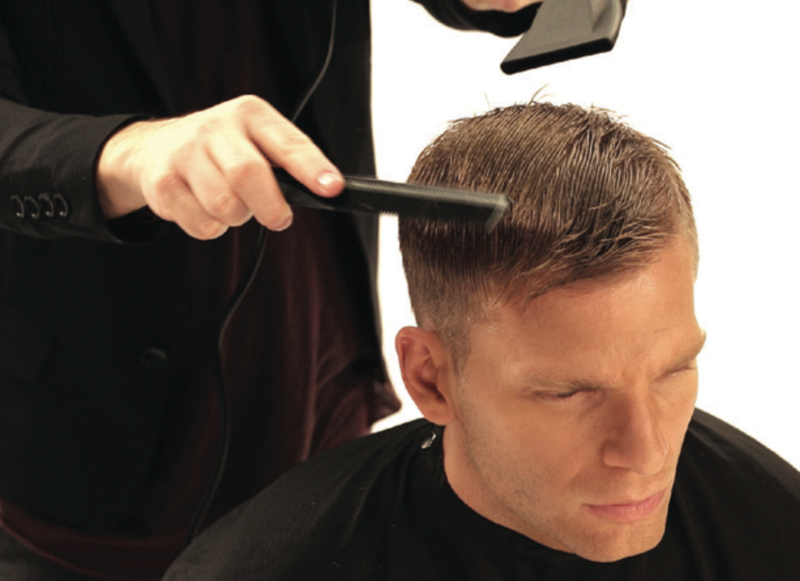
STEP 4: THE TOP
Connect short across the top of the head using side to side sections. Pull each section straight up until the front hairline. Cut square across the top, going past the center-top of the head. Slightly overdirect the last sections to achieve weight that falls over the recession and increased length at the front hairline.
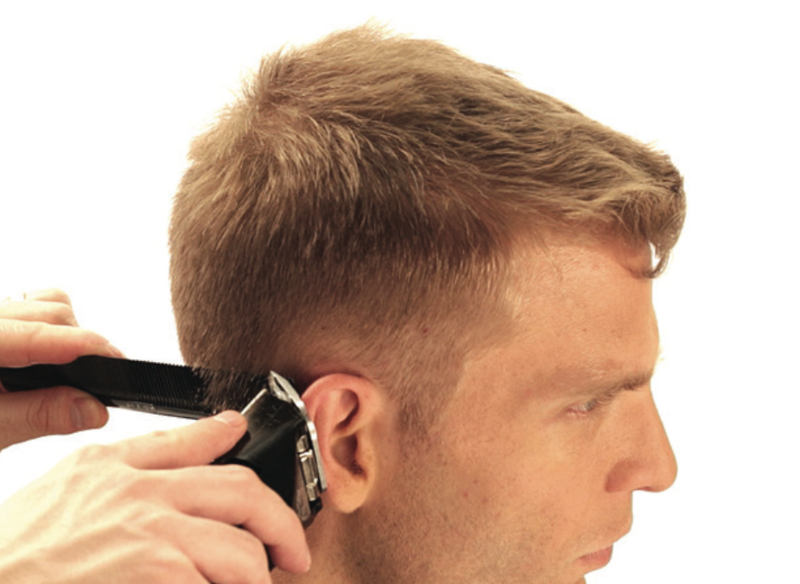
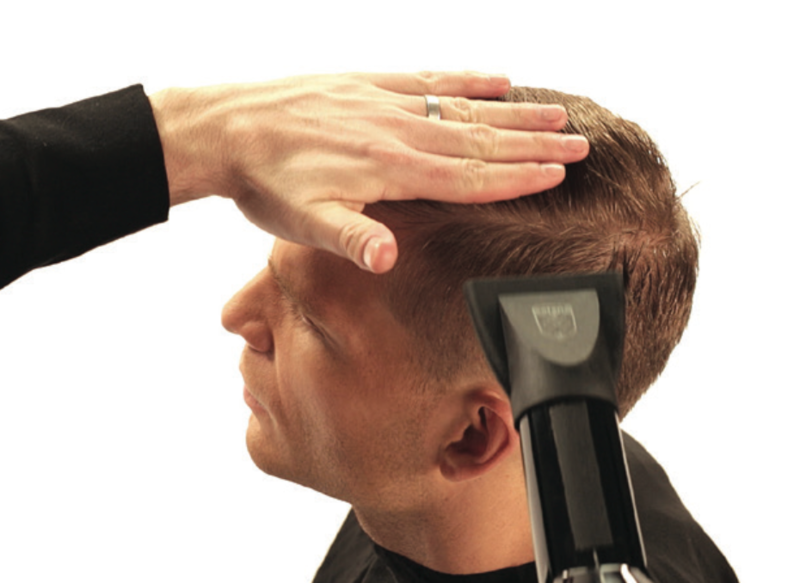
STEP 5: DETAIL
For a classic taper, fit in the hair line using a #000 blade and an all-purpose comb to cut against the grain.
STYLING:
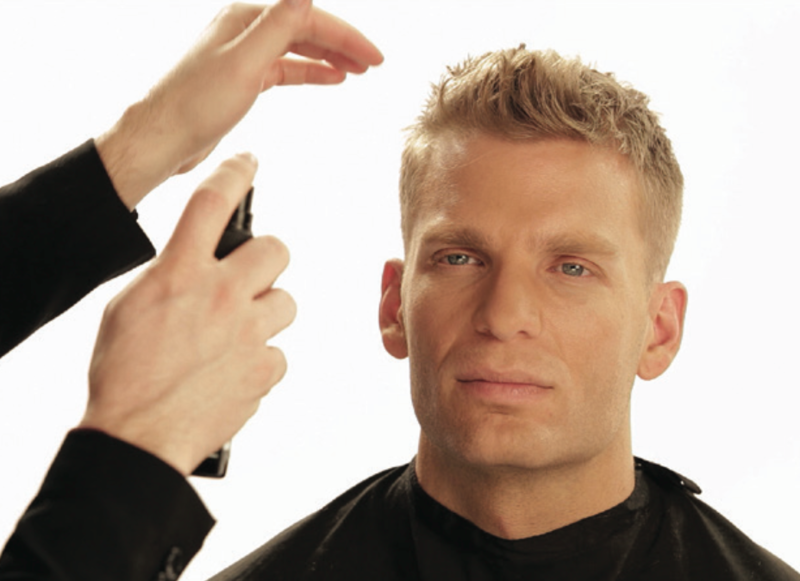
STEP 1: PREPARE
To achieve a flexible hold that allows for effortless shaping and re-shaping throughout the day, spray a moderate dosage of American Crew Alternator throughout hair, building to a high saturation level.
STEP 2: ESTABLISH THE DESIGN
Direct hair into desired shape with hands.
STEP 3: ASSESS AND FINISH
Elevate front with fingers. Apply an additional amount of Alternator if more lift is required.

STYLING OPTION #2
STEP 1: PREPARE
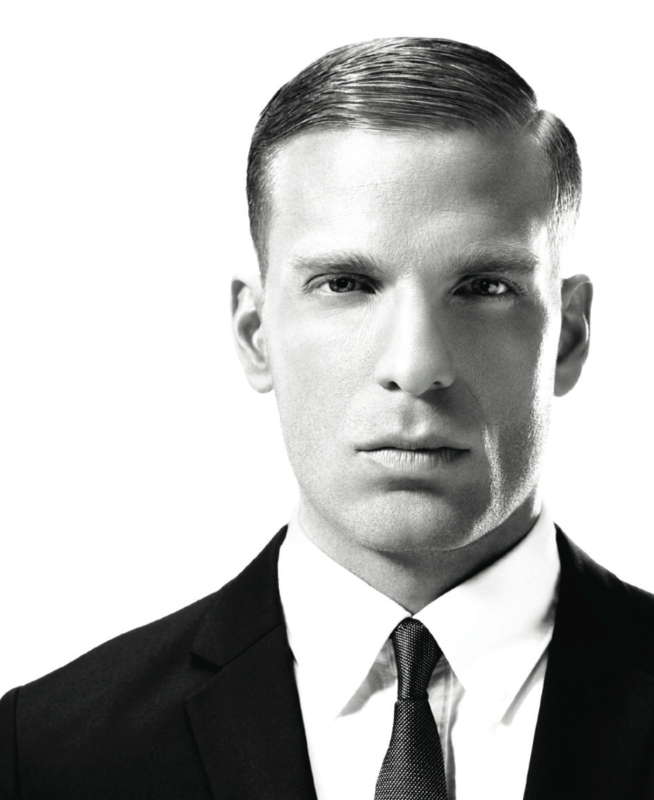
For a high-hold, high-gloss finish, apply a moderate product dosage or American Crew Grooming Cream throughout hair and comb into place.
STEP 2: ESTABLISH THE DESIGN
Use palm to flatten the surface, followed by heat from the dryer with concentrator to create a solid form with a smooth surface texture.
STEP 3: ASSESS AND FINISH
Lightly coat the surface with a small dosage of American Crew Grooming Cream.

THE FINISHED LOOK:
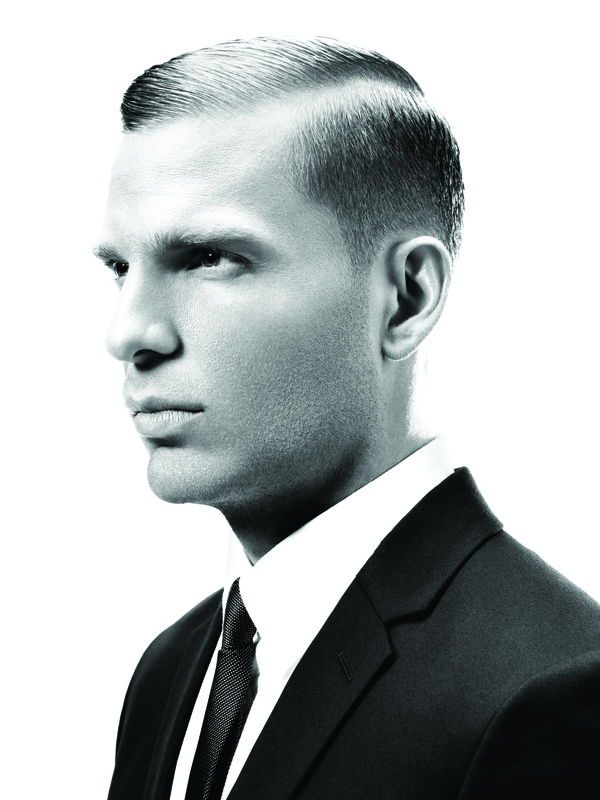
What do you think of this Classic Crew Cut? Leave your comments below and be sure to stalk American Crew on Bangstyle for the latest tutorials and inspiration!