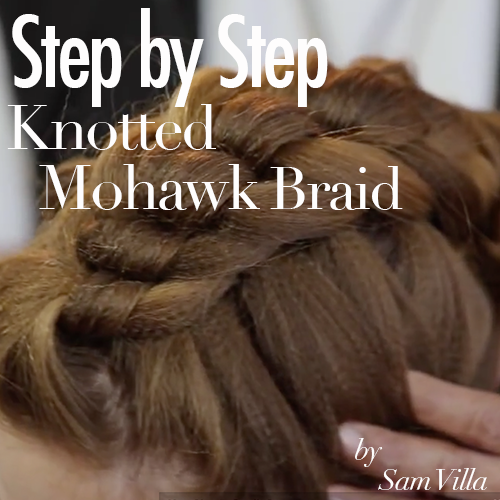
This knotted mohawk braid looks complex but is really simple once you get the rhythm. You've heard me say it before...braiding is all about rhythm. If you lose the rhythm you lose the braid. Stay in control of your sections and the braid will come together easy for you.
Before braiding the hair, I went through and texturized the entire head using the Sam Villa Texturizing Iron. This adds texture and volume to the hair and most important, it keeps the braid from slipping out! I've tried this braid without texturizing the hair and I find that the hair tends to fall out much easier. If you texturize the hair first, you roughen up the cuticle and it really helps the braid hold in place.
Items needed for this braiding technique:
• Sam Villa Texturizing Iron (adds volume & texture to the hair and makes it easier to braid - doesn't slip out)
• Styling Brush (use before you braid to smooth out the texture in the hair)
• Tail Comb (this is optional, but use this comb if you want to be precise with your sectioning)

How To Create a Slip Tie Braid or Knotted Mohawk Braid
• Begin by parting the hair into a center or natural side part. For this tutorial I'm working with a natural side part.
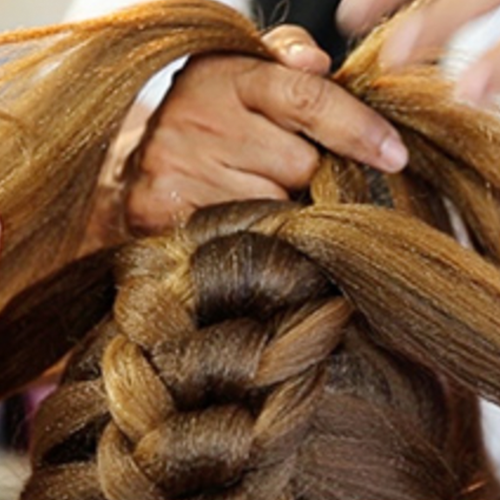
• Take a vertical slice on each side of the part at the front of the head. Smooth the sections out and tie a simple knot (right over left) then hand each section to your guest's right & left hand to hold.
• You will tie all of these knots just like you would if you were tying your shoe. Remember to always cross the right section in front of the left section, then tie your knot.
• Take another vertical slice directly behind your last section, one of each side of the part, tie another knot - right over left - then hand those to your guest to hold.
• Take a third section behind the last and repeat the last step.
• You now have three strands on each side of the part, here's where the fun begins...
• Tips & Tricks: Because you're working with a round head you will need to pinwheel your sections. Once you get to the top of the ear you will take diagonal forward sections. At the back of the head you will take horizontal sections to match the round of the head.
• Take another vertical slice behind the last section on each side of the part. Before you tie a knot, reach under the 2nd and 3rd section and pick up the first section at the front of the head and add that to your 4th section on each side of the part. Now tie another knot.
• You'll notice that the knots become loose as you continue the braid...no problem. Simply go back and tighten the knots as you go.
• Repeat this process, taking vertical/diagonal forward/horizontal slices on each side of the part, reaching under the last two strands and picking up the front strand, adding to each section and then tying a knot - right over left - until you finish with your braid.
This is a fun braid that is easy to do once you get the hang of it. It can be styled in many different ways: using a side part, center part, braiding to the end or creating a partial mohawk braid. I guarantee you and your guest will receive many compliments on this hairstyle.
For more articles, tutorials and products visit Samvilla.com