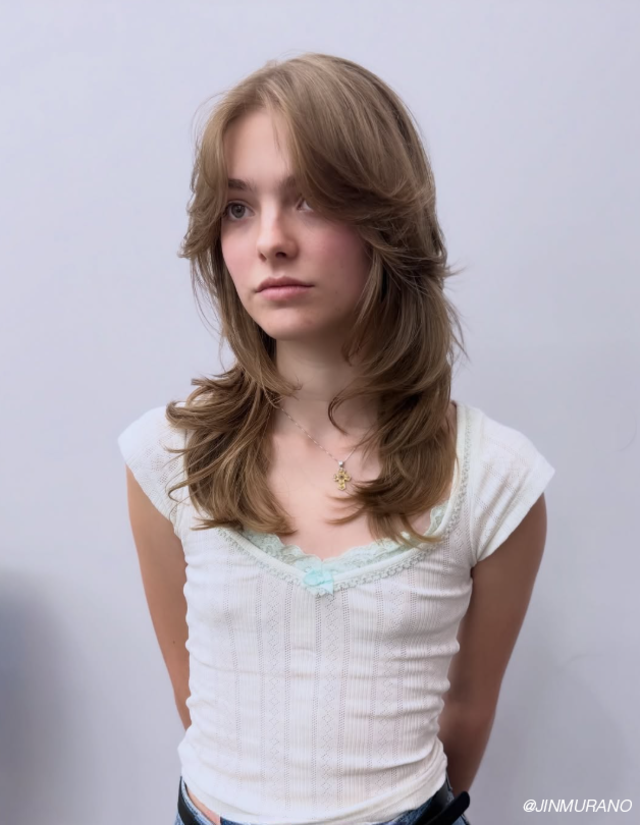
The bob never really looses its trend status, it just evolves along with whatever is happening in the fashion world... shorter, longer, sleek, shaggy...and right now the Long Bob is stealing the limelight,” says Andrew Carruthers, Director of Education for Sam Villa.
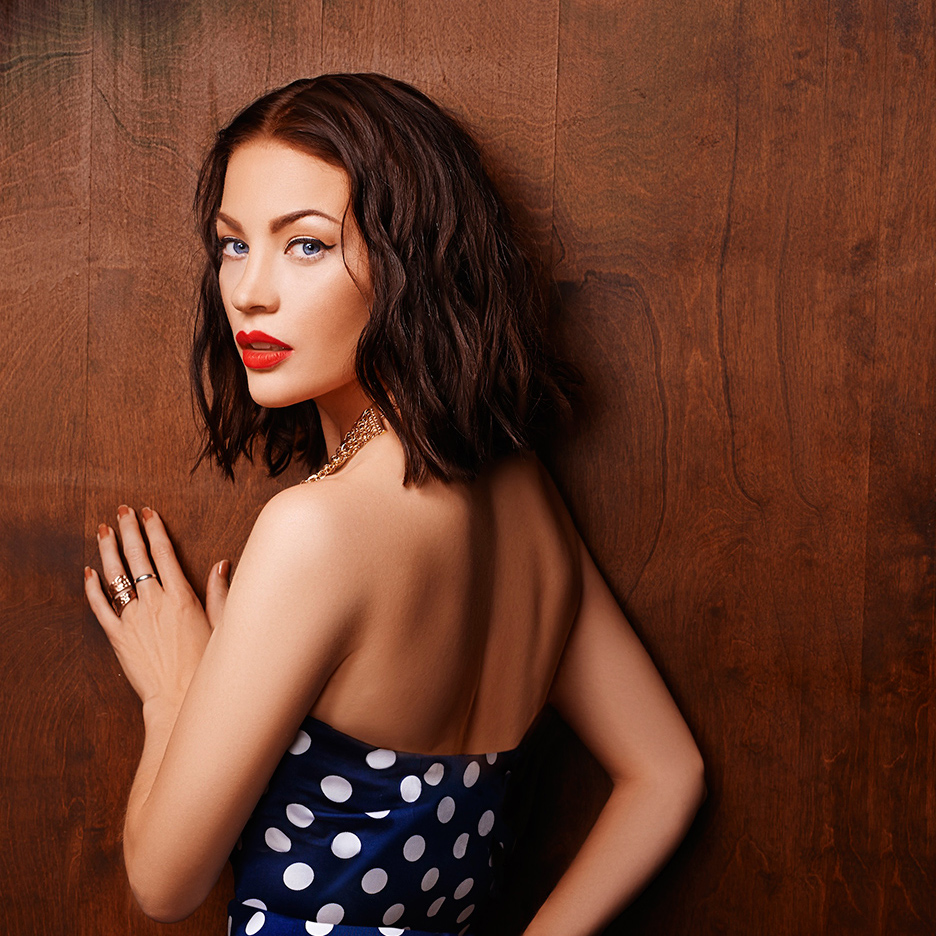
Bob’s can be adapted to compliment nearly any face shape or hair texture. They can be classic, edgy, or quirky, and in spite of their simplicity, they always speak volumes about the personality of the individual. The simplicity that gives the bob its power also makes it one of the most challenging shapes to create. Regardless of whether it is blunt, layered, graduated, tilted forward, tilted back, heavy, or highly texturize, the critically important focal point is the perimeter line. If that line is not flawlessly placed on the head shape and executed with a precision, the impact is lost.
Tools For Success:
• Sam Villa Signature Series 7” Dry Cutting Shear and/or 5.75” Wet Cutting Shear Shear
• Sam Villa Signature Series Long or Short Cutting Comb – Black for lighter hair, Ivory for darker hair
• Sam Villa Light Light Professional Ionic Dryer with Diffuser
Styling Product of Choice:
• Redken Pillow Proof Blow Dry Express Primer with Heat Protection
Shake well, spray through wet hair, evenly distribute
• Redken Satinwear 02 - Prepping Blow-Dry Lotion
Apply to towel-tried hair after you apply Pillow Proof Blow Dry Express Primer
• Redken Fashion Waves 07 - Sea Salt Spray
• Shake well and mist through damp hair in sections after you apply Satinwear 02
• Allow this cut to air dry or diffuse
• Redken Hot Tip: To achieve loose waves in straight hair and enhanced definition in wavy hair, mist liberally onto damp hair and scrunch. Continue to reapply until desired texture is achieved. Mist Fashion Waves 07 on damp hair and air-dry, then re-apply throughout the day to re-animate waves
• Redken Move Ability 05 - Lightweight Defining Cream Paste
• Rub this low tack product between palms and distribute to define for ultimate cream-paste texture
Master this iconic design with these 5 tips:
Move: The single most important design aspect in creating that perfect perimeter line is being sure that it flows with the head shape. That can’t be achieved if feet are cemented to the floor – so move to mirror the changes in the shape of the head. The most common area that goes wrong is where the head shape turns a very strong corner from the back of the head leading to just behind the ear. Most bobs will start in the center back which is where feet should start. When working towards the ear, the head shape turns a very sharp corner (corner back for Redken PBD users). If the body does not mirror that same dramatic change, it will create unwanted over direction in that area and compromise the flow of the perimeter. Practice keeping toes on the same plane as the surface of the head when cutting and move the body often!
Get Low: Elevation is another aspect that can make or break the power of a perimeter. To keep that edge strong, elevation needs to be as close to natural fall as possible. Getting lower (even eye level) to the perimeter will resist the temptation to elevate the hair, which will cause unwanted graduation. Another way to keep elevation at natural fall is to use a comb to hold the hair rather than fingers. Keep the teeth of the comb toward the head and it will minimize elevation, as the hair will fall out of the comb if accidentally lifted.
Shift Perspective: Shift thoughts of what visually creates the "side" versus "back" of the silhouette. Most are taught to ‘T’-part the head at the ear or mastoid process before cutting which is excellent for breaking the head into manageable areas for cutting. The challenge is that it makes many think the hair in front of the ear makes up the side of the silhouette. Take a few steps back, what the world sees as the side of the head really begins at that pivotal area mentioned earlier at the back corner of the head. This also means that the back of the silhouette is actually a very small area between those corners. AND, make sure you step back from your work often to get a fresh perspective!
Heads Up: Keep the head in its upright and natural position when cutting. This makes sure that the line that is cut is actually the line seen. When guests tip their chin down, perspective on the stylist’s line is lost. The tension on the skin actually changes at the nape as well. Reach back, lay a hand on the back of the neck, and then tip head forward. Notice that the skin right in the center becomes tight and the skin just behind ears becomes loose. When cutting in this position, the line can change when the head returns to natural head position. This rule can be broken during the refinement stage. When the cut is complete and fully blown dried, tip the head forward and to the sides to reveal hairs that pop out when guest moves their head... clean these off following the line originally cut and it will add that perfect finish from any angle.
Pop the Top: Bobs can be plagued with unbalanced weight distribution between the back and sides. There are an extra few inches of hair beneath the occipital and there is less density in front of the ear. Because this challenge originates below the occipital, clip the hair above this up and out of the way to focus weight removal where it's needed most. Drop the top back down often to see how things are balancing out. If texturizing is not sufficiently addressing the problem and bulk needs to be eliminated, consider under cutting the area. Guests will love how much easier their morning blow dry is without that extra mass weighing them down.
Armed with these five tips, you are now ready to create a reputation in your community for being the bob master! Great careers are built on solid foundations and there is nothing more fundamental than the almighty bob.
Be sure to check out Sam Villa's BOBology DVD or on demand download and discover the tips and tricks for creating the perfect bob!
Show off your bobs! Post your photos to Instagram along with #samvilla for a chance to be featured!
Be sure you join our email list and be the first to know when we release new free education!
Don’t forget to Stalk Sam Villa on Bangstyle, follow him on Facebook and Instagram and subscribe to Sam’s You Tube channel for more FREE education!
Photo Credits:
Photography - Shalem Mathew
Hair - Geneva Cowen , Artistic Director for Sam Villa
Color - Tina Calzaretta, Sam Villa Support Team
Makeup - Lorina Alailefaleula