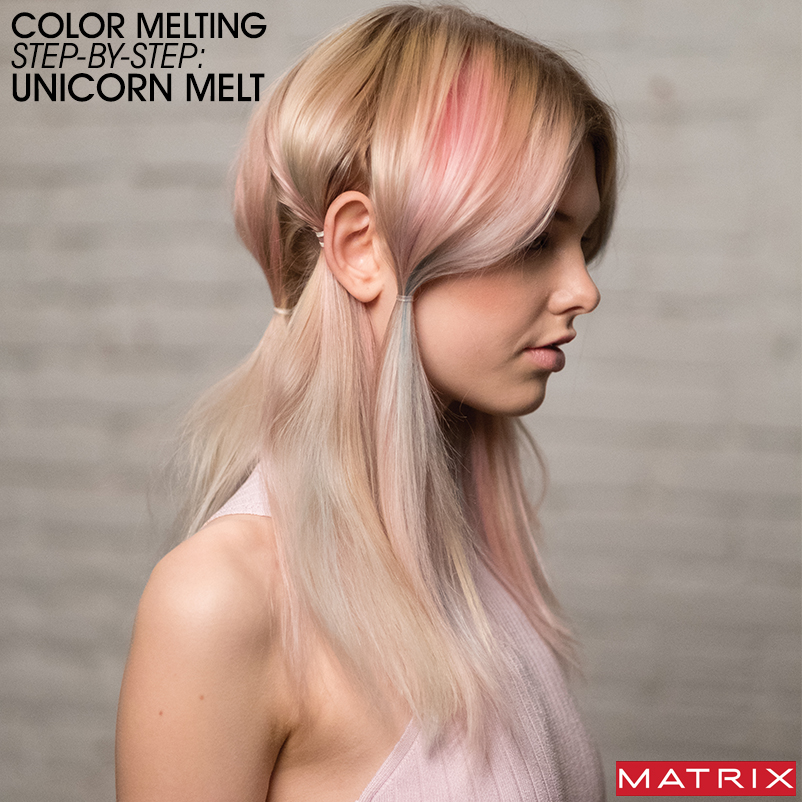
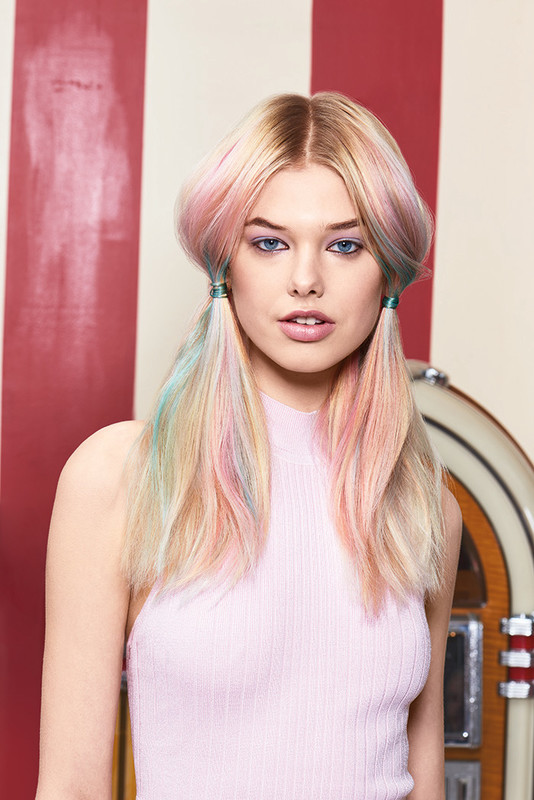
From Starbucks Frappuccino’s to eye palettes, highlighter and nail polish – the Unicorn theme has officially taken over our social sphere, and as the ideas keep getting brighter we seem to be finding inspiration everywhere! In the latest Matrix Color Melting: Ice Cream Addition, The Unicorn Melt proves to be one of the hottest shades of the season. Follow along below to see color formula’s, application methods, hair cutting techniques and even how to style your new Unicorn ‘do!
COLOR FORMULAS: Prep the following formula's to begin application.
Formula A: 1 scoop Light Master & 1 oz. 30 Volume MATRIX Cream Developer & BOND Ultim8 Step 1
Formula B: 1 tube Color Graphics Clear + 3 drops of Blue + 1 drop of Teal
Formula C: 1 tube Color Graphics Clear + 3 drops Yellow
Formula D: 1 tube Color Graphics Clear + 3 drops Magenta
Formula E: 1:1 Color Sync SPN & 10 Volume MATRIX Cream Developer & BOND Ultim8 Step 1
COLOR APPLICATION:
STEP 1: Start off by sectioning the hair into 4 quadrants.
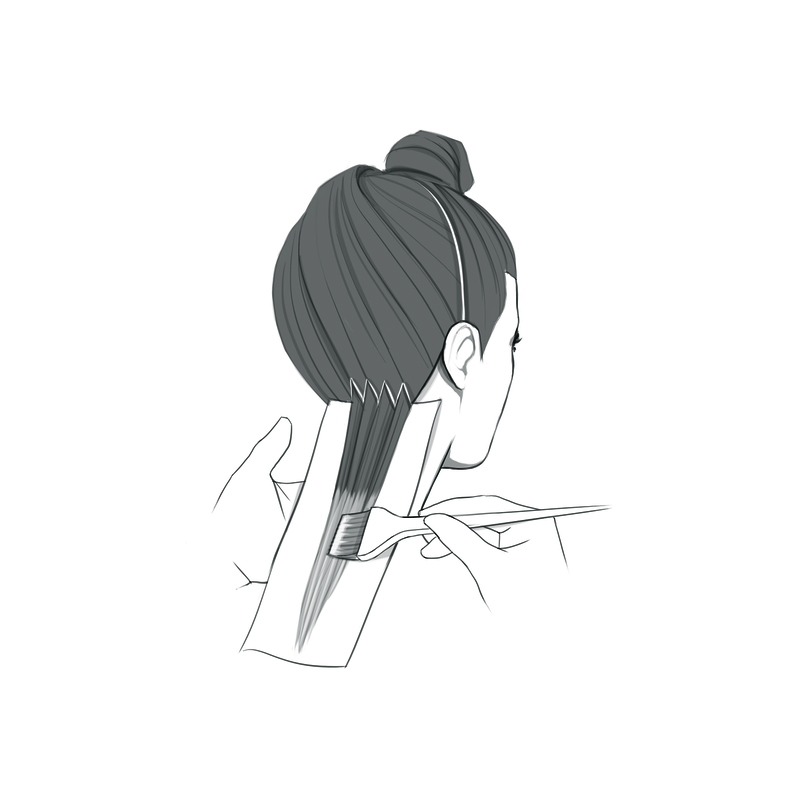
STEP 2: Starting at the nape, using 1⁄2 inch sub-sections create a zig-zag parting, and place the first section of hair on the foil. Freehand Formula A by feathering 1⁄2 inch from scalp through to the ends. Leave hair out in-between next section and repeat this step through the entire head.
Process until desired lightness is achieved or up to 50 minutes. Rinse thoroughly then blowdry and section the hair into quadrants.
STEP 3: Begin the color melt process:
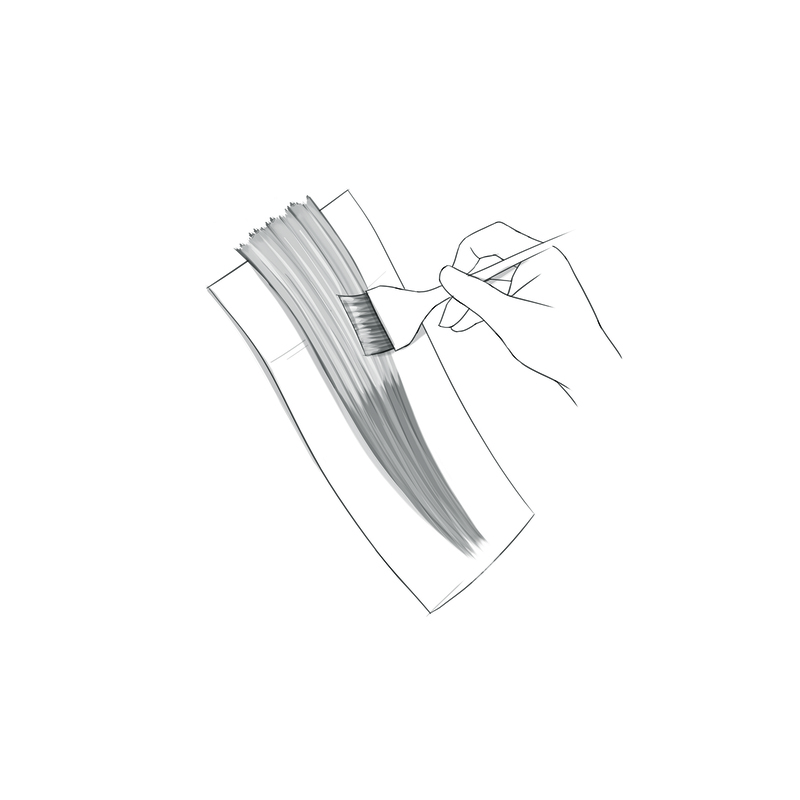
Starting in the nape area, create a more exaggerated zig-zag parting than before. Melt together 2 formulas by applying Formula C then D.
Mastery Point: Always apply your lightest color first melting into your darkest color.
Next you will leave a section of hair in-between. Then you will alternate your formulas in your next section by applying Formula B and D.
Visually alternate your placement of melting these formulas as you work up the head until complete.
Apply Formula E to the hair remaining in-between all the foils.
STEP 4: Apply BOND Ultim8 Step 2 throughout head and process for 10 minutes. Rinse thoroughly, cleanse & condition with Total Results So Long Damage Shampoo and Conditioner.
THE HAIR CUT:
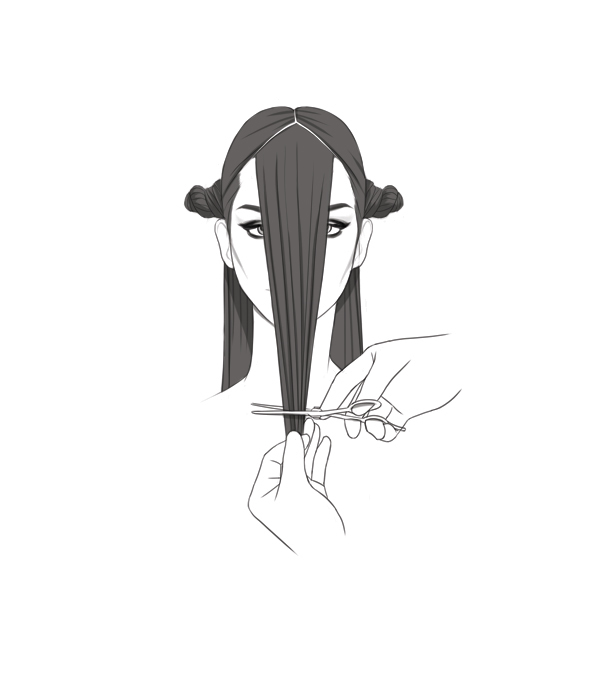
STEP 1: Separate the hair into three sections. Create an ear to ear radial parting and then a center profile part from the front hairline to the radial parting. Isolate fringe. Comb the fringe forward and cut to establish the guideline for a face frame.
Perimeter: Establish a perimeter line in the back section.
STEP 2: Slightly overdirect the front sections forward and connect the face frame guideline to the perimeter guideline.
*Mastery Point: Slide Cut or cut with center of the shears to avoid removing the corners.
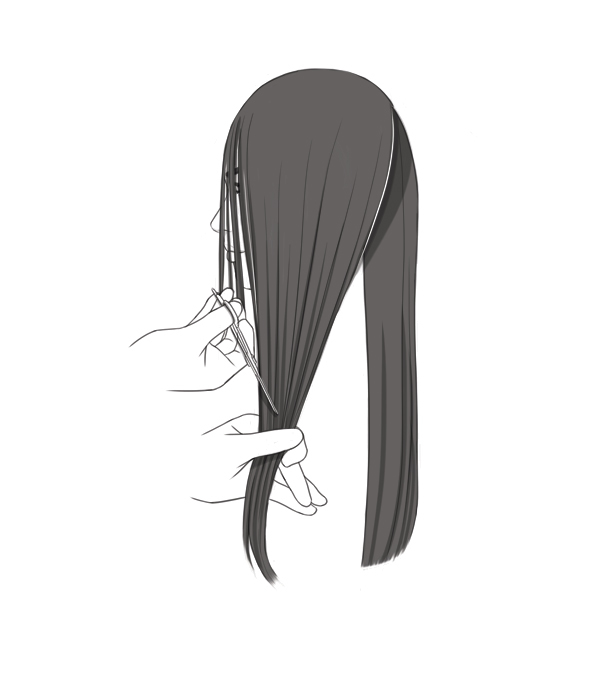
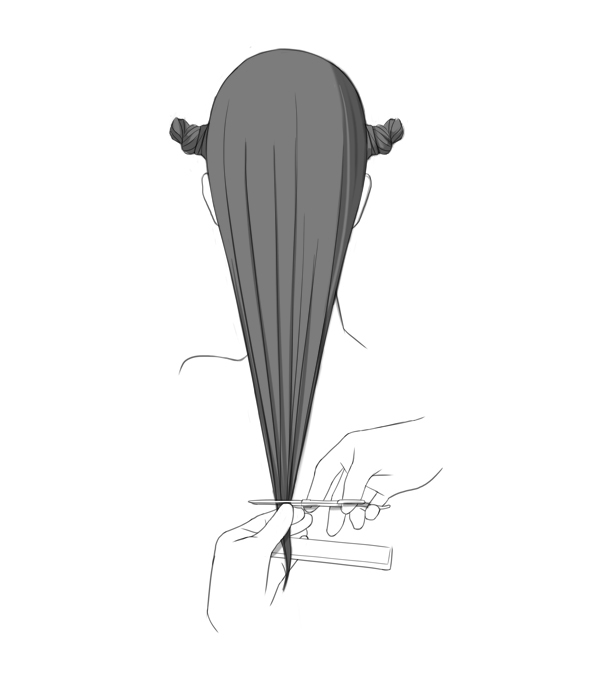
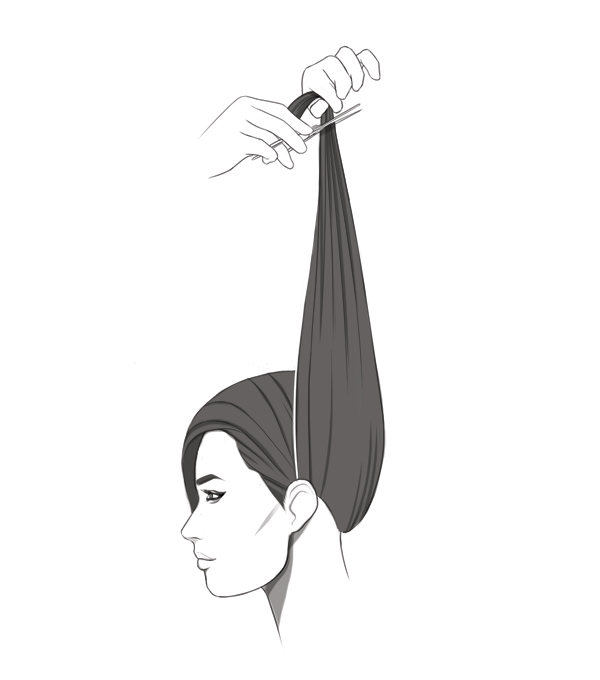
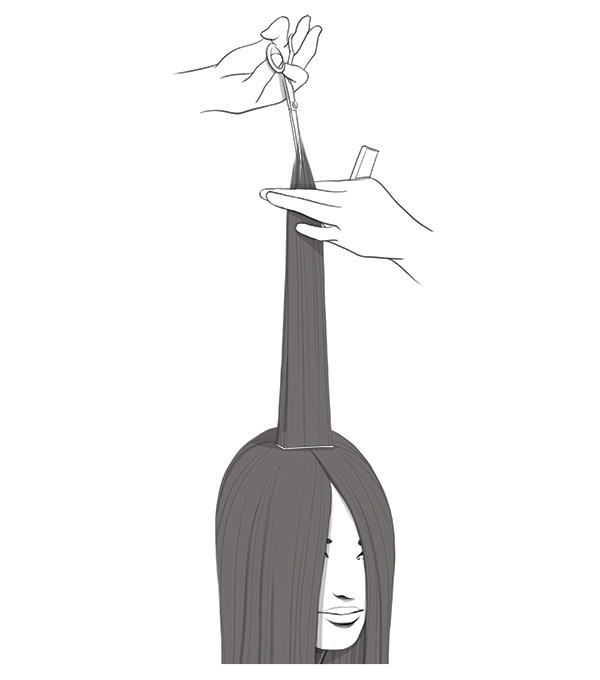
STEP 3: Overdirect the front sections to the top center of the crown and trim length to create a shallow layer.
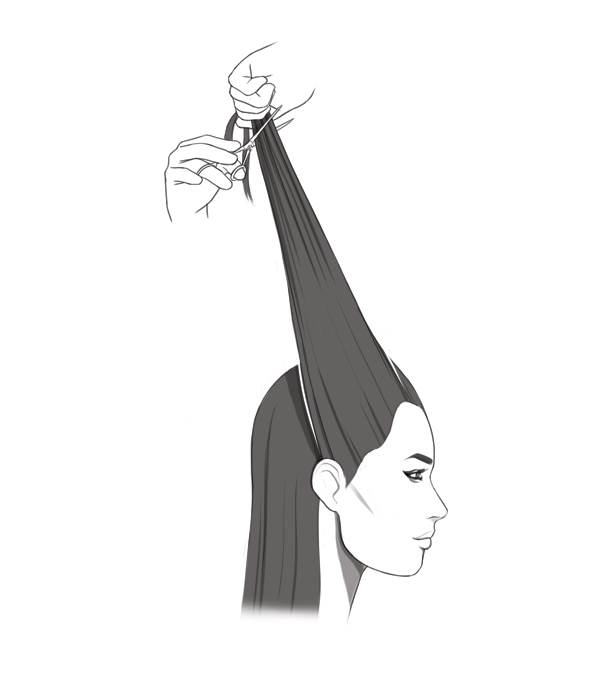
*Mastery Point: Cut front and back sections at a steep angle to maintain perimeter.
Overdirect the back section to the top center of the crown and trim length to create a shallow layer.
Texturize: Point Cut throughout crown area to create movement and texture.
STYLING & FINISHING:
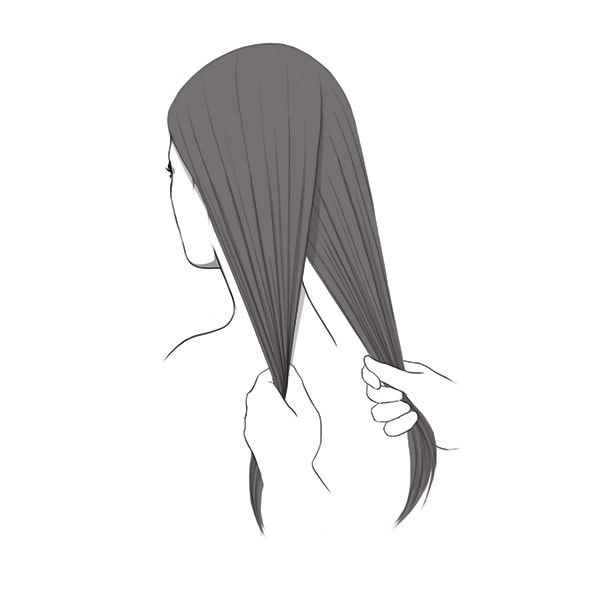
STEP 1: Apply Style Link Volume Builder to damp hair and blow-dry with a round brush to create body. Begin to section hair by creating a center part. Next, separate the hair into three sections: two in the front and leave the one in the back loose.
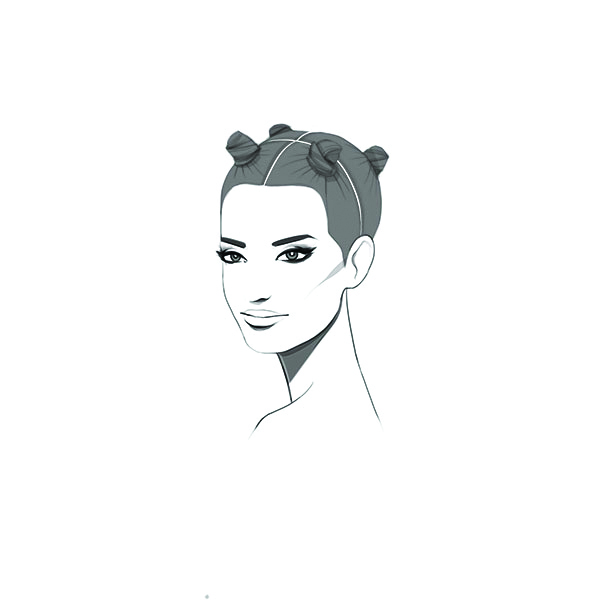
STEP 2: Create three low ponytails in the back section, the middle ponytail is created last and directed over the partings. Next, create a ponytail on each side of the head in the front section. For a finishing touch, wrap a strand of the hair around the elastic of each ponytail and secure with a bobby pin.
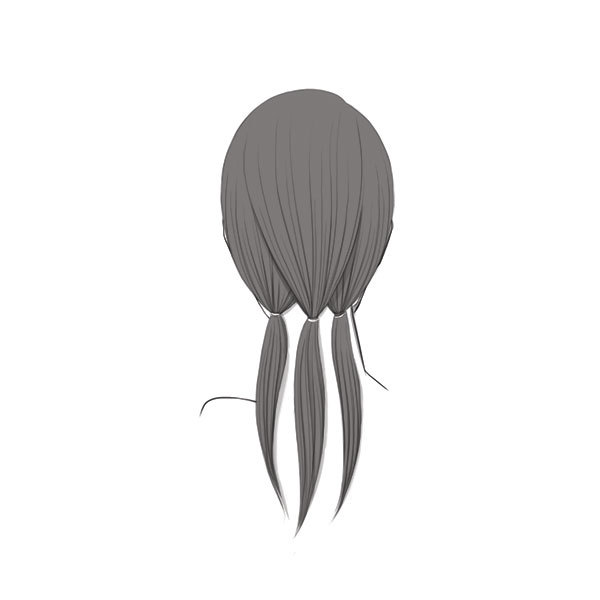
STEP 3: Spray Style Link Texture Builder on the ponytails, pinch and pull above elastics to create loose volume.
For more color techniques, tutorials and trends, be sure to stalk Matrix on Bangstyle and stay tuned for even more hair inspiration!