As hair artists, there are various ways you can learn new techniques, push your skills and challenge your knowledge. For many, editorial and set work is a coveted position that takes time, patience and dedication to break in to. We had the chance to work with some of the most amazing artists from around the country when Tearsheet visited the Bangstyle studio; among them was the fabulous Alissa Cimmino.
As a Redken Artist and Educator and Tearsheet Artist, Alissa Cimmino created three looks – “Warrior Goddess,” “Bossy Chignon,” and “Romance Undone.” As a hairstylist of 19 years, she has had the opportunity to become a Redken Artist/Educator and work behind the scenes at New York Fashion Week. In an effort to never stop growing, Alissa enrolled in Tearsheet and learned “when you stay true to yourself and create hair and images that symbolize you as an artist, that is when you get the most stunning work.” Learning to push past her previous techniques by utilizing texture within the hair to create movement and tell a story, Alissa realized that sometimes imperfectly perfect hair creates a beautiful look in front of the camera – instead of having to have every single strand of hair in place.
“I learned, are to pay attention to lighting, and how the hair looks through the camera opposed to just doing hair behind the chair, and looking in the mirror. It's two different worlds,” Cimmino says. Bringing these two worlds together, however, has helped Alissa “grow leaps and bounds as an artist,” she says. “It has taught me to take risks, and believe in my own vision. When you let go and just do the type of hair that you love, your work and vision come to life.”
You’ll never catch Alissa without her Tearsheet carbon comb, (which combats static) and her small Tearsheet detail finishing brush, used to put the finishing touches on each look. Products that she can't live without on set include Redken Gutz 10 – for adding volume and texture to the hair, Redken Iron Shape 11 – for smoothing the cuticle and protect the hair from heat during blowouts while giving it shine and memory, Redken Powder Grip 03 – to add grit and texture when creating braids or looks with volume and airiness, and Redken Control Addict 28 – to set looks in place.
Reflecting on her final takeaways, Alissa said, “The most important thing is to believe in yourself, be yourself and let your personality come through in your work. Don’t try to duplicate other’s work or create things that don’t represent you as an artist. Do you!”
Alongside her amazing knowledge as a stylist and insight as a student, Alissa also shared with us the steps to get her looks! Follow along below and be sure to sound off below about Alissa’s beautiful work
GET THE LOOK:
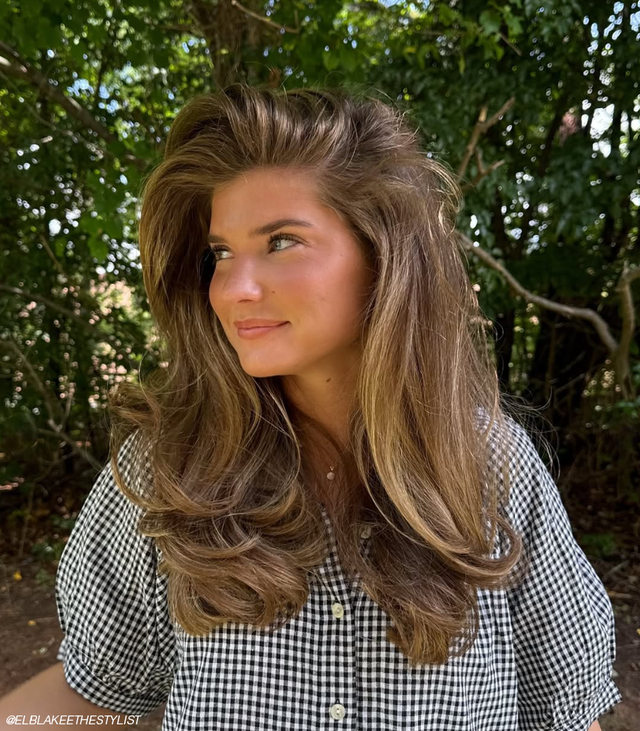
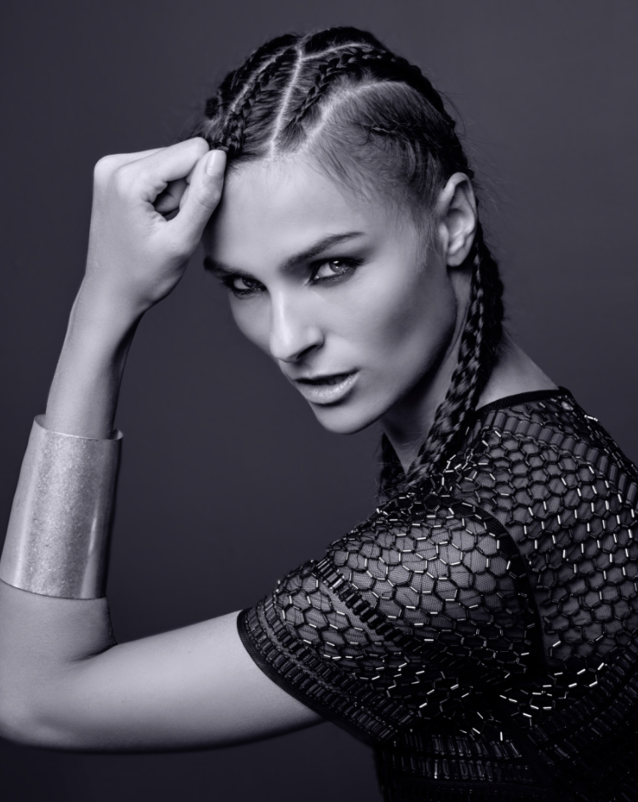
Warrior Goddess

1. Saturate hair with Redken Iron Shape 11 and blow dry into hair with a round brush.
2. Dry Redken Guts 10 into the top and crown section, creating volume.
3. From the parietal ridge down on both sides to nape, divide hair into 3 sections and clip up both sides.
4. Cornrow and twist sides to match, leaving out whispies around the face.
5. In a brick lay pattern, create small ponytails up the middle section.
6. Curl each ponytail with a 1 1/4in. Marcel Iron.
7. Rouge ponytails with fingers and pin into place to form a Mohawk.
8. Finish with Redken Control Addict 28 for hold.
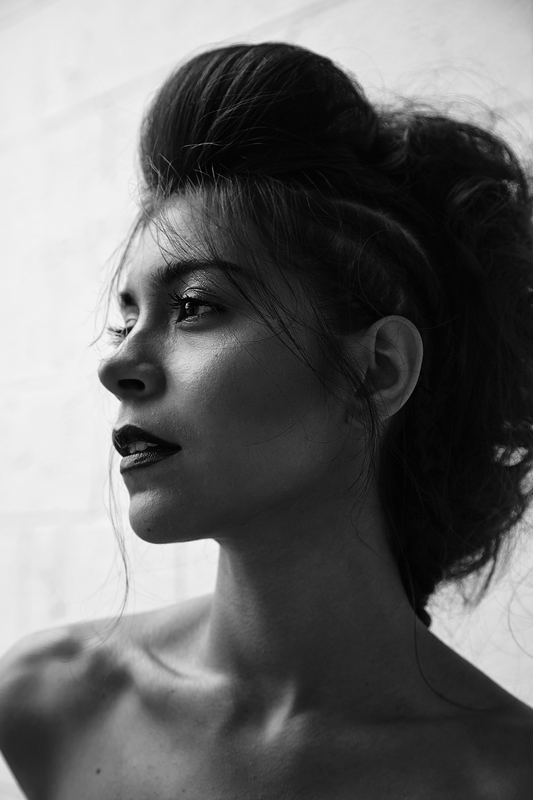
Bossy Bun
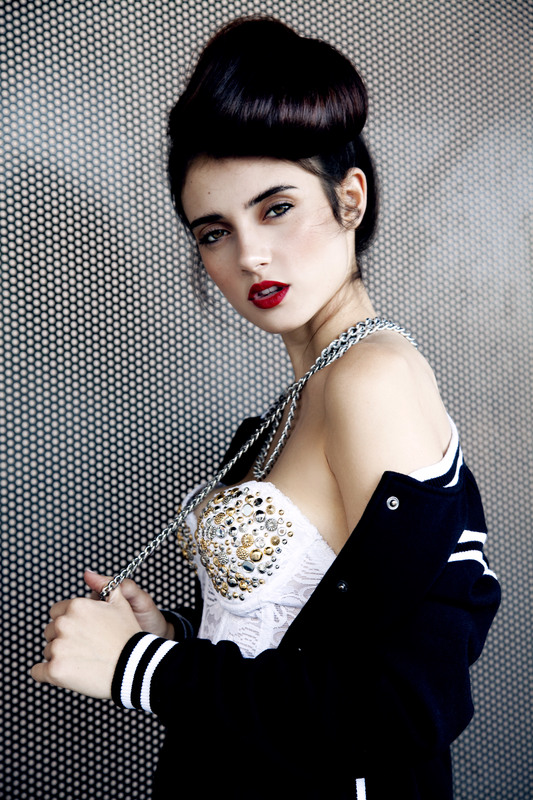
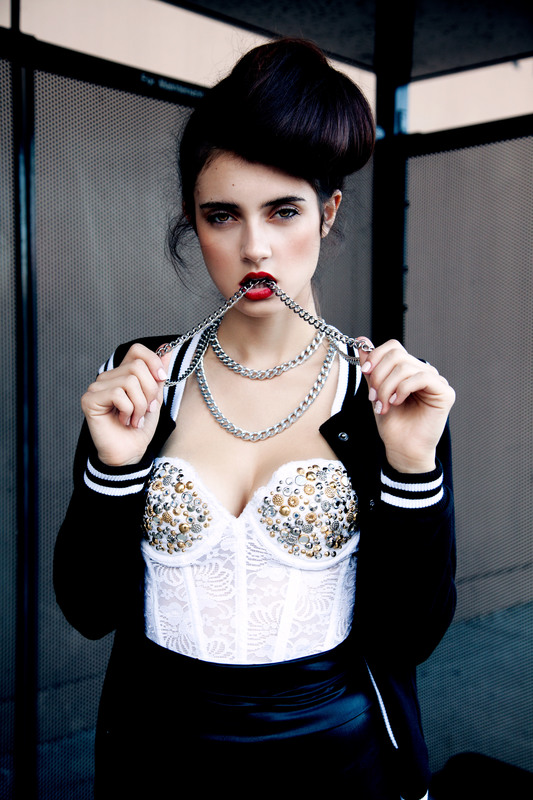
1. Directionally blow-dry hair using a natural bristle finishing brush and Redken Iron Shape 11 to eliminate frizz and static.
2. Using elastic cord and grips, secure ponytail on the high point of the head.
3. Create a chignon by forming hair into place. Slight backcombing may be necessary.
4. Use a tail comb to smooth out bumps in hair.
5. Soften hair around face using the cushion of your finger to create softness.
6. Finish with Redken Control Addict 28.
Romance Undone
1. Blow dry Redken Iron Shape 11 into hair and Redken Guts 10 in crown and top to create volume.
2. Section out front from sides, ear to ear.
3. Using the Sam Villa Professional Textr Iron, texturize the entire back section from roots to ends with the iron, and the first 3 inches of roots in the front section.
4. Add Redken Powder Grip 03 to the top of the head and crown, and backcomb the crown section to create volume.
5. Sweep hair to one side and create a fishtail braid.
6. Softly use thumbs to massage top of fishtail braid to plump it up and create softness.
7. Finally, gently and loosely pull front sections back and pin into place with grips.
Be sure to stalk Alissa Cimmino on Bangstyle and stay tuned for even more inspiration behind the chair and on set!
CREDITS:
Cover Image
Photographer: Jesus Baez
Model: Tatana Gregor Brzobohata
Warrior Goddess
Photographer: Jesus Baez
Model: Emily Elizabeth
Makeup: Robert Bryan
Wardrobe: Kara
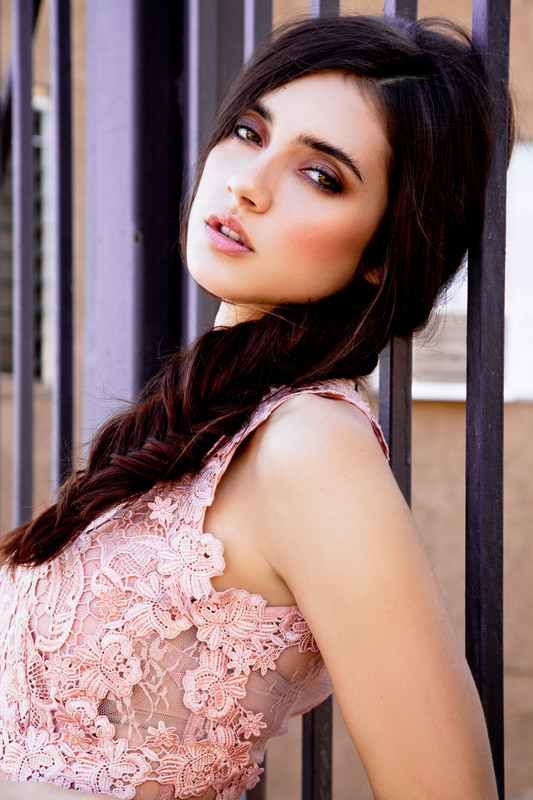
Bossy Bun
Photographer: Angel V. Prado
Model: Sarah Curr
Makeup: Robert Bryan
Wardrobe: Kara
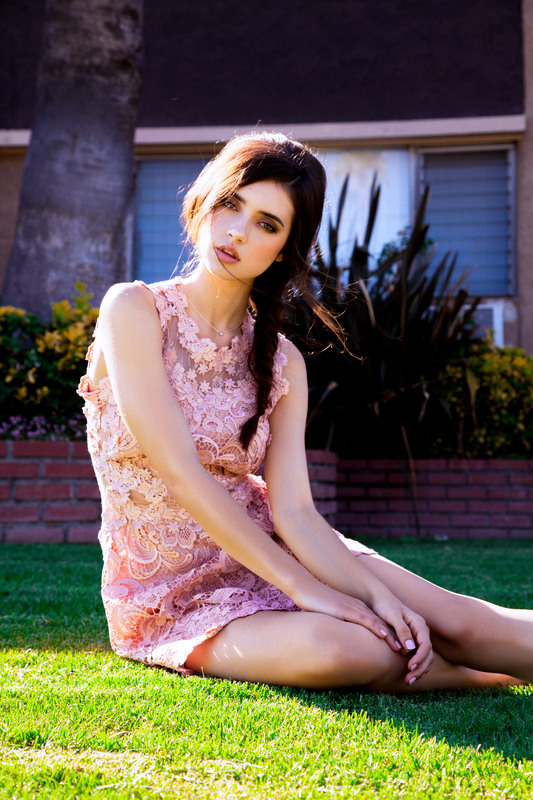
Romance Undone
Photographer: Angel V. Prado
Model: Sarah Curr
Makeup: Robert Bryan
Wardrobe: Kara