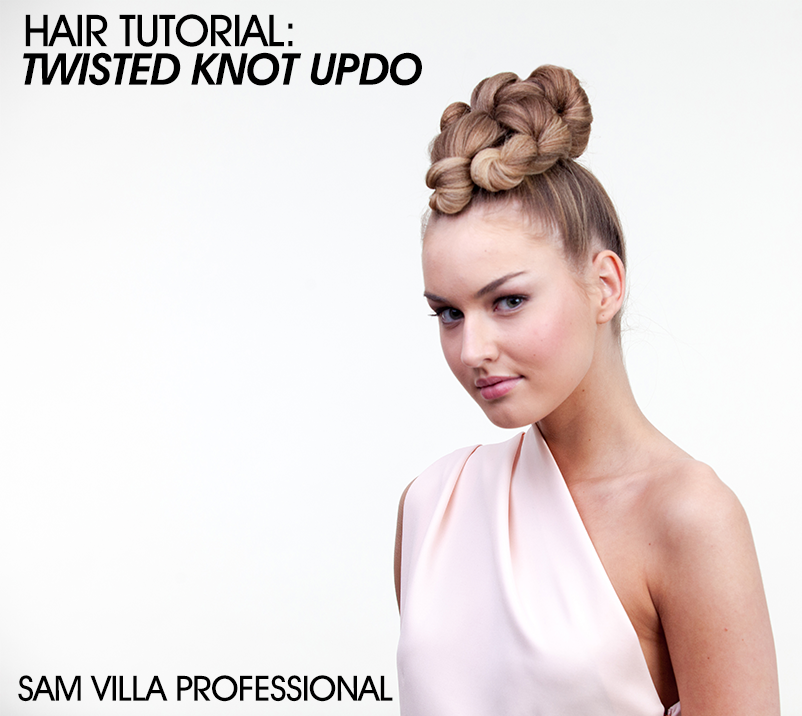
With prom, weddings and summer soirée’s around the corner it is always a good idea to have a new, innovative style to create. As stylists, sometimes you need to push yourself artistically. Sam Villa, co-founder of Sam Villa and Global Artistic Ambassador for Redken 5th Avenue believes it’s important to always be learning new techniques because the key to becoming a better hairdresser is through education. His latest creation turns a simple twisted knot technique into an updo. Follow along with the steps below to get the look!
STEP 1: Pre texturize hair with the Sam Villa Signature Series Textur Professional Texturizing Iron to create more volume for a solid foundation.
STEP 2: Secure all hair into a high ponytail.
STEP 3: Divide ponytail into 4 sections (or more/less depending on hair density).
STEP 4: Take one section and create a knot by holding the hand behind the section with the thumb on top and twist one full rotation – repeat down the section. The more condensed the knot, the smaller it will be.
STEP 5: Secure ends with an elastic, leaving 1-2 inches out at the ends.
STEP 6: Place the knot on the head and secure by threading a pin through the elastic on the end and into the elastic holding the ponytail in place.
STEP 7: Twist and arrange the knot into desired shape and secure with a pin.
STEP 8: Repeat with each section.
STEP 9: Before doing the last section, wrap all the ends underneath the knots and secure. Finesse the shape, then twist the last section.
STEP 10: Finish with Redken Quick Tease 15 to hold and control flyaways.
*TIP: Always smooth hair and spray in the direction the hair is styled – if hair is up, smooth upwards.
Try this at home and share your results on Instagram, Facebook and Twitter using #SamVillaHowTo. & be sure to check out the rest of Sam Villa's tutorials and tips on Bangstyle!