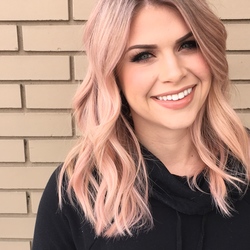
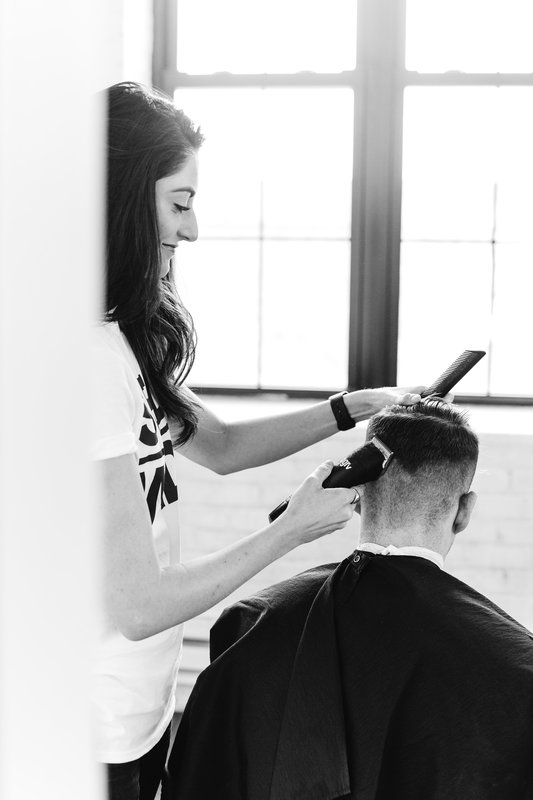
Whitney VerMeer's style is the epitome of cool, and her haircuts are to die for. In this stunning tutorial, she shows us how to fade, properly. She discusses what every stylist is thinking while making the cut and how to correct your mistakes. Take a peek at her flawless fade and learn how to get the look yourself…
The fade is historically one of the most difficult haircuts to achieve. I mean, sure, anyone can go on YouTube and learn how to run a clippers up someone’s head, but to create a seamless fade that compliments the features of your client is a skill set that takes awhile to develop. Often time people want to put the same fade on every client. However, not every haircut (specifically a fade) will require the same architecture.
It is so easy get caught going through the motions. In fact, you are likely innately taking facial features and proportions into account while designing a haircut for your client. To be honest, having correct proportions in your haircut can quite often make a poor haircut look better.
Having the right proportions is half of the battle. Let’s talk about the other - the technical aspect. I genuinely believe clipper cutting is 100% confidence. Not only that to technically produce a great haircut, but if you mess up (and you will, we all do) having the right tools in your toolkit to be able to fix it.
For instance, those marks and lines that sometimes happen when you are attempting a fade? Hesitation marks. By stopping and second-guessing yourself, you are literally creating the problem. It happens, to all of us!
One technique I love to use in these situations is a tapered comp and my t-edger. These two together are like an eraser! Using the comb vertically and the first few teeth of the blade, you can likely erase anything. Just remember: always start lower than you think!
Now that you know how to fix an error, let’s get started with how to create a seamless fade!

Tools: Combs: YS Park 254 Tapered Comb and YS Park 336 Cutting Comb Wahl Clipper Comb
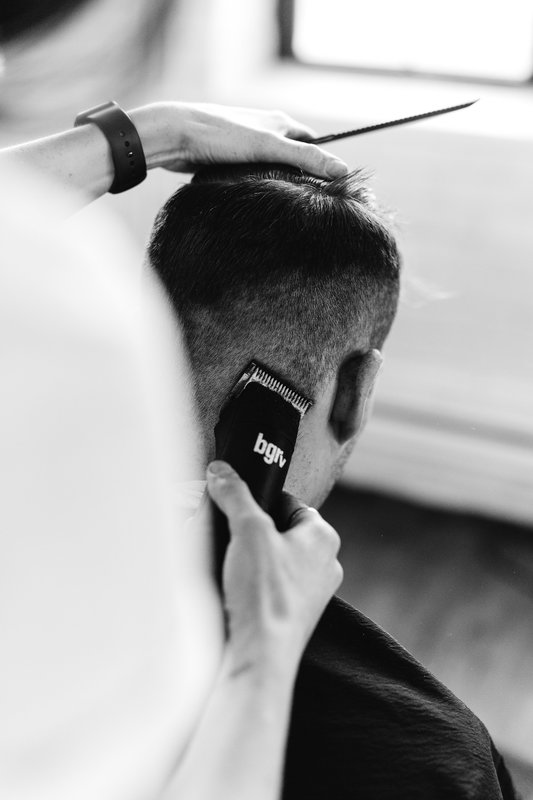
Clipper: Andis Bgrv with Ceramic Blades
Shears: Hattori Hanzo HH8 6.5 Shear
First, I start I section off the top portion of the head through the recession area. It is crucial to make sure your partings are correct or your balance will be off.
I always start on the right hand side because I am right handed. If you’re left handed, start on the left side. This is essential because it makes it easiest to follow your guide.
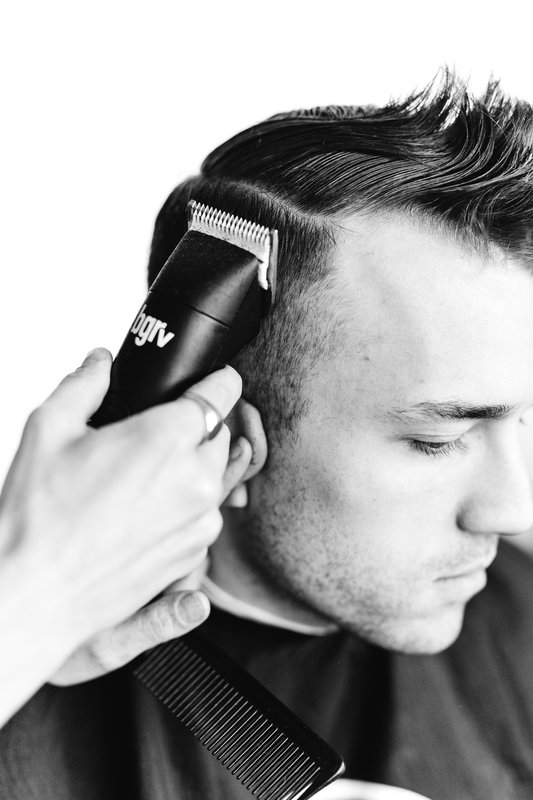
Keeping the clients head up right, I start with my blade and move it slowly up the head-shape. I can’t stress how important it is to not follow the shape of the head past the parietal ridge. You must cut as though you are moving up a glass wall, once the hair starts to bounce off the top of the blade- it is then time to introduce your comb and continue vertically until you run out of hair.
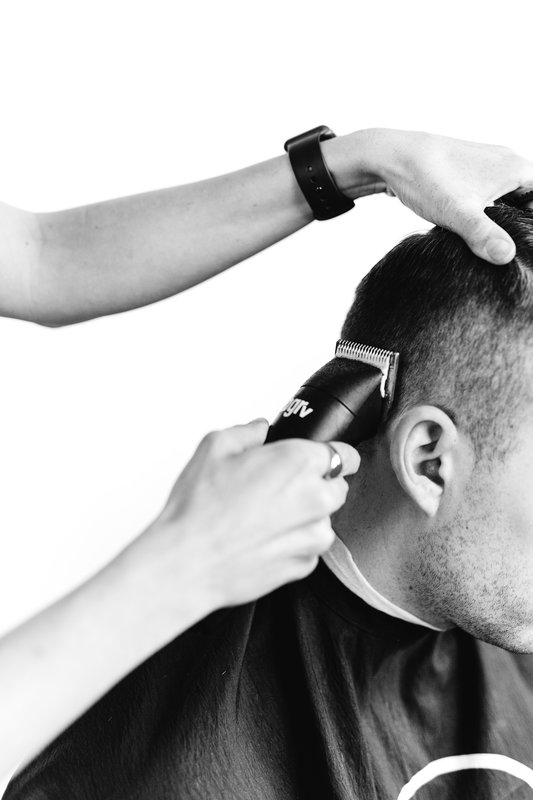
Continue around the right side of the head, making sure you love every panel before you move on to the next. An important factor in the fade is efficiency. If you cut every panel perfectly, you won’t have to go back.
When you get to the nape, tilt the client’s head forward slightly. Depending on how pronounced their occipital bone is, run the clipper vertically once again to remove the weight. Remember to not go above the occipital bone. This will make the bone more pronounced. The idea is to sculpt the perfect head-shape. Tilting the head forward will aid you in not taking the taper too high. After you taper the nape in your panel, continue up the back of the head-shape using the clipper-over-comb technique.
Finish the lower portion of the haircut by continuing the left side of the head. Make sure your client’s head is vertical to ensure the same result as the right side.
You can really execute the top portion of the haircut any way you prefer, depending on the design aesthetic. Generally, I like to connect the top and bottom vertically to ensure I am cutting out the weight in the parietal ridge. This will make your haircut last longer. For me, it is a point of pride that my haircuts last longer than they did with their last stylist or barber.
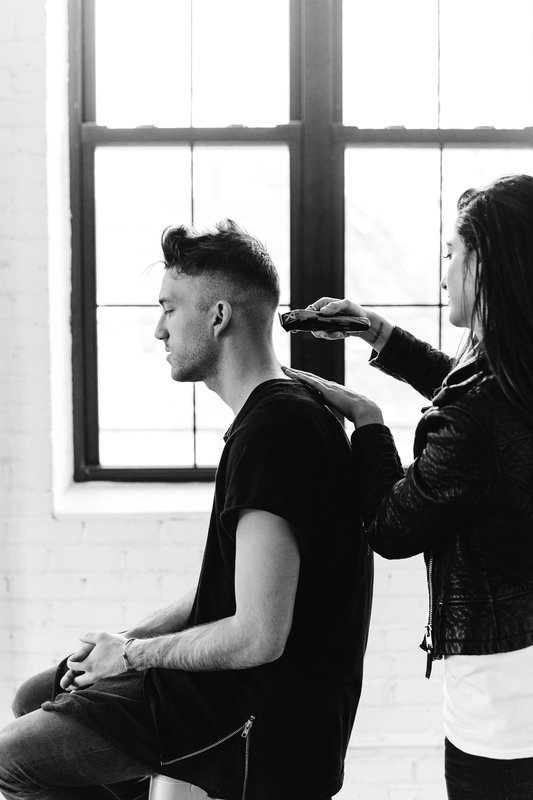
Lastly, it is always crucial to make sure you clean up any rogue hairs around the ears and neckline. Take your service to the next level by trimming any hair on their ears as well as their eyebrows. It takes virtually no time and makes the client feel taken care of. Plus, let’s be honest- they likely won’t ask you to clean up their ears, but always will appreciate it.


Be sure to stalk Whitney VerMeer on Bangstyle to see all of her latest uploads and stay tuned for even more tutorials!