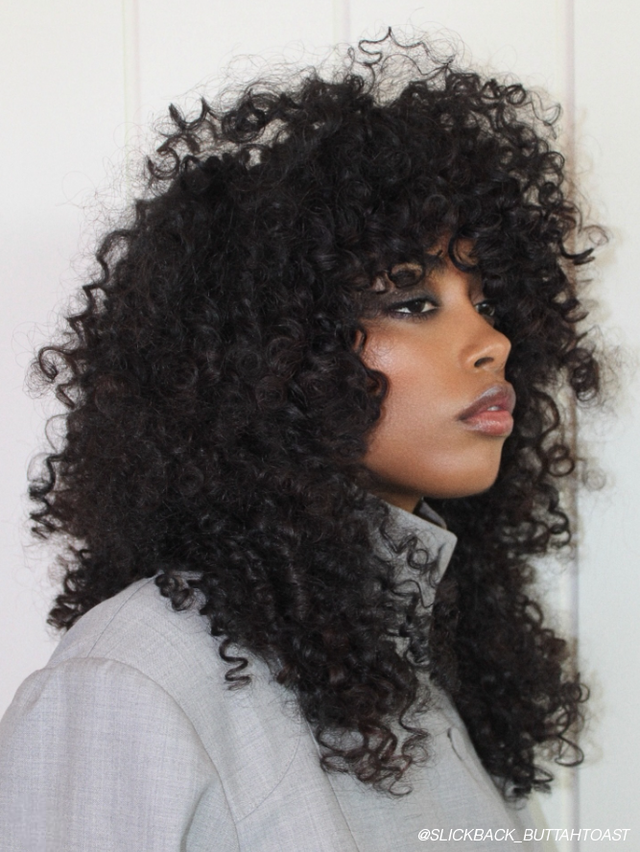
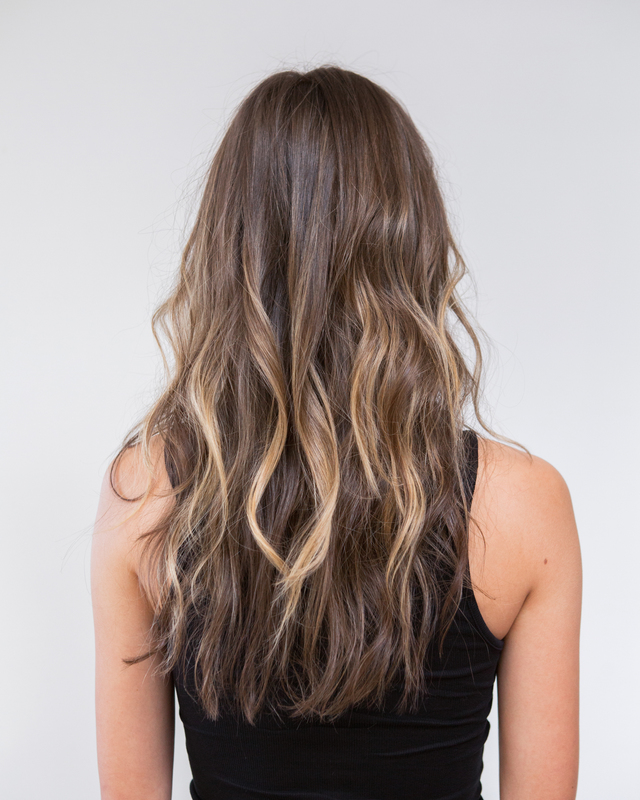
A term and technique coined and created by colorist and Redken Brand Ambassador Johnny Ramirez, the Lived In Color™ has movement created a ripple around the world that extends past color. From lived in looks to undone makeup and low-maintenance styling, lived in is everywhere. In the first part of this series, we went into Blonding Responsibly with Johnny Ramirez, and below we're diving into how to create Johnny Ramirez's iconic Lived In Color™.
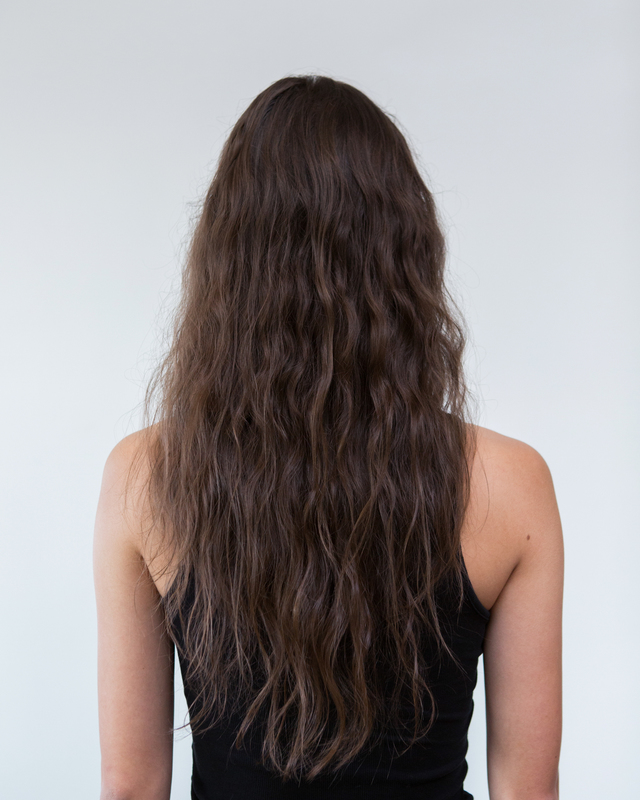
The inspiration for this look originally came from Johnny’s daughter’s hair. He loved the way her hair naturally lightened in the California sun and created a foolproof way to recreate this iconic look for his clients in the salon. With a mix of technique and an artistic eye, deliberate brush strokes and product knowledge bring this look to life.

The Health of the Hair
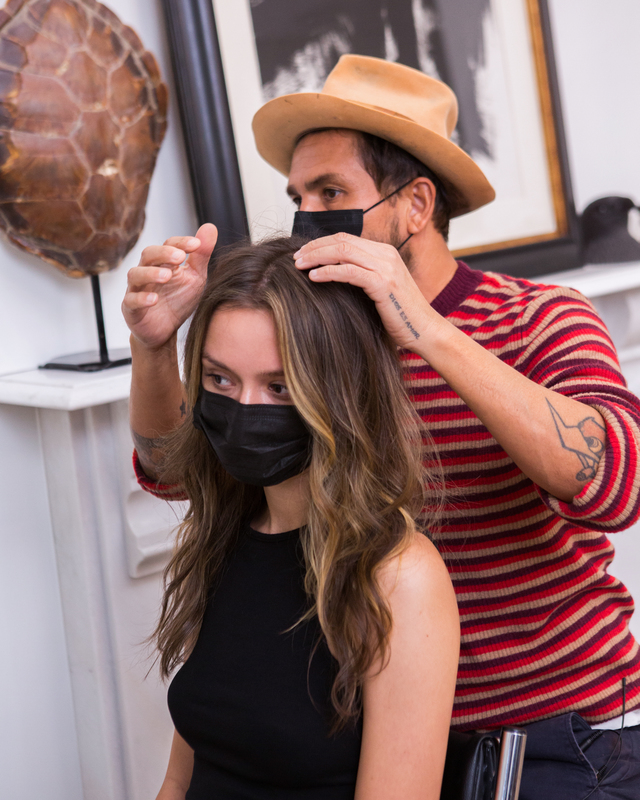
“My Lived In Color™ technique achieves a beautiful, natural result and grow out. Plus, with the Redken Power Trio, I protect the client’s hair every step of the way.” — Johnny Ramirez
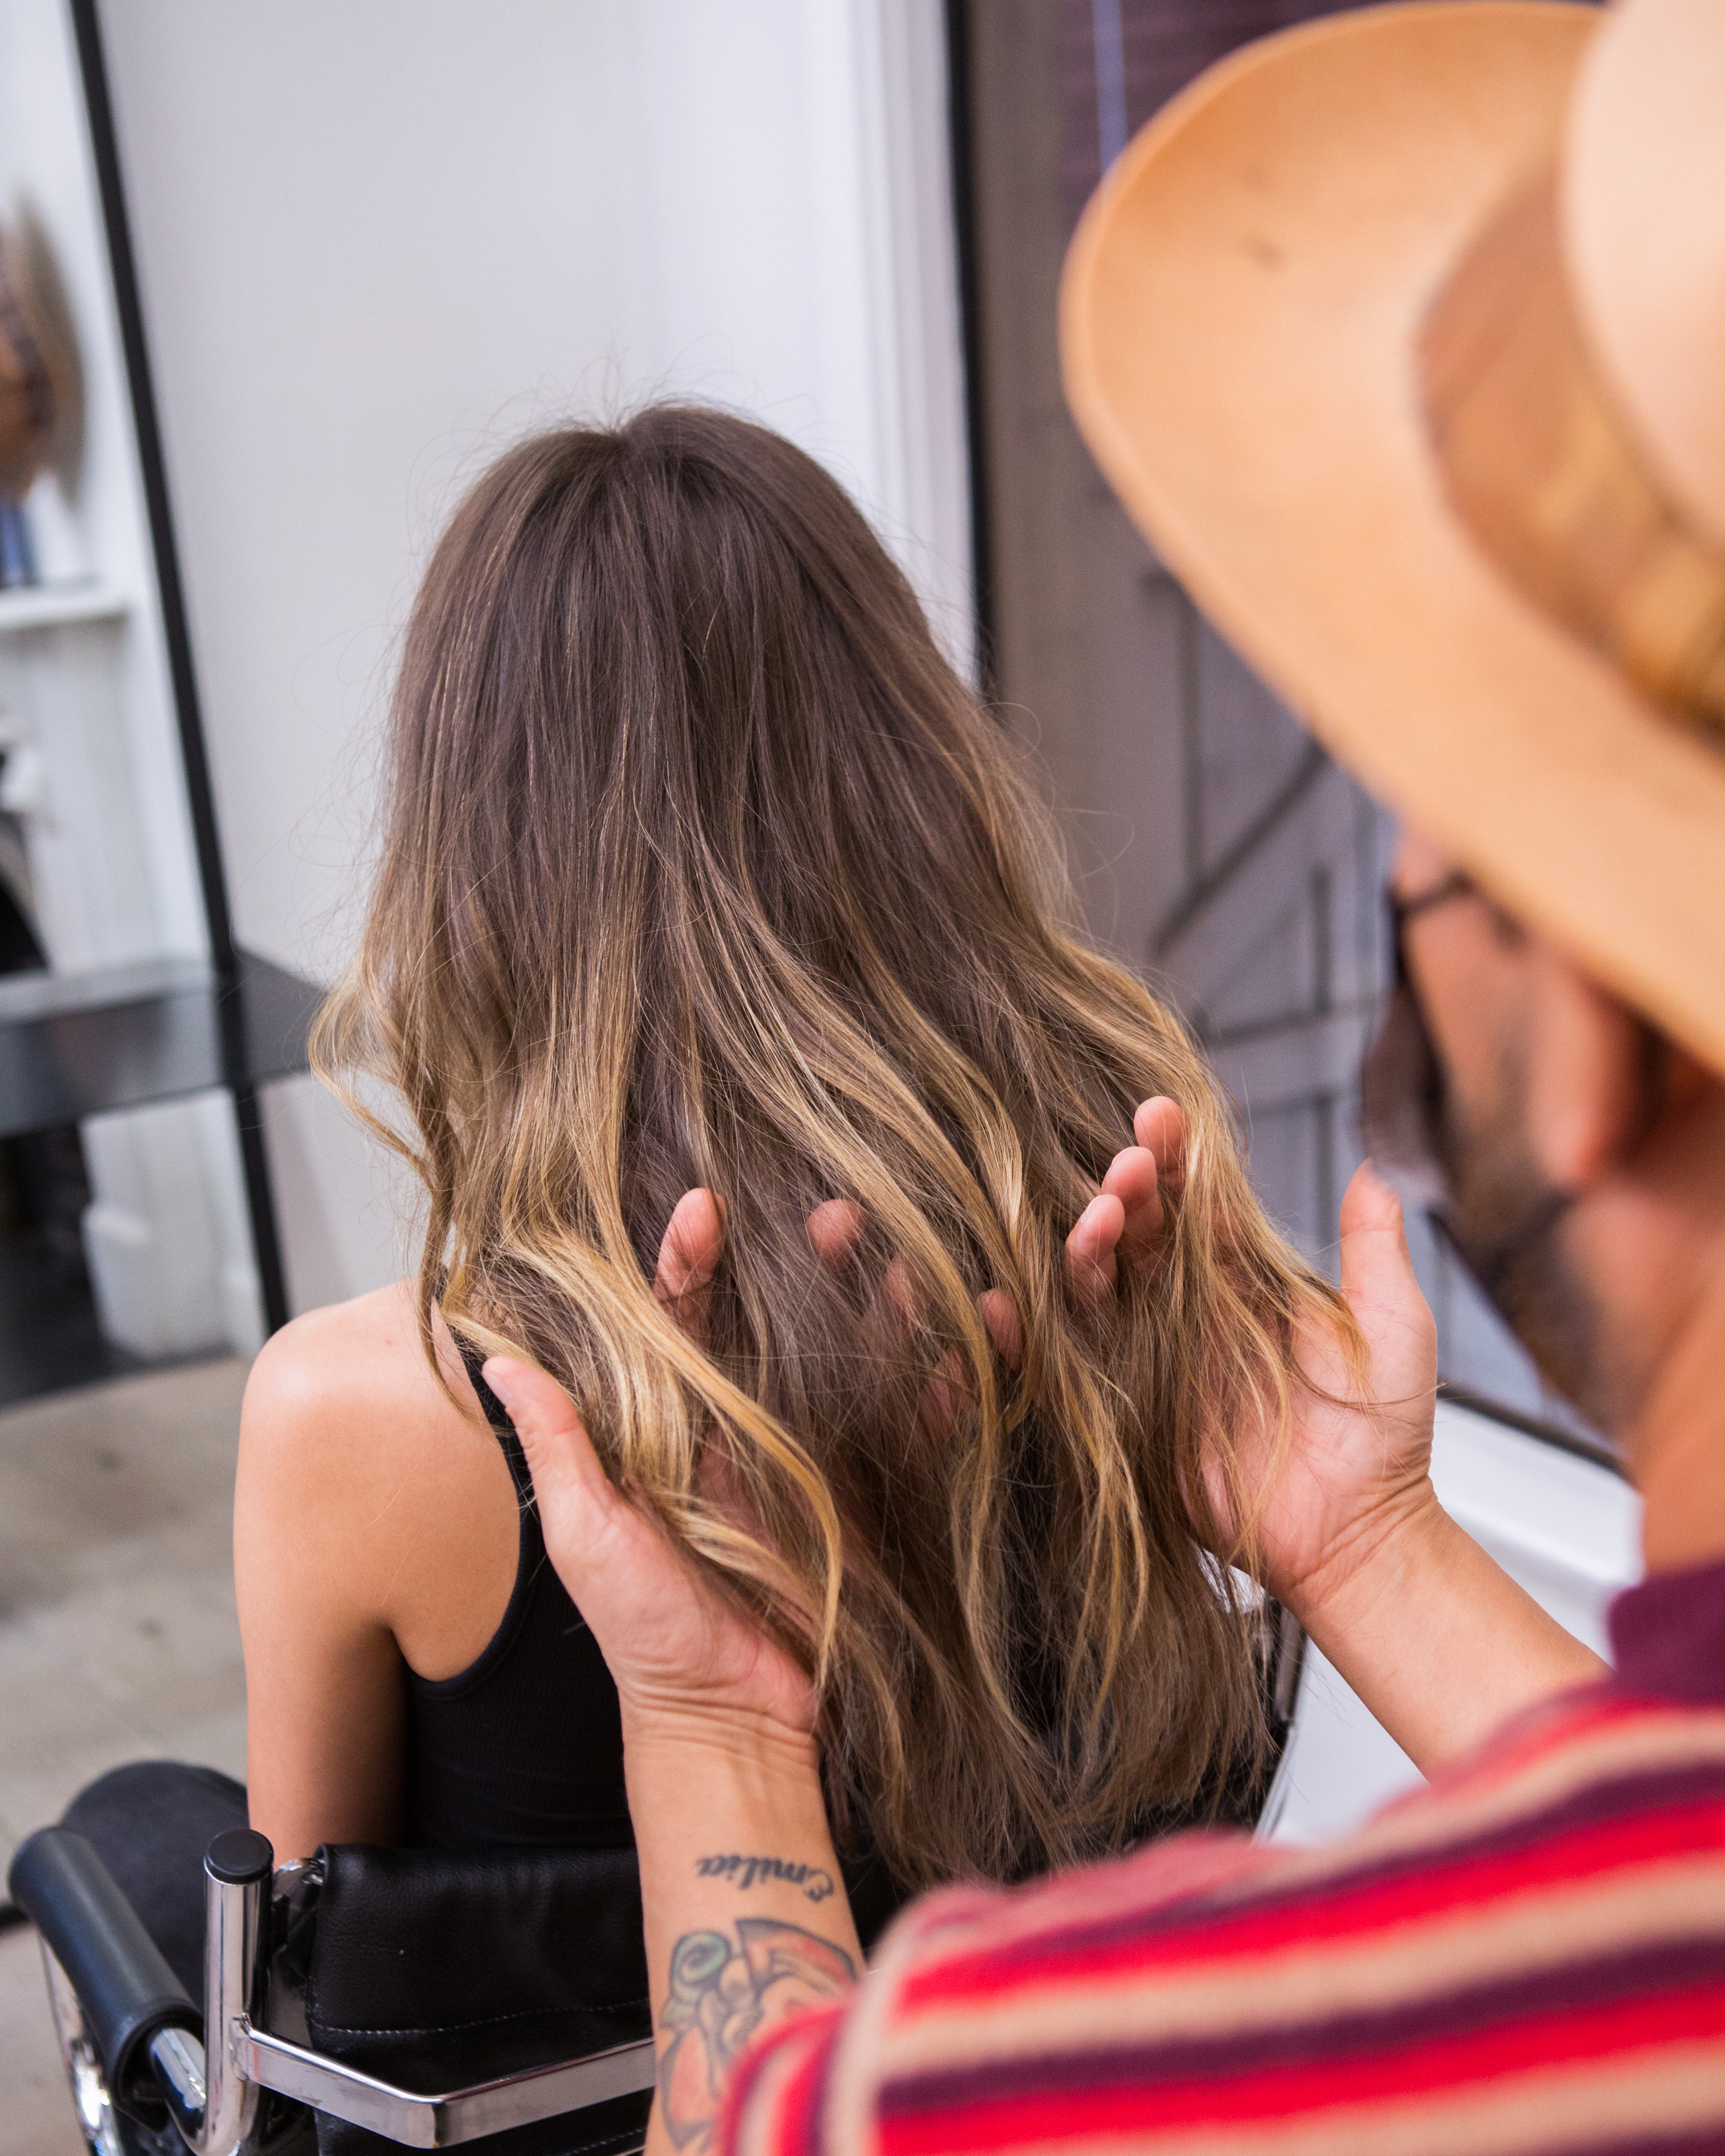
Although famed for his color, the reason why Johnny gets such stellar results is that he also pays attention to the health of the hair. If the hair is overly damaged or has underlying issues, these need to be addressed prior to creating a lived-in look. To ensure a stunning result each time, Johnny always begins with a strand test, because you must know what is going on beneath the surface of the hair and understand how the hair will lift to ensure you’re getting the desired results. Once this is assessed, he prefers to use a low and slow method of lifting, which is why he chooses Redken Flash Lift Bonder Inside (or Flash Lift Pods Bonder Inside) + 20 VOL. This way he cuts down on potential damage to the hair. Once lifted, he takes care of the hair by utilizing Redken Shades EQ and Redken Acidic Bonding Concentrate to tone, condition and prevent color fade.
How To Create Lived In Color™ Step By Step:
Whether you’re opting for a teasylight application or a global highlighting technique, Johnny Ramirez shows his steps to get the Lived In Color™ look. If you’re tailoring the look for your client, Johnny has a few pro tips for working with various textures and hair patterns. “I adjust the spacing in-between foils as well as the width of my slices. If my client's hair is dense, I take smaller sections to ensure the hair lightens evenly. On finer hair, I make sure to leave more hair In between the foil to create depth,” says Ramirez.
FORMULAS:
TEASYLIGHT FORMULA:
• 1 Pod (15g) Flash Lift Pods Bonder Inside
• 1 oz. (30ml) 20 Volume Pro-Oxide Developer
GLOBAL HIGHLIGHT FORMULA:
• 3 Pods (45g) Flash Lift Pods Bonder Inside
• 3 oz. (90ml) 20 Volume Pro-Oxide Developer
GLOSS FORMULA 1 (ZONE 1):
• 1 oz. (30ml) Shades EQ Gloss 05N Walnut
• 1 oz. (30ml) Shades EQ Gloss 07N Mirage
• 2 oz. (60ml) Shades EQ Processing Solution
GLOSS FORMULA 2 (ZONE 2):
• 2 oz. (60ml) Shades EQ Gloss 010VG Baby
• 2 oz. (60ml) Shades EQ Processing Solution
TEASYLIGHTS:
TEASYLIGHT SECTIONING
- Start by separating the front from the back with a vertical parting from the top of the head to the top of the ear.
- Repeat this on the opposite side.
- Then, divide the back equally with a vertical parting from the top of the head to the center of the nape, and from the top of the head to the front hairline.
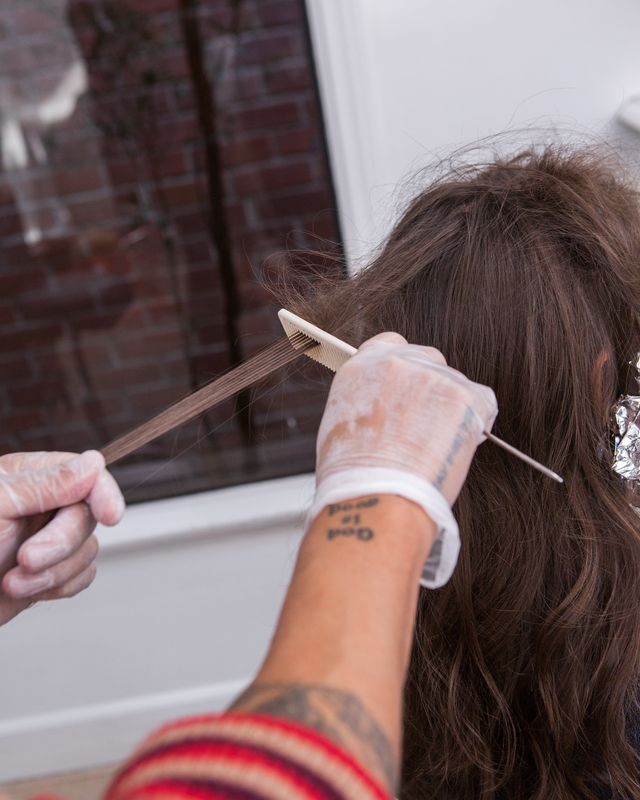
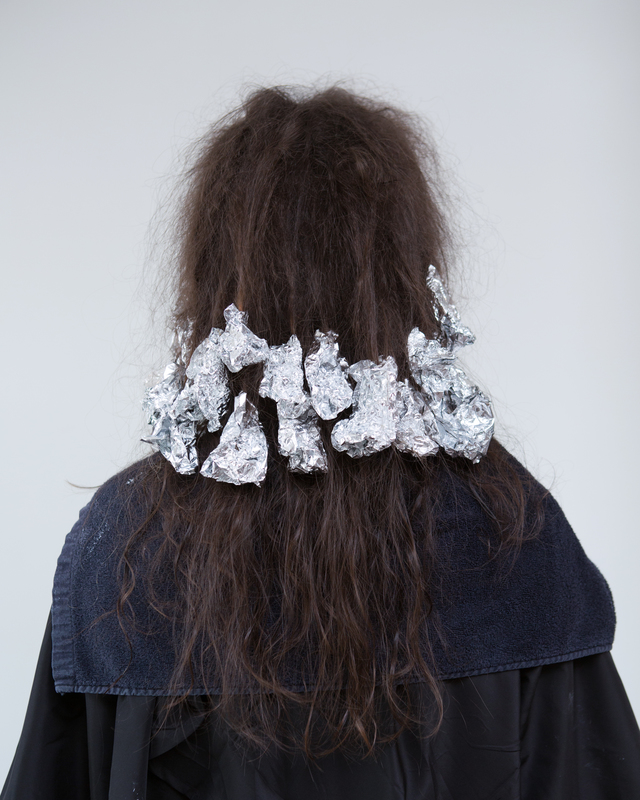
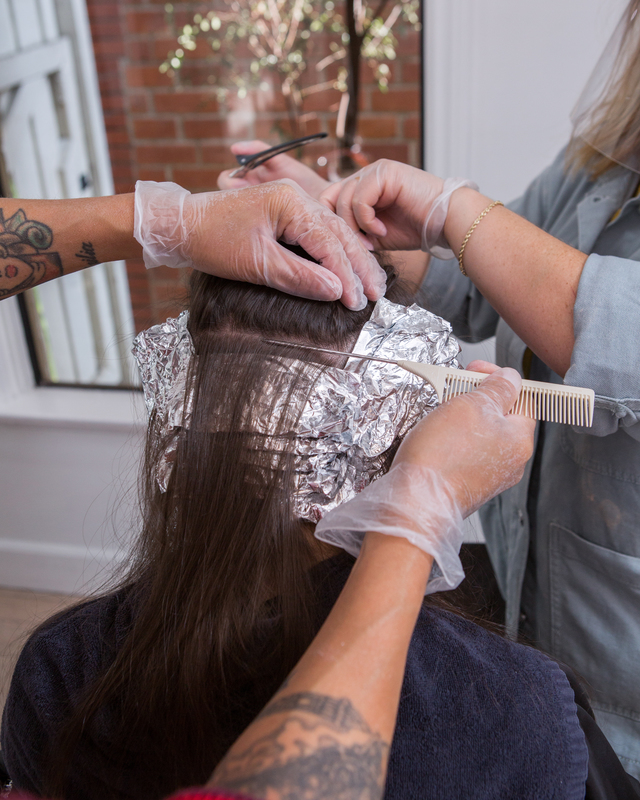
TEASYLIGHT APPLICATION
- Start by determining where you want your highlights placed using the eyebrow, nose or lips as a guide.
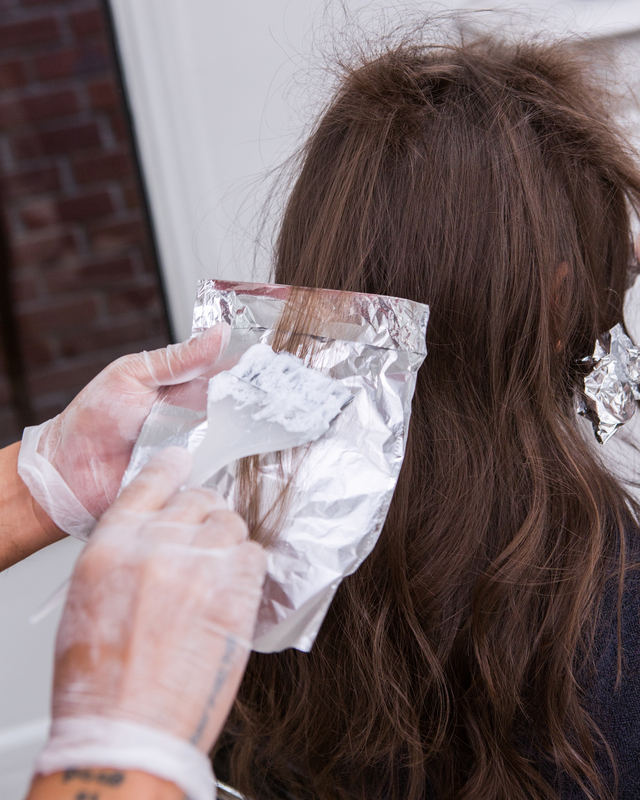
- Working from the part line down, on the front left quadrant, take your first diagonal forward section. To backcomb, take a slice, insert comb horizontally within the section and “push” towards the scalp. Then place foil underneath, and apply Teasylight Formula saturate and secure foil. Working your way down the hairline in 1/4′′ sections, repeat technique and application continuously lowering highlight placement further down than the previous section to create the Lived In Color™ look until the quadrant is complete.
- Repeat on the opposite right front section until complete.
- Starting at the back left quadrant, continue technique and application. Placement is determined by last foil in front quadrant, continuing to lower the placement incrementally until the quadrant is complete.
- Repeat on quadrant 4. Once complete, foils should mirror placement on the opposite side for a halo effect around the head.
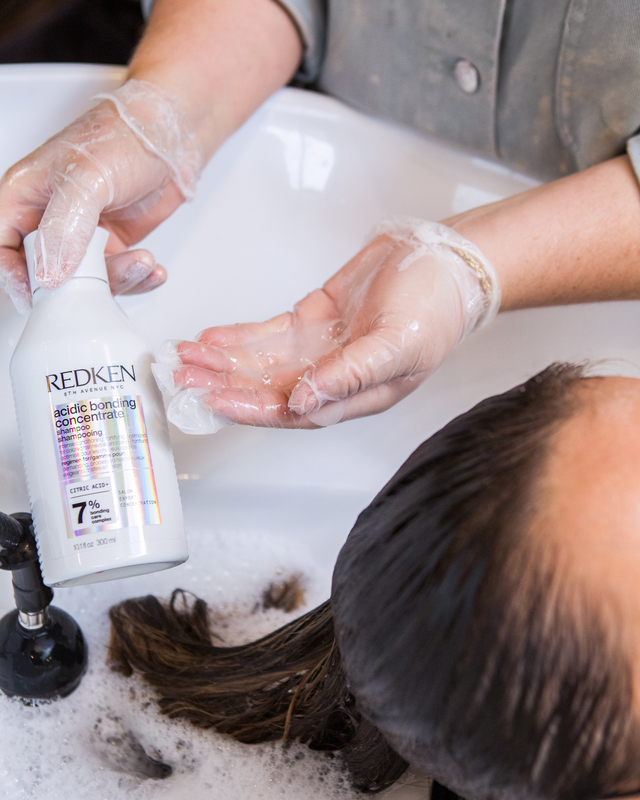
- Process at room temperature for up to 50 minutes. Shampoo with Acidic Bonding Concentrate and dry the hair.
GLOBAL HIGHLIGHTS:
GLOBAL HIGHLIGHT SECTIONING
- Separate the hair from the highest points of the hairs recession down to the center back of the nape creating a mohawk section.
- Separate the remainder of hair from the high point of the head to the top point of the ear, separating the front from the back.
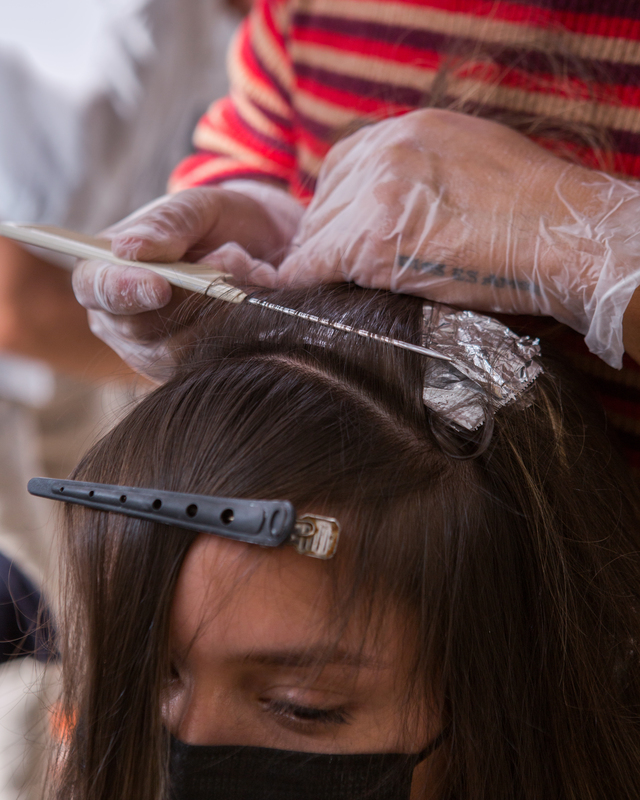
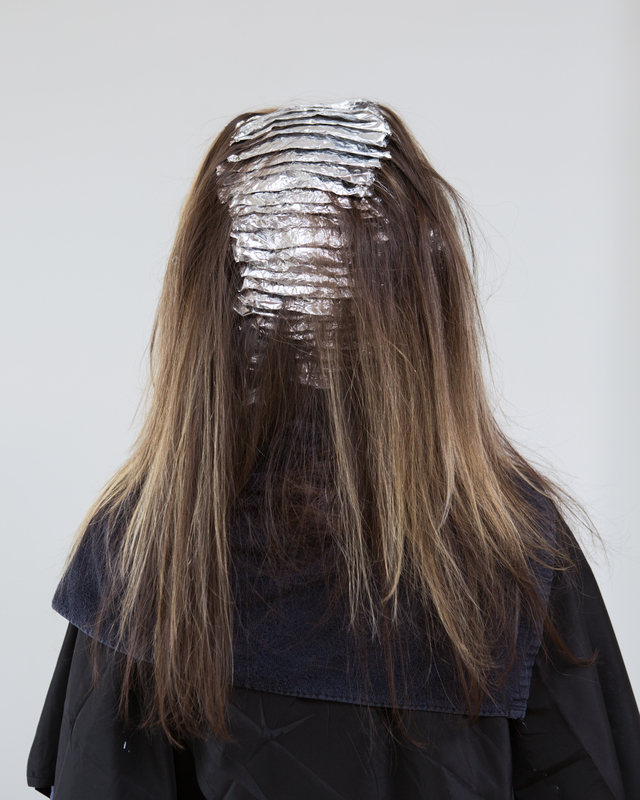
GLOBAL HIGHLIGHT APPLICATION
- Starting at the back nape of the mohawk section, take a fine1/4′′ horizontal section, with a micro slice, and place on a foil. Apply Global Highlight Formula and saturate. Fold and secure. Continue to drop down sections working your way up the back of the
head head to the top of the crown and complete the entire back mohawk section. - Working with the back right vertical side sections, behind the ear, take fine 1/4′′ vertical back section with a micro slice, and place on a foil. Apply Global Highlight Formula and saturate. Fold and secure. Continue to drop down sections moving from the left and right section to maintain even lift, leaving hair out in between foil to create dimension. Make sure to not overlap lightener on previously lightened hair from teasylight application. Complete backside sections until you reach the top of each vertical back side sections.
- Starting at the front mohawk section, take a fine1/4′′ horizontal section with a micro slice, starting at the hairline and place on a foil. Apply Global Highlight Formula and saturate. Fold and secure.
- Next, working from the right to left the vertical back front quadrants take a 1/4′′ take diagonal back sections with a micro slice, and place on a foil. Apply Global Highlight Formula and saturate. Fold and secure. Repeat until both front quadrants are complete.
- Process at room temperature for up to 50 minutes. Rinse and apply Acidic Bonding Concentrate Shampoo to wet hair, lather and rise. Dry hair.
GLOSS APPLICATION
- Apply Gloss Formula 1 to zone one, with a wide-tooth comb stretch gloss formula 1 into zone 2.
- Apply Gloss Formula 2 to both zones 2 and 3 using Global Application.
- Process at room temperature for 20 minutes.
BACKBAR AND FINISHING
- Rinse and apply Acidic Bonding Concentrate Shampoo to wet hair, lather, and rinse.
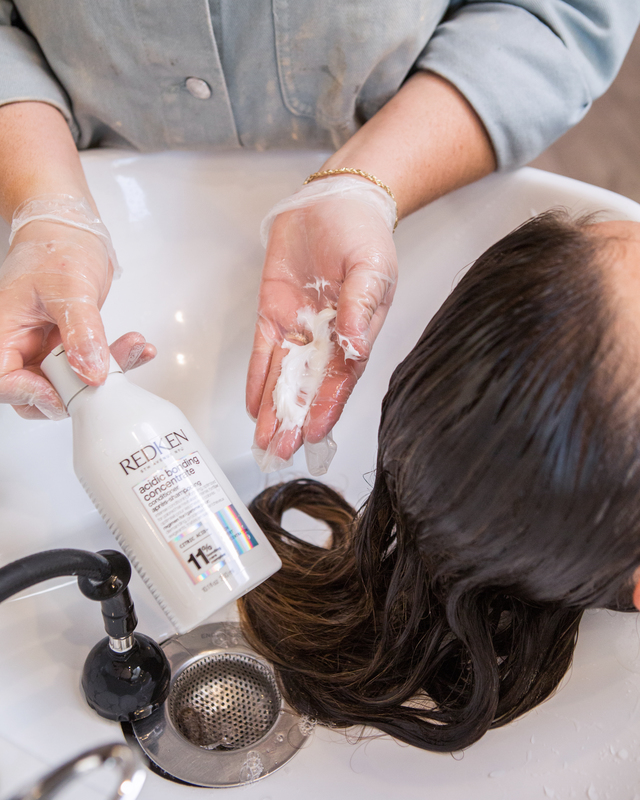
- After shampooing, follow with Acidic Bonding Concentrate Conditioner. Apply to wet hair, then rinse.
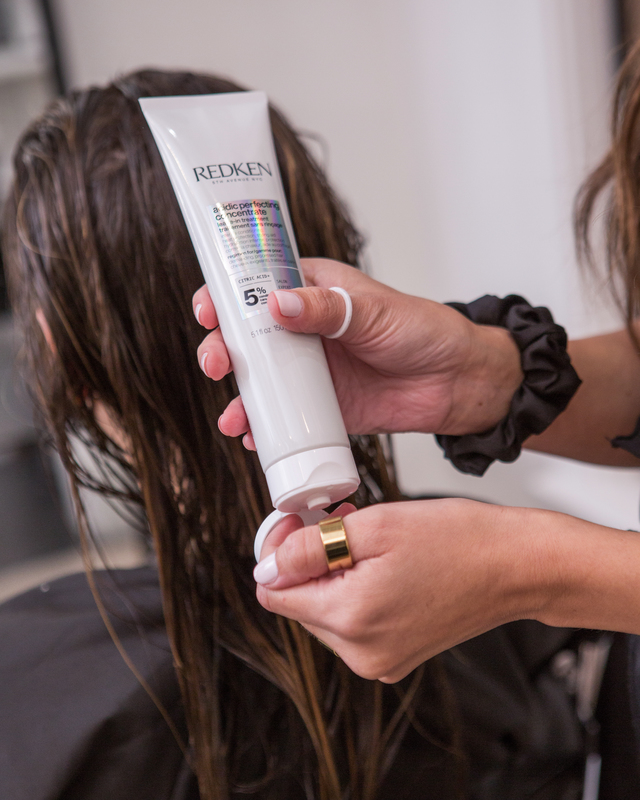
- After using the Acidic Bonding Concentrate Shampoo and Conditioner, follow with Acidic Perfecting Concentrate Leave-In Treatment. Squeeze a quarter-sized amount into palms of hands and run through clean, damp hair. Leave in and style as usual.
In case you missed Blonding Responsibly with Johnny Ramirez check it out here!