Many would agree that your wedding day is one of the most important days of your life, it is a day full of happiness, excitement, celebration and at times stress. Brides want to have fun and look their best while doing it. With cameras at every angle; selfies, photobooths, Snap Chats and Instastories going, all while your professional photographer is documenting the day as well – it is important to pick a style that not only suits you but lasts as you dance the night away.
What is the key to keeping a style in place? A great foundation and the proper products! In this tutorial, Matrix Artistic Director Michael Albor gives us the steps to create 4 different day-to-night styles perfect for any bride using Matrix StyleLink.
LOOK 1: BEACHSIDE BRAID TO SWEPT AWAY
BEACHSIDE BRAID
Step 1: On damp hair, apply Style Link Airy Builder. Blow-dry using a round brush starting at the nape and working up the head.
Step 2: At top, blow-dry for volume at scalp area twisting and releasing brush at mid- lengths and ends.
Step 3: When complete, spray individual sub-sections with Style Link Heat Buffer and using a curling iron direct nape section one way and using a smaller iron in the section above, curl in opposite direction. At top, curl away from the face for volume.
Step 4: Part hair from ear to ear below the crown and secure top. Create a loose three-strand braid at the back while applying Style Link Grip Definer. Secure with elastic band, deconstruct.
Step 5: In the top section, including sides, divide vertically at back. Separate in two, twist away from the face, loosen, secure with elastic band and pin ends under at center. Maintain height at the top. Combine organically into the top of the braided section.
Step 6: Loop crown section under to reinforce height, pin and spray with Style Link Style Fixer.
SWEPT AWAY
Step 1: Transition from Beachside Braid by releasing braid and brushing through with cushion brush. Re-curl if necessary.
Step 2: Spray Style Link Rough Me Up on dry hair. Separate out top section.
Step 3: At back section, below round of head, interlock bobby pins starting behind ear and extending horizontally across head combining nape and section below crown.
Step 4: Pinch and pull strands to reduce length visually. At ends of strands, tie knots, loop and pin.
Step 5: At top section, twist ends towards center and pin. Spray with Style Link Rough Me Up.
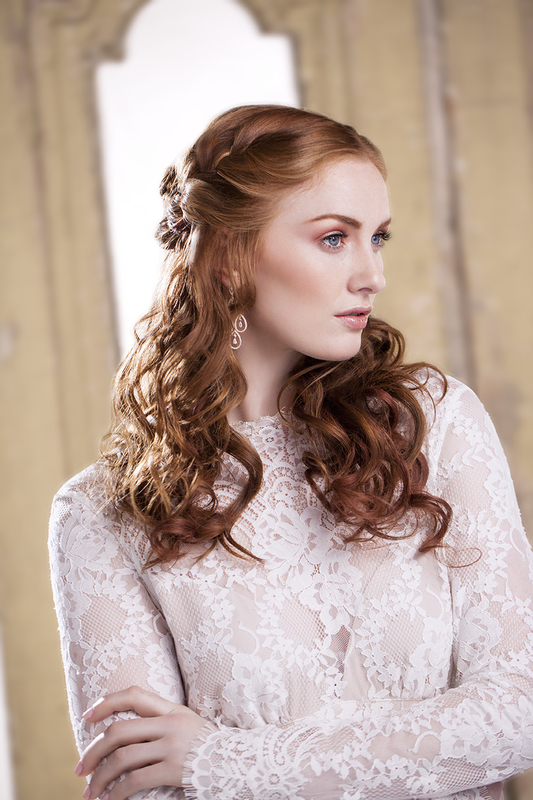
LOOK TWO: TOUSLED TEXTURE TO ROMANTIC TWIST
TOUSLED TEXTURE
Step 1: On damp hair apply Style Link Smooth Setter and then layer Style Link Volume Builder. Blow-dry using a round brush starting at the nape and working up the head.
Step 2: Spray Style Link Heat Buffer on individual vertical subsections starting at the nape. Within each section, alternate with different size curling irons directing towards the center. Allow curls to loosely drop. Repeat through sides.
Step 3: Create rectangle section at top. To create a wave at the front, direct curl upward at the inner edge of the rectangle and then continue directing curl placements downward across section. Repeat on the other side of the rectangle.
Step 4: Use Style Link Over Achiever and separate curls with a tail comb.
Step 5: On left side, create a narrow two strand rope braid starting behind the side hairline and working back twisting the two strands in the same direction. Deconstruct and interweave underneath and anchor at back. Spray with Style Link Texture Builder and pinch/pull all hair below braid.
Step 6: On the right side, create a large, loose three-strand braid adding hair from the front until reaching the ear, then include pieces from the surface and pin at back. Spray with Style Link Rough Me Up.
ROMANTIC TWIST
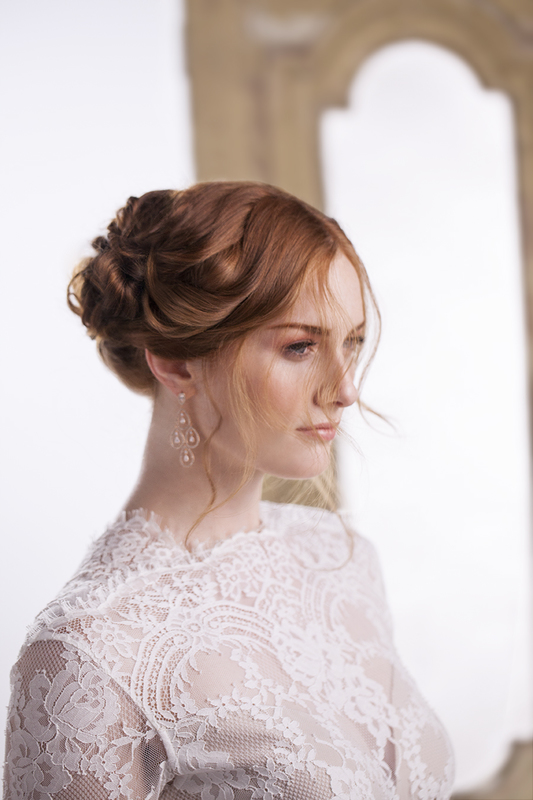
Step 1: Transition from Tousled Texture by undoing braids and brushing through hair. Separate front from the back section.
Step 2: In the back section, on the left side above the ear, create a three-strand braid including hair from top and bottom. Travel upward until reaching the back center then braid down the length, loosen and secure with elastic. Repeat on right side.
Step 3: Knot the two braids together at the back and pin in place.
Step 4: Underneath the knotted braids, at the nape section, start on the right side and braid, adding hair from below.Travel upward and left, deconstruct braid and wrap around braided section above.
Step 5: At the sides, loosely twist and drape over the ears. Pin in place and spray with Style Link Style Fixer.
Step 4: Underneath the knotted braids, at the nape section, start on the right side and braid, adding hair from below. Travel upward and left, deconstruct braid and wrap around braided section above.
Step 5: At the sides, loosely twist and drape over the ears. Pin in place and spray with Style Link Style Fixer.
*HAIR HACK
“To have and To hold”
For the truly “bohemian bride” (who prefers eloping to the traditional wedding celebration), say “I do” to Style Link Air Dry Twisted BOHO. Apply on damp hair, allow to air dry...love and cherish your natural texture from this day forward!
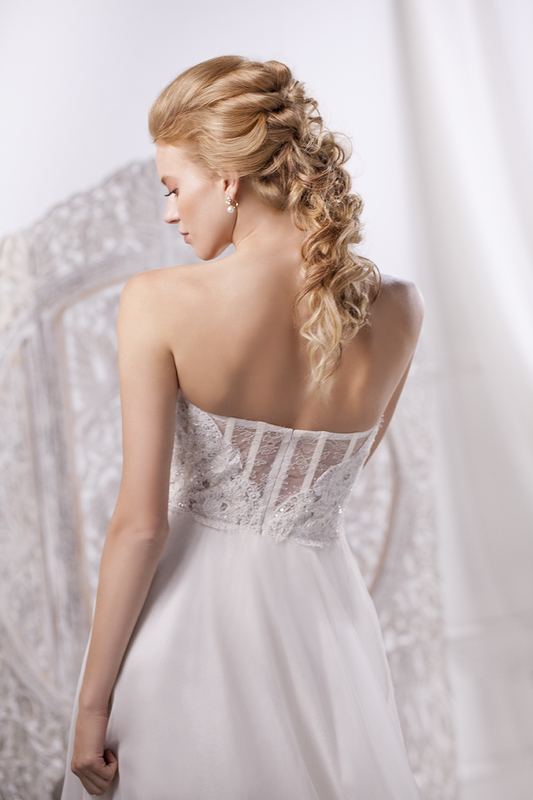
LOOK 3: CASCADING CURLS TO CLASSIC CHIGNON
CASCADING CURLS
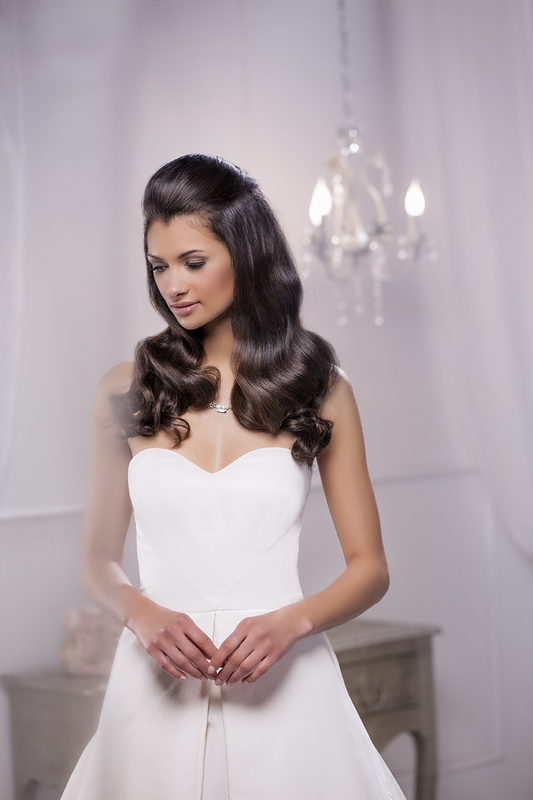
Step 1: Apply Style Link Volume Builder followed by Style Link Blow Out Big Queen on damp hair. Blow-dry with a round brush starting at the nape and working up the head.
Step 2: Spray Style Link Heat Buffer on individual sub-sections starting at the nape. Use horizontal sub-sections and a small barrel curling iron, wrapping hair around barrel while holding the ends. Switch to a larger barrel iron at the top using bricklay placements. Pin in place.
Step 3: When cool, release and brush through with cushion brush creating wave formation. Apply Style Link Shape Switcher and stretch out to smooth wave.
Step 4: Backcomb the front/top section starting at the front and working towards the back. Use a cushion brush to smooth, maintaining volume. Twist and pin at the crown. Spray with Style Link Volume Fixer.
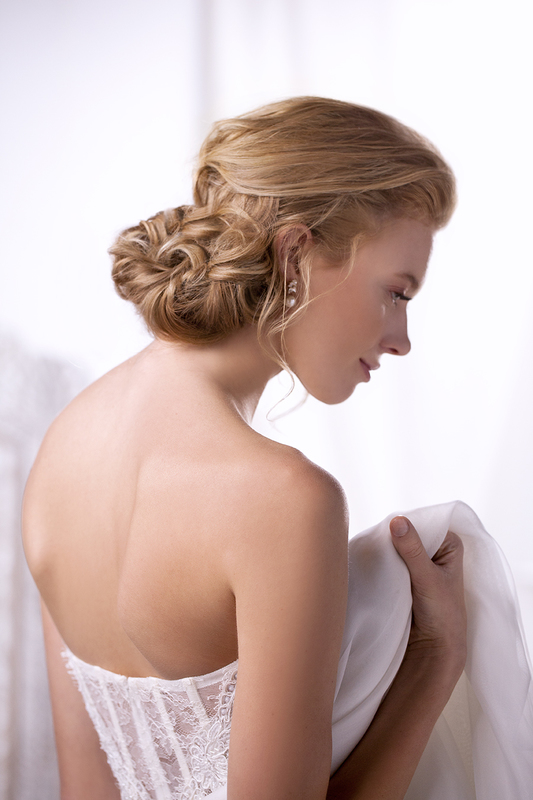
CLASSIC CHIGNON
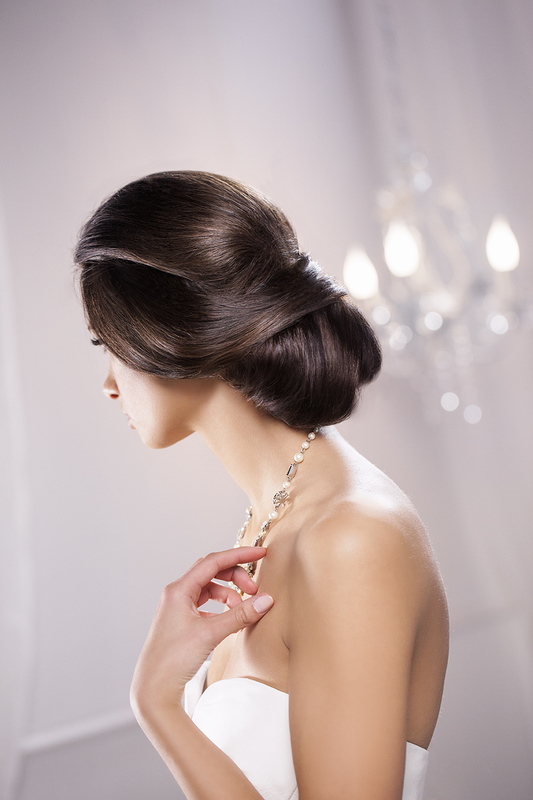
Step 1: Transition from Cascading Curls by brushing through hair with cushion brush. Separate front from back section using a parting across the top of the head and spray sections with Style Link Heat Buffer.
Step 2: Using all hair in the back section, create three ponytails at the nape with bungee elastics. To conceal elastic, wrap hair from underneath around the band and pin to secure. Spray with Style Link Style Fixer.
Step 3: Backcomb ponytails. Wrap the left ponytail up, around and over the middle ponytail securing at the base of the right ponytail. Repeat on the right side.
Step 4: Take remaining lengths from ponytails, tie into a knot and direct up and over. Pin in place.
Step 5: At the front and side sections, direct back gently into the nape using a small amount of Style Link Over Achiever. Pin at back.
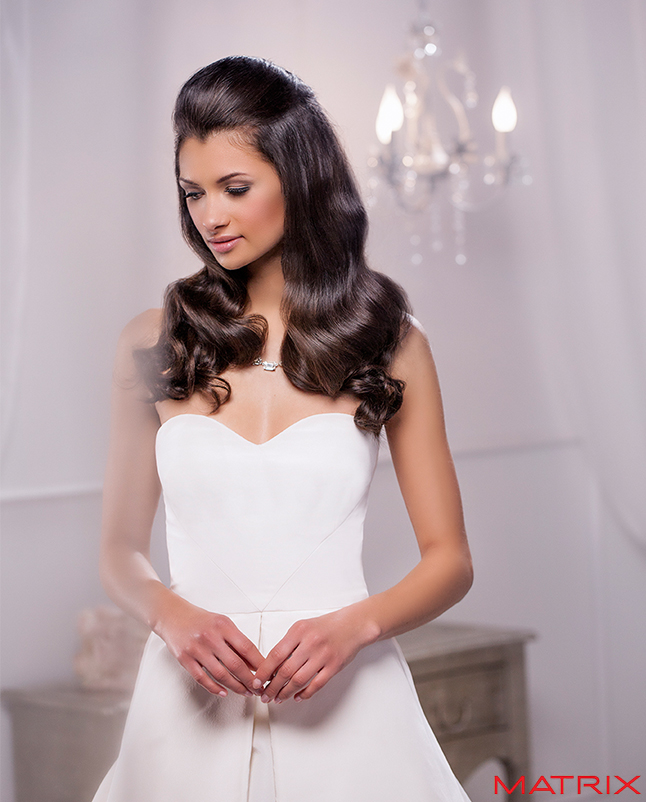
LOOK 4: SULTRY WAVES TO RETRO ROLL UP
SULTRY WAVES
Step 1: Apply Style Link Blow Out Curvy Queen to damp hair and blow-dry in horizontal sub-sections with a round brush directing under. Pin in place.
Step 2: Spray Style Link Heat Buffer on individual sub-sections and starting at the nape, curl hair using a narrow barrel curling iron. When reaching the middle section of the head, switch to a larger barrel iron and pin sections in place. Continue through side sections.
Step 3: Create a rectangle section at the top of the head. Establish a side part. To create a wave, direct curl upward at inside edge of rectangle and then continue directing curl placements downward across section.
Step 4: When cool, brush through. Apply Style Link Over Achiever and separate front from back sections. At nape area create a three strand braid and push/pull strands. Tuck hair under and pin.
Step 5: Create a fingerwave originating from side part and use duckbill clips to reinforce ridges. Spray with Style Link Heat Buffer. Coax all remaining hair throughout back into continuous wave pattern.
*Pro Tip: Finish with a beautiful hair accessory. Accessory in photo provided by *House of Cach. www.houseofcach.com
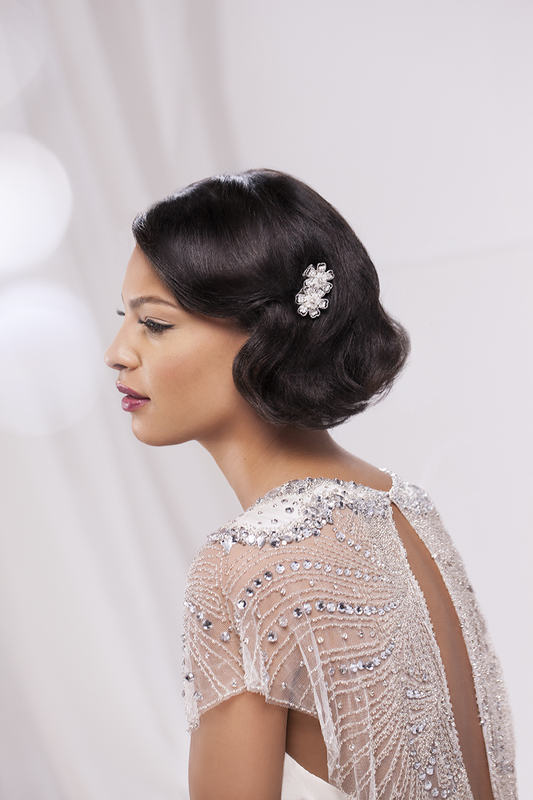
RETRO ROLL UP
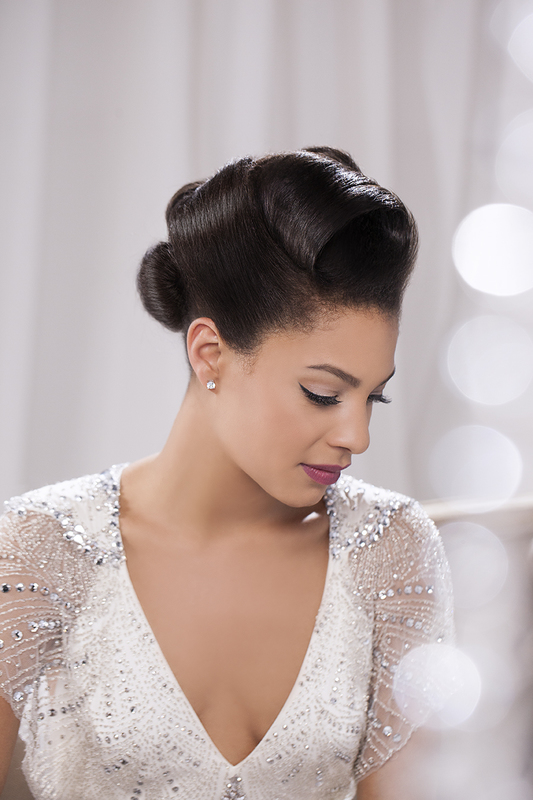
Step 1: Transition from Sultry Waves by brushing through hair with cushion brush. At the top section, create a side part and use a large barrel curling iron to establish three large placements directed away from the part.
Step 2: At the sides, direct two placements away from the face. Continue through crown and back of head.
Step 3: Using a wide tooth comb, separate front from back section. Create a large barrel curl at the crown.
Step 4: Next, create a ponytail below the crown placement and another one below the first. Wrap hair around elastics to conceal. Spray with Style Link Volume Fixer.
Step 5: Direct lower ponytail under and pin in place. Repeat in ponytail above.
Step 6: Backcomb the top section and direct over upper ponytail. Backcomb the side sections and direct upward. Create a large loop in the top section. Spray with Style Link Style Fixer.
Looking for even more hair inspiration for your big day? Check out these looks and stay tuned for even more fashion-forward styles from Matrix!