Author Lya Navarra
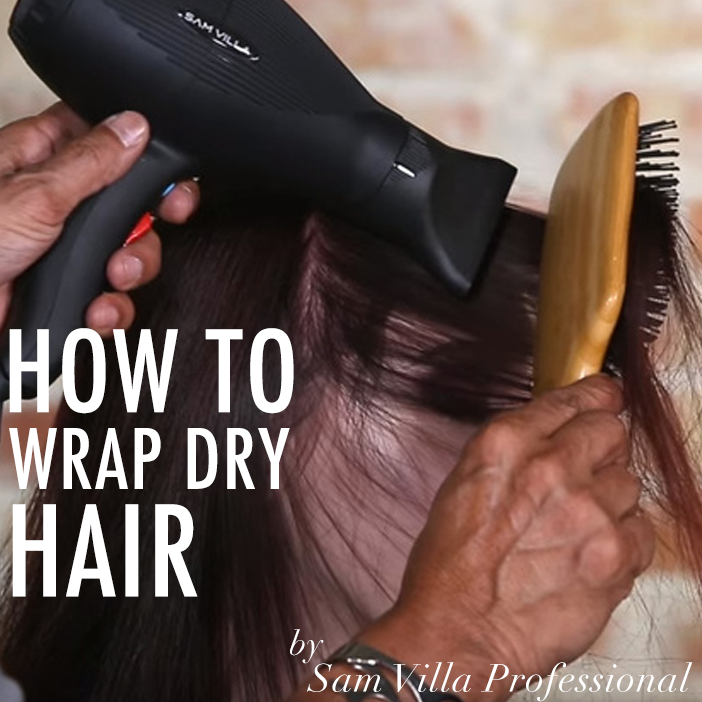
Wrap drying is a technique used to dry hair by wrapping it around the head! It is the perfect way to perk up your style when time is of the essence and you want a sleek and polished look. Follow the video and see Sam's steps below.
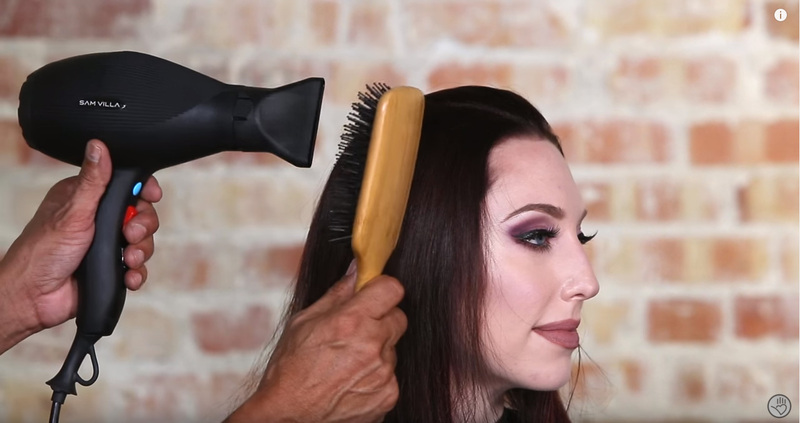
Looking for ultimate polish in your finished blow dry’s? Well, then a paddle brush is your new best friend! Wrap drying with a paddle brush is second to none when it comes to a smooth and polished finish.
In this second of six parts to our Foundational Blow Dry Series, we continue where we left off in part one with wrap drying. We use the head shape as our foundation to shape and smooth the hair allowing for quick depletion of moisture with a controlled directional process. Wrap drying will also eliminate unwanted frizz and fly-a ways.
Tools of Choice:
- Sam Villa Signature Series Bamboo Paddle Brush
- Sam Villa Light Professional Ionic Blow Dryer w/Nozzle - for concentrated air flow allowing you to dry hair faster with a more polished finish
Product of Choice:
(already applied to the hair from Part One)
- Redken pillow proof blow dry express treatment primer cream – first application
- Redken satinwear 02 prepping blow-dry lotion – second application, layered on top
NOTE: We layered these two products together.
Let’s review: (watch Part 1 here on how to apply hair products before you blow dry)
- Consider that primers help to speed up the drying process with added conditioning and heat protecting benefits.
- Styling product of your choice is determined on the amount of control or hold factor you desire for the end result. As we desired a soft and smooth polished finish we chose to layer Redken satinwear 02 over pillow proof blow dry express treatment primer cream.
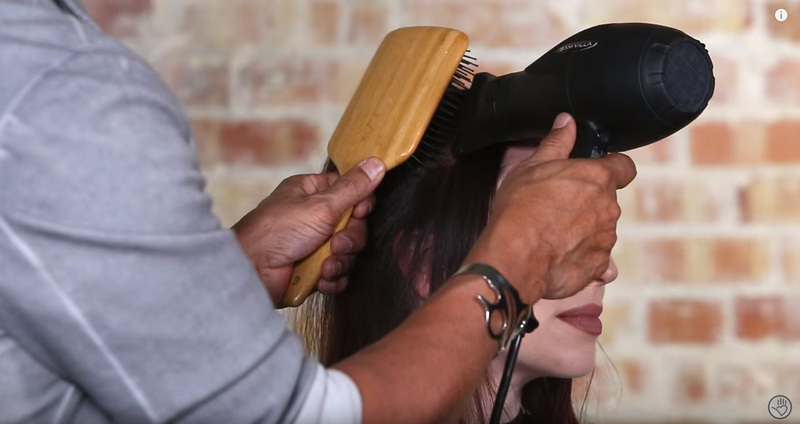
How to Wrap Dry Using a Paddle Brush & Blow Dryer
Front/Top Area
We begin at the front area, as this is the area that will stand to become frizzy if not first tended to.
- Position the nozzle on a diagonal to keep the elbow down while drying
- Place the bristles of the paddle brush parallel to the grain of the hair in a open position, close the brush to the head to slice a section of hair away and follow through with the dryer and nozzle
HOT TIP: Be sure to keep the dryer at least three to six inches away from the hair and brush to deter heat from compromising the hair and brush
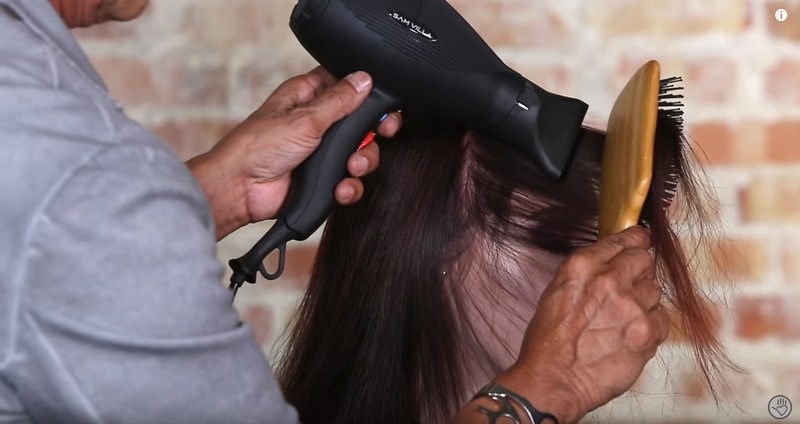
- Using the head shape as your foundation, continue with the top area (above the parietal ridge) and follow through until the hair is dry. OPEN, CLOSE & FOLLOW THROUGH!
Side Area
- Move on to the side area below the parietal ridge
- Position the paddle brush parallel to the grain of the hair approximately two to three inches back from the hairline
- Insert the brush bristles into the hair and push the brush forward following through with your dryer. OPEN, CLOSE & FOLLOW THROUGH!
The technique of wrap drying is especially beneficial in the course of creating ponytails. When you come to the back of the side area, position your paddle brush into the hair and shift the direction with your paddle brush downward toward the nape area. This will ensure an ideal smooth directional finish to create an effortless ponytail.
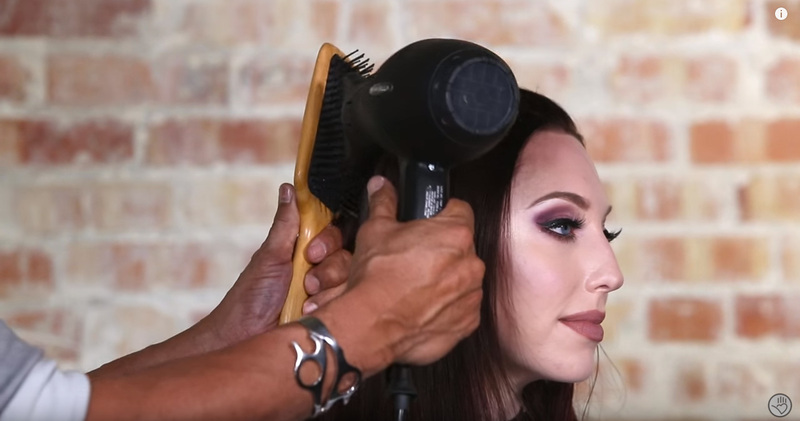

Wrap drying is all about the direction – direct your brush in the direction you desire the hair to move. The direction along with the head as a foundation and styling product will result in a smooth shiny finish to be proud of!
Stay tuned for Part 3 as we show you how to add curls using your thermal round brush.
For more education and hair inspiration, be sure to follow @SamVillaHair on Instagram and check out their website SamVilla.com