For many, a wedding day can be the most important day in your life. Due to this, there can sometimes be a lot of pressure on looking “perfect”. For this reason, hairdressers place a great deal of importance on creating a hairstyle that not only looks amazing but also stays in place all day and well into the night. Knowing this all too well, Anna Peters, Sam Villa ArTeam Member and owner of re:TREAT Color + Hair Design and Studio @annas_hair_retreat says that the goal of any stylist working in the bridal sector is to create a beautiful style for brides that will last through all the festivities, from early morning to late night. Below Anna Peters details exactly what you need to know to create a stellar bridal hairstyle and even offers tips to transition to a second style.
She goes on to explain ”We go through desperate measures sometimes, adding an excessive amount of hairpins, cans of hairspray, and praying to the hair gods for the style to hold. When all we need is a very basic and strong foundation strategically placed in hair to act not only as a road map for the style but also as an anchor to hold everything together.” Based on her experience she’s crafted a set of 4 foundations that Peters relies on for strength, direction, and longevity.
How To Perfect Any Bridal Hairstyle
- Ponytail: Acts as a focal point, condenses volume in areas of the head, and offers the most strength.
- Braid: Serves as a traveling anchor with the ability to be placed vertically, horizontally, or diagonally and can travel across the head to offer the most support and strength across a style.
- Bun: Just like the ponytail, this foundation has a ton of strength, is a focal point in the style, and creates volume at the same time.
- Twist: The most delicate of anchors, and like the braid it can travel across a style offering support and volume.
“When we place anchors within a style with an end result in mind, we can easily prep for an easy transition from one look to another. It helps gain clarity on how to build the style and provides built-in support and strength for the style to last throughout the day and well into the night,” explains Peters. See how to transition from a ponytail to a second look by following the steps below.
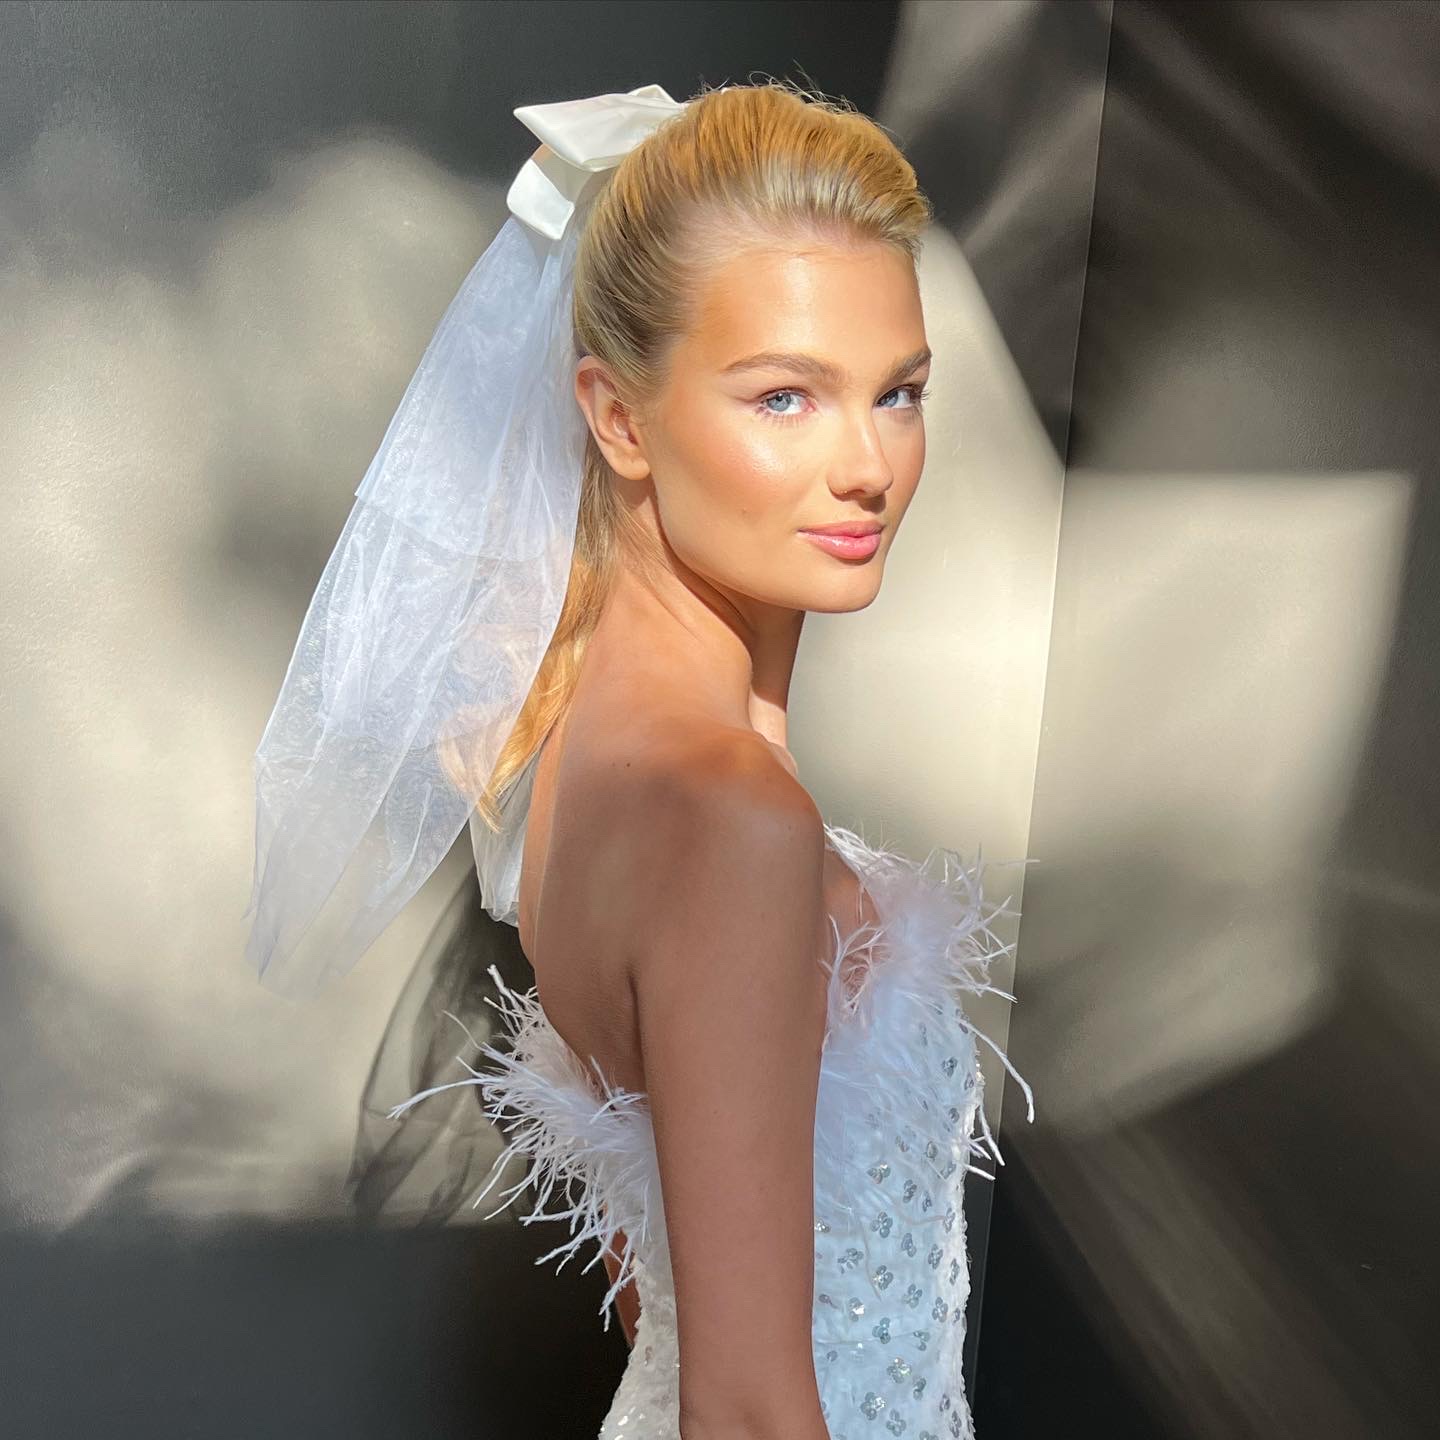
The First Look
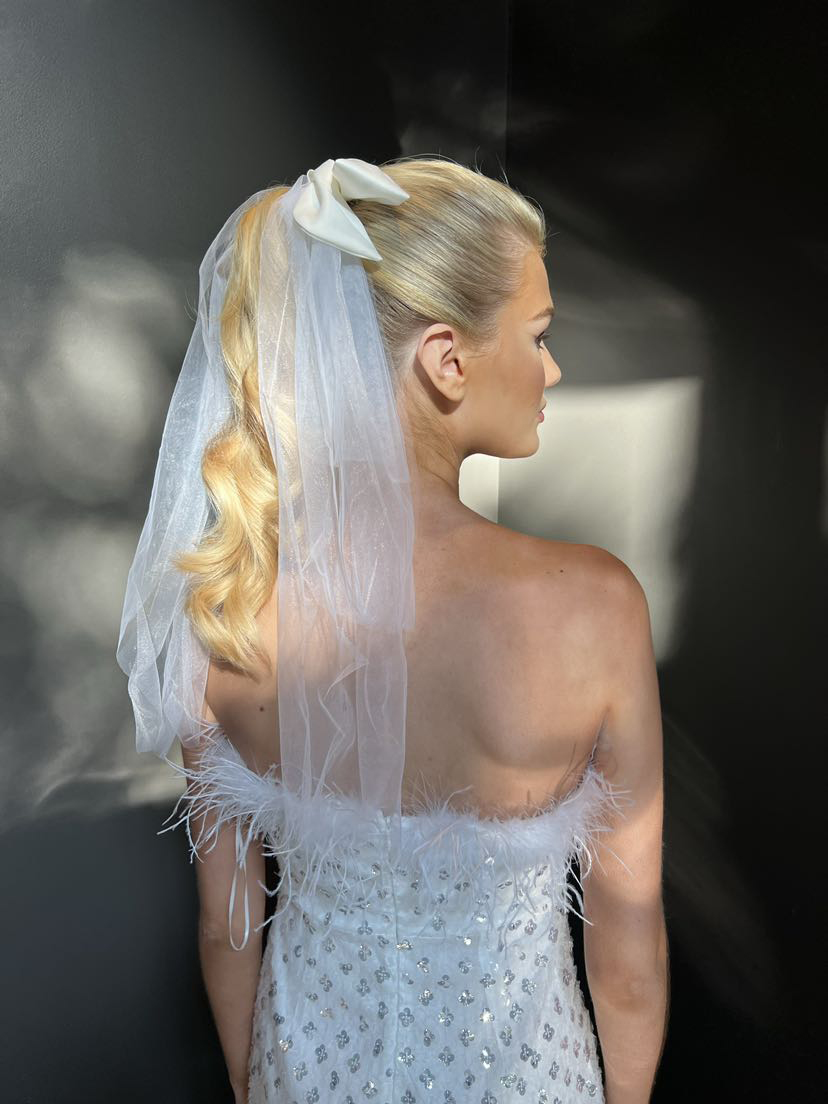
- Divided hair into three separate sections: a large triangle in the front top of the head off of a deep side part, a large triangle in the back nape with bottom of triangle sitting at hair line and pointing up towards top of head. Everything in between is pulled up and into a smooth high ponytail tied with a cord for maximum hold.
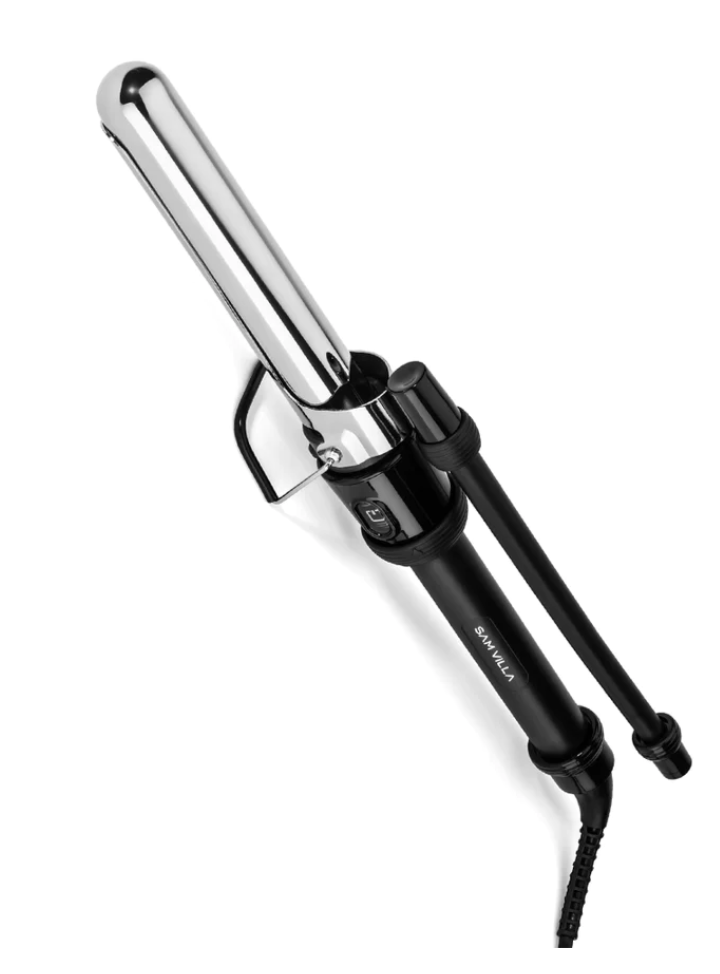
- Set two triangles with on base curls - the back directed up towards the center ponytail and the front triangle set diagonally off of the side part for maximum volume. Use a Sam Villa Artist Series 2-in-1 Marcel Iron and Wand 1” in the Marcel setting. Curl ponytail vertically all in the same direction.
- Brush through triangles with a Sam Villa Artist Series Finishing Brush, join to the center ponytail and tie off with a cord to secure. Brush through to polish all curls. Accessorize and fluff.
Transitioning To a 2nd Look
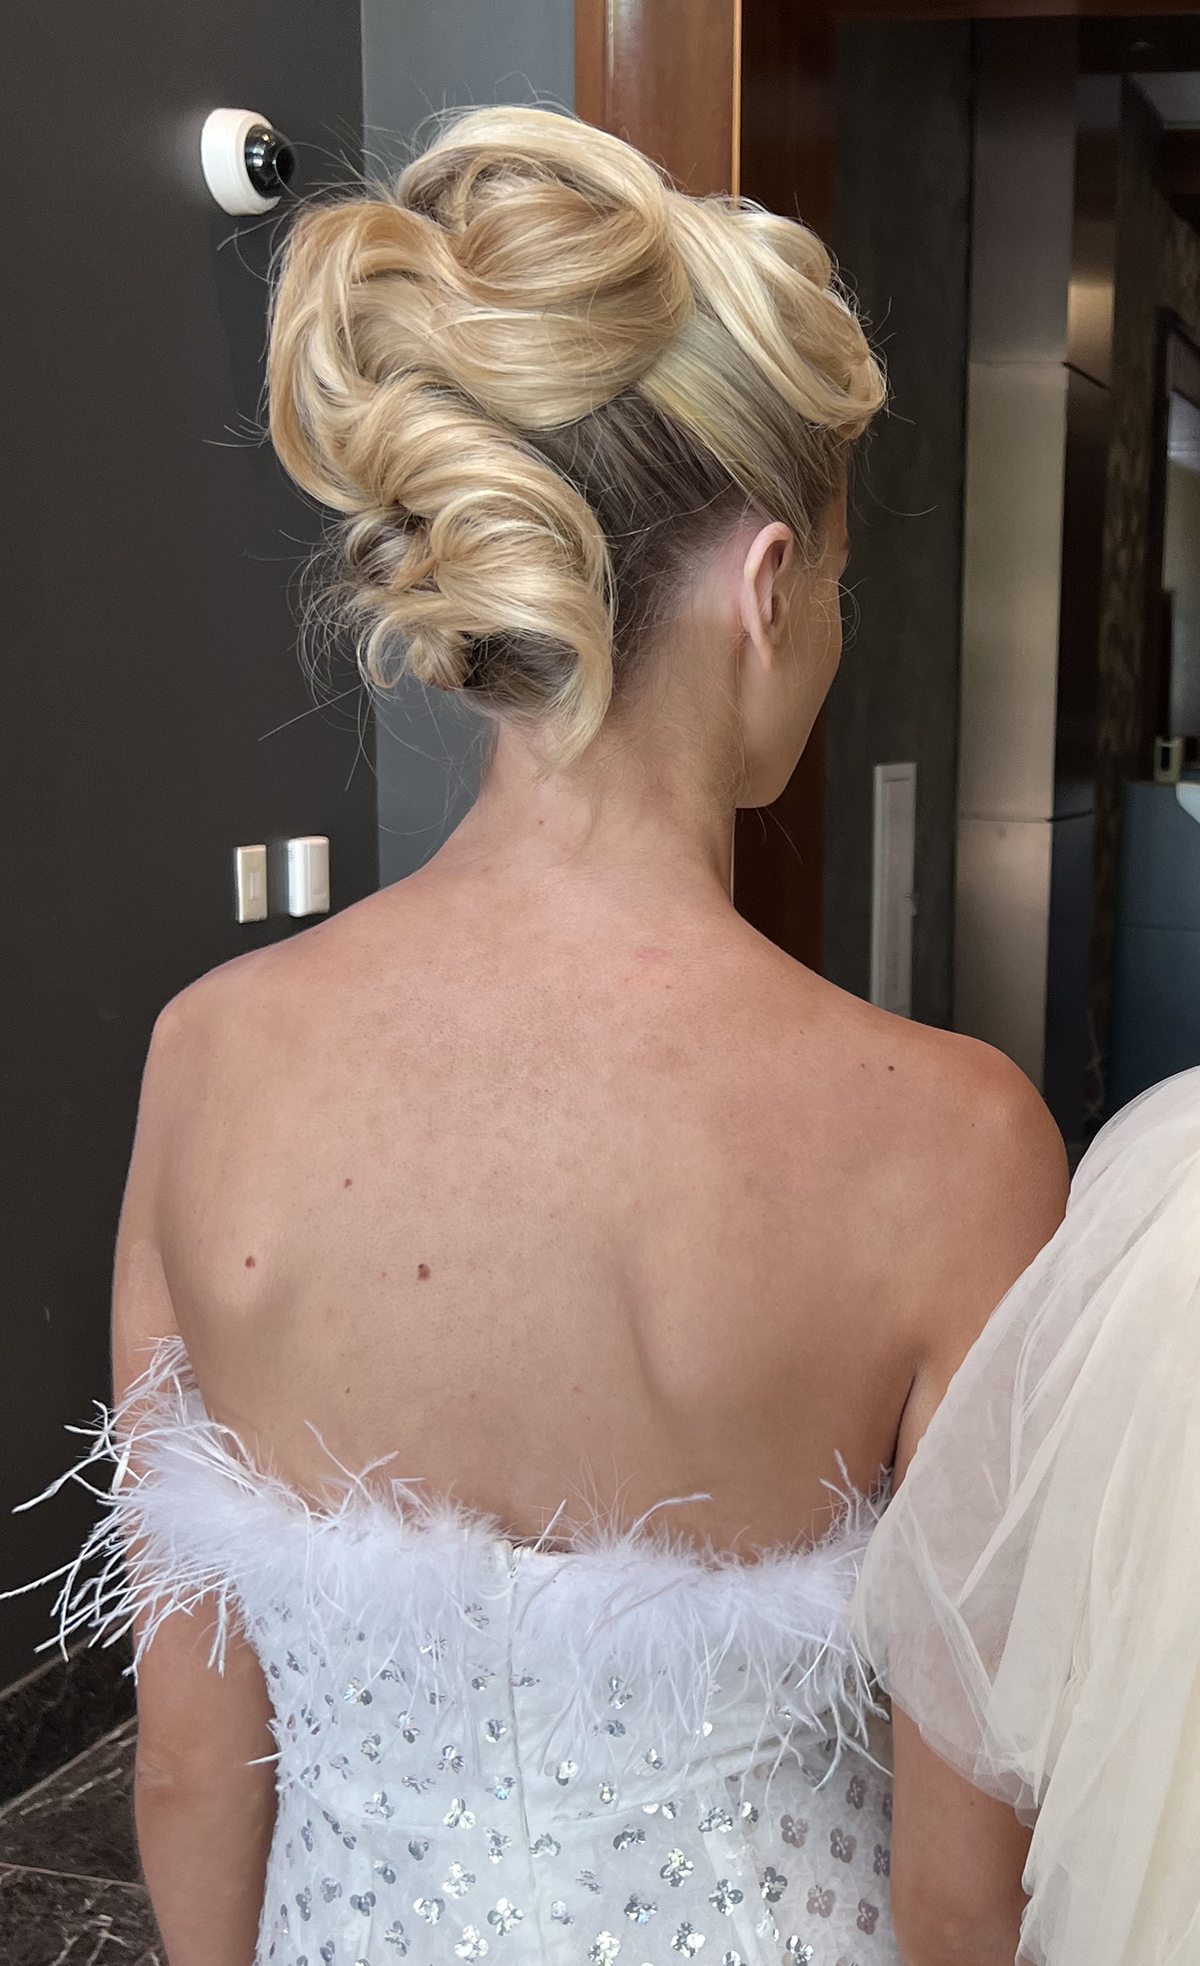
- Release the cord and drop out the front and back triangles which are already prepped with a wave pattern.
- Secure a ponytail at the top of bottom triangle. With front ponytail create a swooping side swept style to one side and wrap back and around top ponytail. Join the hair in the ponytails, and following the wave pattern, design hair to swoop back and forth across the back of head and up and around bottom ponytail.
- Use anchors as a foundation to pin the style in along the way and to act as a road map to where to move hair to next. Volume and soft movement can be created here with strength and security, thanks to the foundation and anchors set up ahead of time.
Shop The Technique:
Sam Villa Artist Series 2-in-1 Marcel Iron and Wand 1”

Sam Villa Artist Series Finishing Brush

“I encourage you to start using these foundations in your styles for longer lasting results. Your brides will be so pleased!” adds Peters.
To learn more about these anchors and how to start using them, book a class with Peters in-salon and/or learn more about where she will be teaching here.
Credits: Hair/Anna Peters; Makeup/@kiarashannelle