Let’s face it: We all have more time on our hands these days, inspiring most of us to tidy up and organize just about every area in our home. One item in desperate need of cleaning? Your hairbrushes. Over time, dead skin, dust, bacteria and even yeast can build up on and around the bristles and eventually, all of that buildup can be deposited onto your scalp, causing clogged hair follicles and irritation. That’s why regular cleaning sessions are necessary to keep your brush in the freshest condition possible. Check out our no-fail guide to deep cleaning everyone’s favorite hair tool.
Step #1 - Remove
Regardless of how well you take care of your strands, you’re likely to see a few loose hairs stuck in between the bristles after every brushing session. Starting today, get into the habit of removing those hairs on a daily basis in order to prevent dust, dirt and bacteria from accumulating. Having trouble pulling out every strand? Stick the pointed end of a rattail comb underneath the hair and twist it up until you’re able to loosen it from the bristles. If you have a lot of product buildup, create a paste using baking soda and water, then dip a toothpaste into the mixture and use it to buff off any remaining product.
Step #2: Soak
While you should remove loose hair after every use, aim to deep clean your brushes about once a week. To remove all that buildup, fill up a bowl with warm water, then add a small amount of shampoo or soap. Allow the brush to soak for a few minutes, depending on the type of brush you’re using. If it’s a plastic or metal brush, you can simply submerge it into the bowl of water to soak. If you’re using a wooden brush or a brush with fabric or soft padding, dip only the bristles into the warm water--soaking the brush handle or the padding could compromise the integrity of the brush.
Step #3: Dry
After soaking, shake and/or dab off the excess water, then place the brush on a clean towel with the bristles facing up to air-dry. For those using a brush with fabric padding or natural bristles in areas of high humidity, consider drying the bristles with a blowdryer on low heat in order to prevent mold and a lingering musty odor.
Step #4: Replace
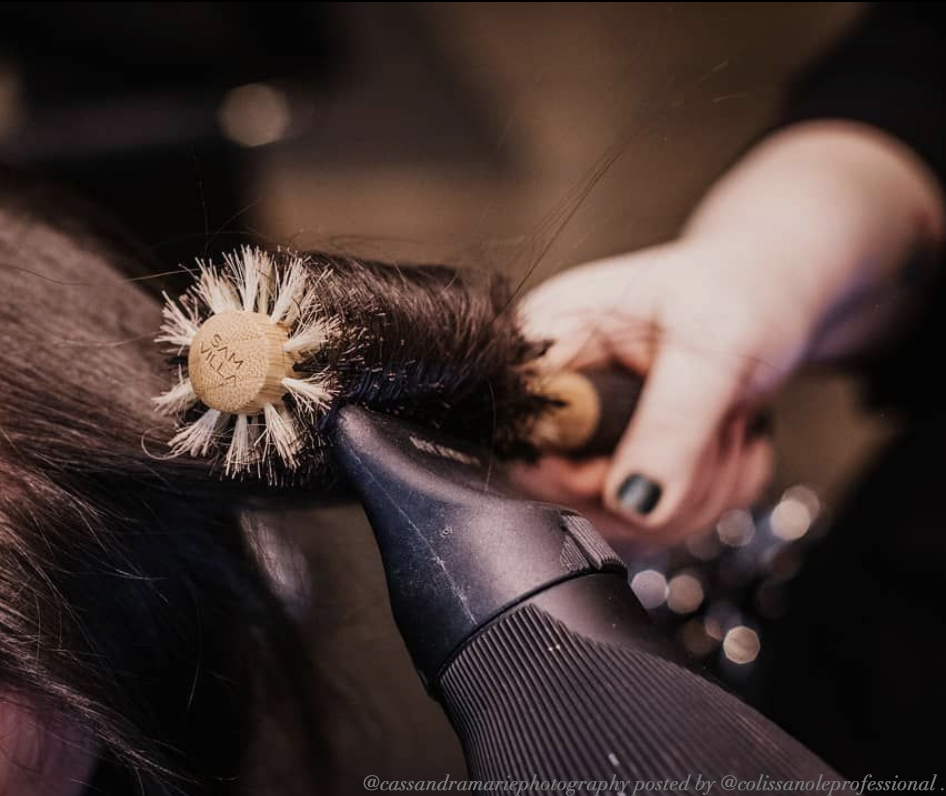
Although implementing a weekly cleaning will prolong the life of your brushes, you still need to replace them on a regular basis. Noticing your bristles start to separate is a strong indicator that it’s time to replace--failing to replace your brushes can cause pulling or tugging on the hair, leading to breakage. Typically, brushes should be replaced every six months to a year, depending on how often you’re using them. Round or paddle brushes, which are typically used during blow-drying, may need to be replaced more frequently as the bristles may melt or fall out due to the extreme heat. It’s simple: Much like your other styling tools, your hairbrushes are an investment--take care of them and replace them whenever necessary to ensure you get a flawless finish every time you style.
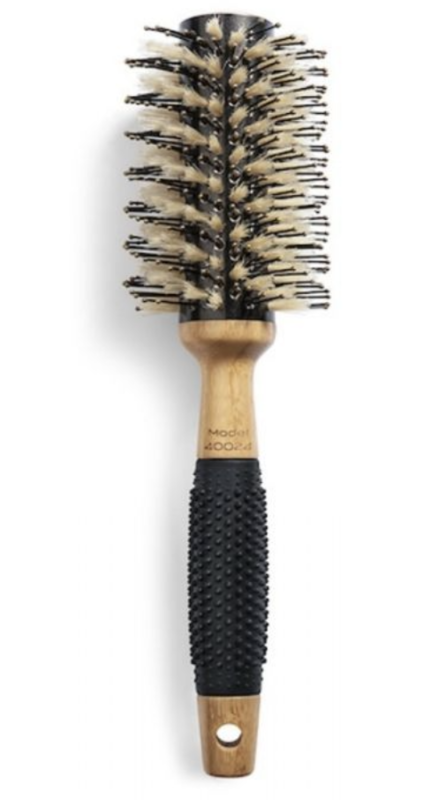
Our Top Pick:
Sam Villa Artist Series Spiral Thermal Brush