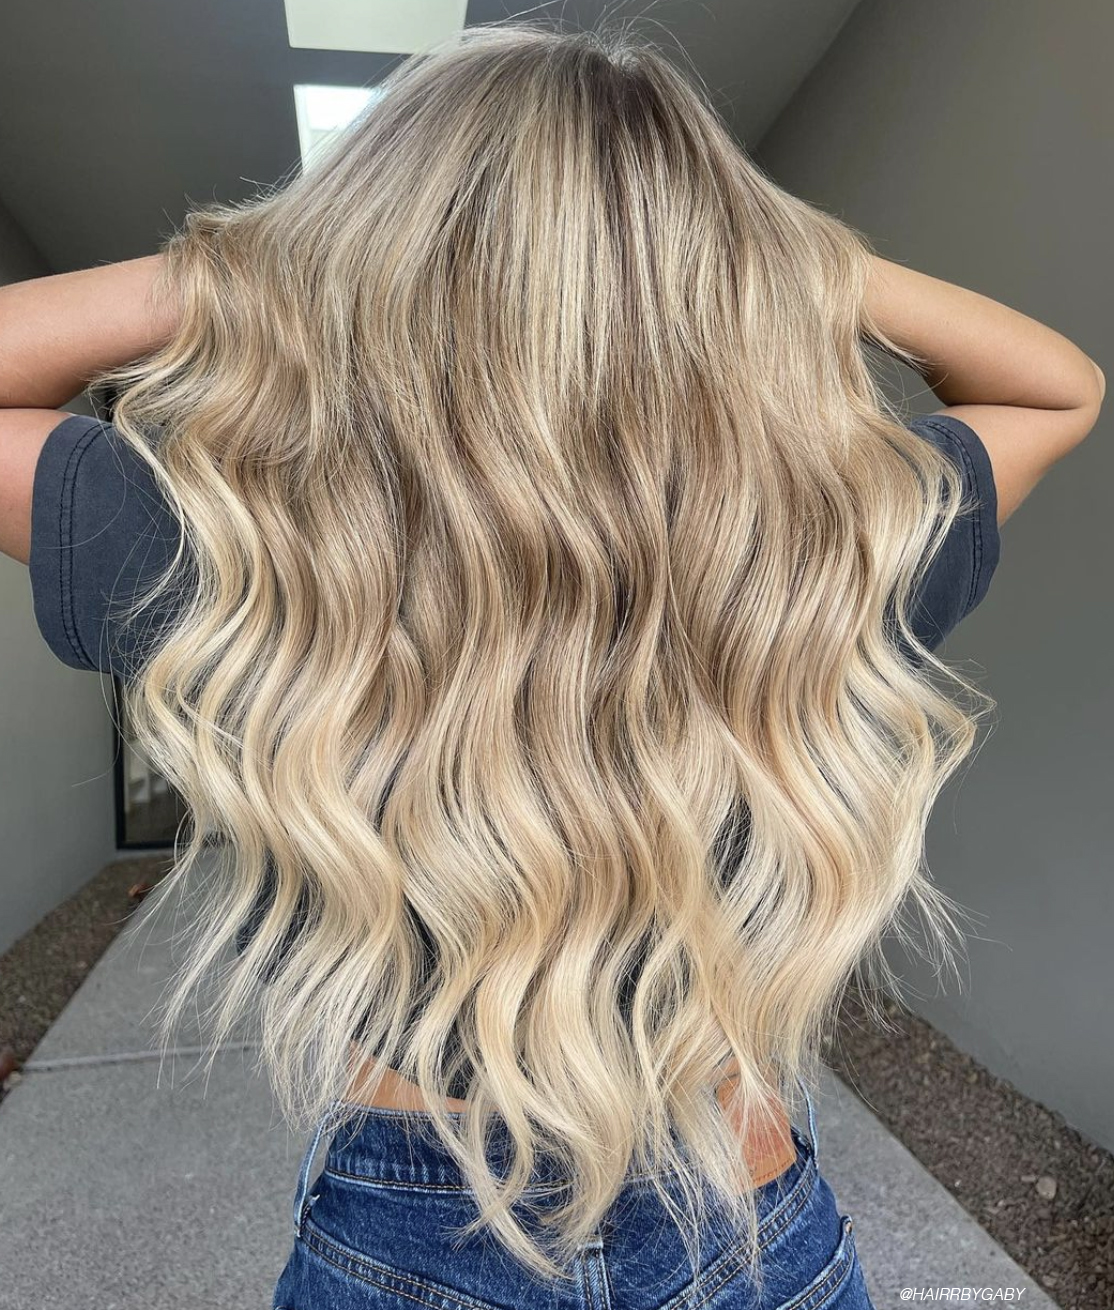
Preparation is the key to a seamless color procedure. Follow along and see where you can tweak your setup and application methods for those foil-filled locks to make your process as perfect as your final outcome.
Tools of the Trade
Over the last few years, companies like Framar and Colortrac have revolutionized the color application side of our industry by giving us customizable options that never existed before. From rolls to precut, to pop up to sheets, film, and paper — the options for color application are endless. Long gone are the days of cutting foils and folding down the edges (unless you still want to). Now, it is much easier to prep your foils according to the service you have coming in. Simply choose the length and color (or colors if multidimensional application), place nicely on a tray with weaving comb and clips, and get ready for the next key component.
Sections for Success
After many years in the chair, it's easy to have a mental map of where you are going to place your foils. Taking a few moments to pre-section your client will ensure that you have the right foils and tools you need. It also helps keep track of how many bowls you are using and helps predict future service costs.
Tension and Tilt
Once you have set up your working area, chosen your tools, decided on an end result, and sectioned your client you are ready for application. Focus on taking clean partings, never place your lightener higher than 1mm lower than the ridge of the foil. If this means you are far from the root then your parting is too thick. Use maximum tension with your non-dominant hand and apply the bleach (or color) in a downward sweeping motion. Have your client tilt their head as you work around them in order to give you a solid foundation for your foils. If your product is too liquidy, your foils will slip so make sure to check the consistency before application.
Fold to Finish
It can be tempting to fold foils on one edge, continue along and save a second or two on each foil. But, in the end, it helps both our processing and our application in other sections if our foils are folded on all sides. In some cases (such as surface painting in a foilyage or corrective color) hair is better left at its full length, for these applications fold either side of the foil incubating the hair. With traditional highlights or teasy lights — fold the foil once from bottom to top lightly tapping on the fold and then fold in the sides. Over folding or packing a foil too tight can also affect processing.
In the end, practice makes perfect, if you are worried about speed start with a lower volume to avoid over-processing, and remember every hairstylist started with a droopy piece of aluminum hanging onto a piece of barely saturated hair.