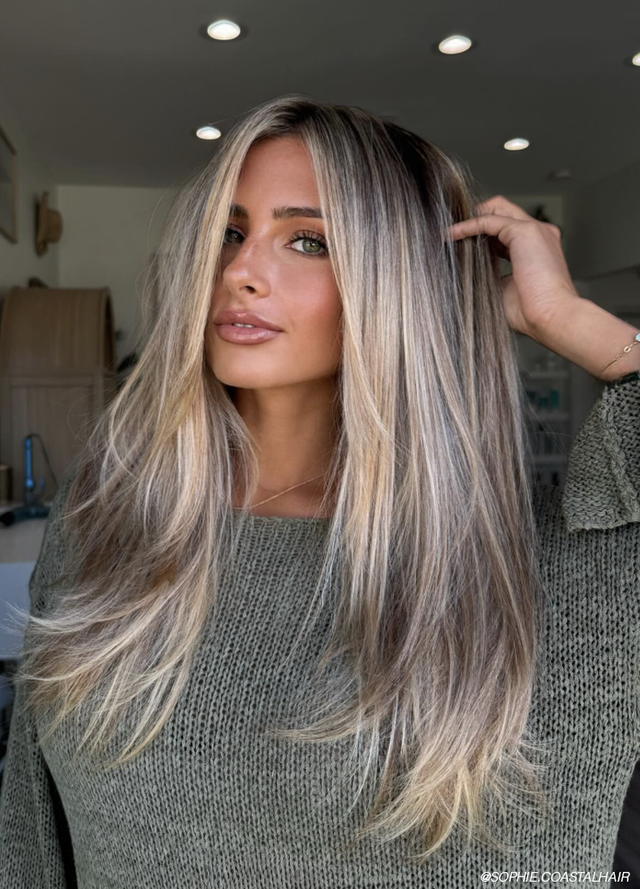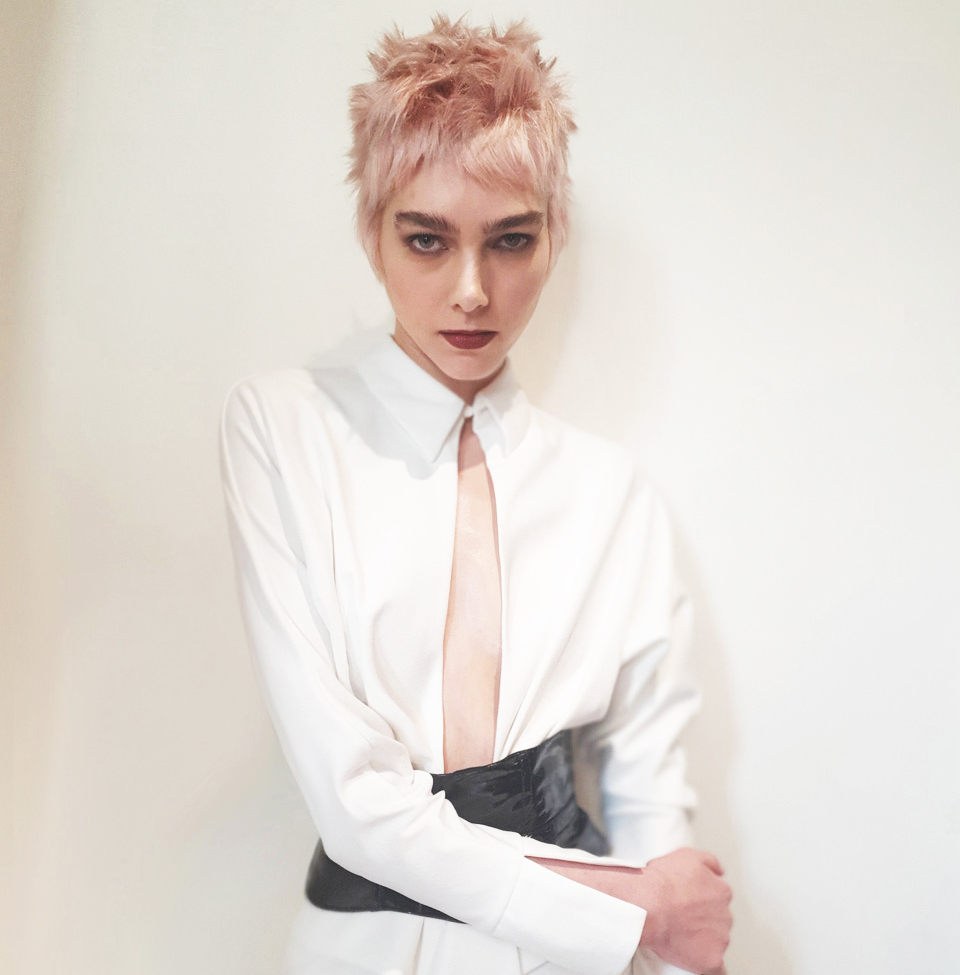
Although Hitchcock made a name for himself in the film industry through his brilliant movies, he also made a name for women across the board by casting his leading lady - almost always a blonde. In the beauty world, the idea stuck and clients and stylists everywhere started referring to icy blondes as “Hitchcock Blondes.” Taking inspiration from the legendary filmmaker, Jake Unger and Warren Boodaghian from HOB Academy created this blonde style with all the mystery and bright blonde hues indicative of the look. Keep reading to learn exactly how to get the cut and colour!
Get The Colour:
Prelightener: Wella Professionals Blondor Cream + 6% mixed 1-1.5 ratio
Formula 1: Colour Touch Mink Blonde 20g 10/6 + 5g 7/89 + 1g 5/5 + 4% mixed 1-1.5 ratio
- Apply pre-lightener to achieve a pale yellow canvas.
- Take a profile parting from centre forehead to nape, then from the highest point of the head to the ear on either side, giving a total of four sections.
- Starting at the nape, take 1-2cm alternate horizontal slices and apply Formula 1 to the roots to ends.
- Continue working in the same way until both sections are complete.
- Within the remaining two sections, within one section take horizontal slices up towards the profile and repeat the technique. Then repeat on the final section. Develop visually for up to 20 minutes, rinse and remove
Get The Style
- Begin by separating the back and front with a section from the apex of the head to behind the ear. Now, section the fringe using a zig-zag pattern.
- Start by taking a profile section on top of the head and use a round cutting line to establish the length.
- Cut the box section horizontally using the profile section as your guide. Once the box section has been cut and cross-checked, use this as your guide to cut both top sides as before. The over direction backwards on the last two sections will maintain more length at the front.
- Utilise the length from the top to cut the sides and back, using a round cutting line with no over direction to create a round shape on the horizontal plane.
- Cut the fringe using a disconnected parallel layer softer than the rest of the top to create an area mixing softer with longer lengths to create movement and texture.
- Apply a texturizing spray, and start drying the hair using hands, then a flat brush when hair is almost dry to add shine and natural movement.
- Visually texturise the hair with thinning scissors to loosen the shape and create a fur-like effect on the ends of the hair.