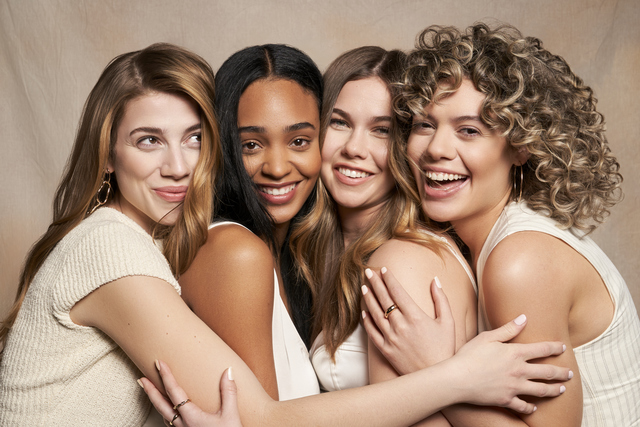
There is no doubt about it blowouts always look fabulous— if they’re done correctly. While your stylist may be the blowout master, your attempts to recreate this look at home may have failed miserably. No matter what you do, you can’t seem to get the hang of it. Styling your own hair is hard, and we'll be the first to admit it. Whether you are a stylist or simply a blowout aficionado, it takes time to learn the best techniques to achieve a stellar blow-dry. While dissecting the sections of your head is yet another topic to be covered, there are a few tricks that will help you achieve a decent style if your stylist isn’t available. Keep reading to see our top blowout tips that will give you the big and bouncy or sleek and straight style you’ve been eyeing on TikTok!
Tips to Extend Your Blowout
TOOLS
Invest In Your Tools
This doesn’t necessarily mean that you need to go out and break the bank, however investing in quality products means you will be able to achieve beautiful results and save you time, effort and energy in the long run. The Sam Villa Professional Ionic Blowdryer is a great choice if you want a professional-grade tool that is lightweight and manageable. From the right temperature to powerful airflow, it is key to getting the style you want, the way you want it!
Sometimes creating the perfect blowout starts with your tools. And while buying a new blow dryer is exciting - it’s new and shiny and opens your styling game up to a wealth of possibilities - upon retail excitement we often forget to look at the accessories that come with it! Most either don't even notice the extra attachments or even how to use them! Read below to see our handy guide for what those mystery attachments do and how they can help enhance your blowout this season!
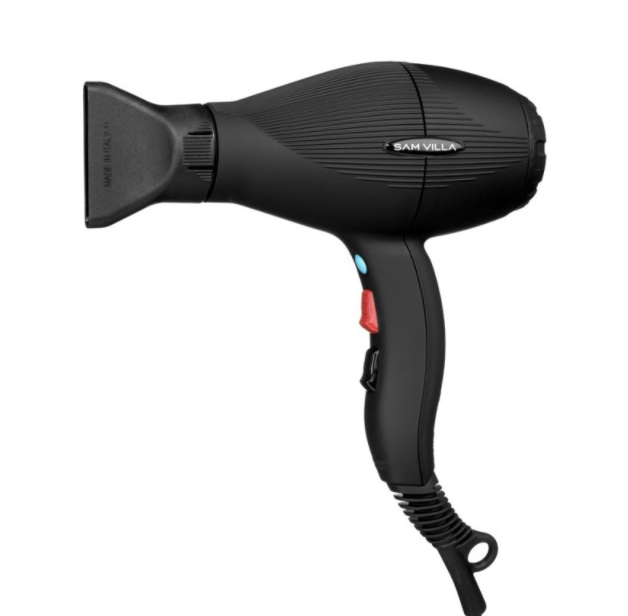
Nozzle
- Concentrates airflow for more efficient styling
- Directs heat and air so you can add volume to some areas and smooth over others (depending on how you angle it).
- Helps you to stick to one section (It’s imperative to do so until that section is completely dry!)
Diffuser
No matter the texture, a diffuser can be used on your hair.
- If you have curly this, this is an absolute must-have. A diffuser ensures hair dries conclusively in a quarter of the time, without adding extra frizz. If you flip your head and carefully scrunch while diffusing, you can add major volume to the base of your curls.
- For those with a wavy texture: Love your natural look but hate it when your waves flare with frizz? Touching your locks or going outside before hair is fully dry will result in this headache. To avoid looking like you got hit by a wave, try a diffuser to enhance texture and fight frizz.
So go ahead and dig out your blow dryer box – the accessories are really worth attaching!
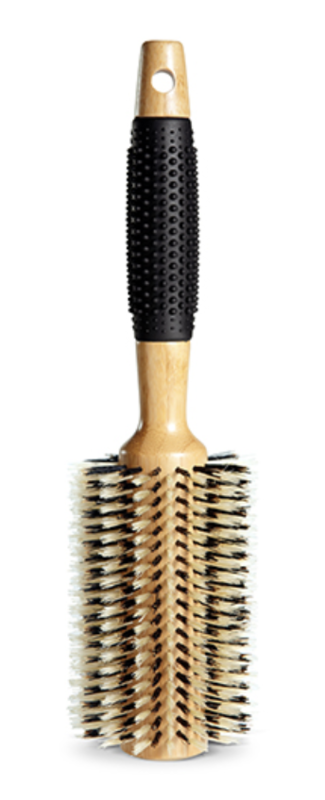
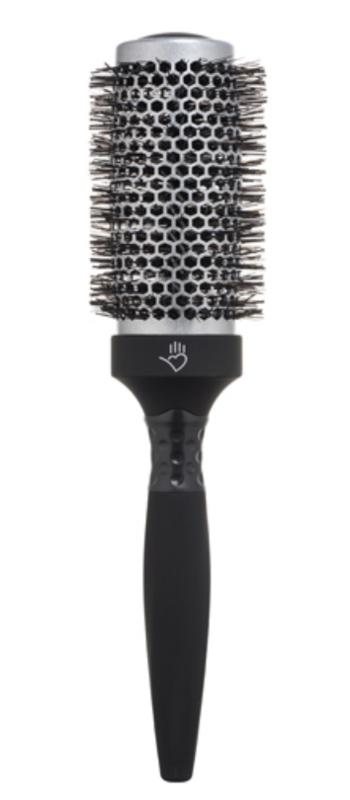
Choose Your Brush Wisely
Sometimes you just don’t know where to start! Choosing the right brush is a crucial factor in obtaining a better blowout. The best brush for many when performing a blowout is a round brush. A round brush smooths and styles your hair as you dry it and allows for control. Depending on the size of the barrel, different round brushes will give you the size of curls or volume that you desire. Think of it this way: the bigger the brush, the bigger the style.
Oftentimes, we choose the wrong brush in the wrong size to begin to blow out our hair. If you’ve ever got your brush tangled in your hair, you know what we mean! If your hair is on the thicker side, a natural bristle brush like Sam Villa Professional Signature Series Brush, will do the trick. Enhanced with a mix of natural boar and nylon bristles, this brush will add shine to your hair as it smooths. If your hair is on the finer side, consider using a ceramic brush, such as the Sam Villa Professional Signature Series Thermal Styling Brush, this choice will quickly dry your hair as it creates body.
PREP
You can read article after article, follow blogs religiously, and watch so many TikToks you’ve practically memorized them. Still, when it comes to creating a perfect blowout, there is one tip that most are missing: the key to a stellar style starts in the shower! Knowing which shampoo method works best for your style is key! How do you wash your hair? Shampoo twice? No conditioner? Condition and then shampoo? When it comes to getting your shower routine down, sometimes it’s best to try out different methods until you find one that works best for your style and hair type.
Shampoo Twice? If you wash your hair every day, chances are that you don’t need to shampoo twice. A good rule of thumb is that if your hair feels clean after the first rinse, you probably don’t need a second. Washing too much can dry out hair, irritate the scalp and increase oil production. If you like to wash your hair every day but feel as though your scalp is dry, try conditioning only – conditioner still has cleansing properties that can help clean without overly drying. This is also a great trick if you work out a lot – since sweat is water-based, a good rinse can do wonders and you can always rinse with a conditioner to lightly cleanse!
No Conditioner, Conditioner. This is like the no makeup, makeup version for your hair! If you feel conditioner makes your hair limp and don’t like how your hairstyles are after, consider changing your product placement. Although some days it’s great to skip conditioner at the scalp for added volume, you want to make sure to conditioner occasionally. A conditioner is similar to applying moisturizer after washing your face – while you can get away without applying, occasionally, however you don’t want to make a habit of it. Another option may be switching up your conditioner to find a formula that works well for your hair type and desired style!
Condition, and then shampoo? This can be a great option for those of you with fine or thinning hair. You can still shampoo and condition your hair and then add shampoo to the root area to give you some lift. Alternatively, sometimes you just need a really great rinse. Be sure to run fingers completely through your scalp, lifting, shaking and scrubbing to ensure you’ve gotten all of the product out.
PRODUCTS
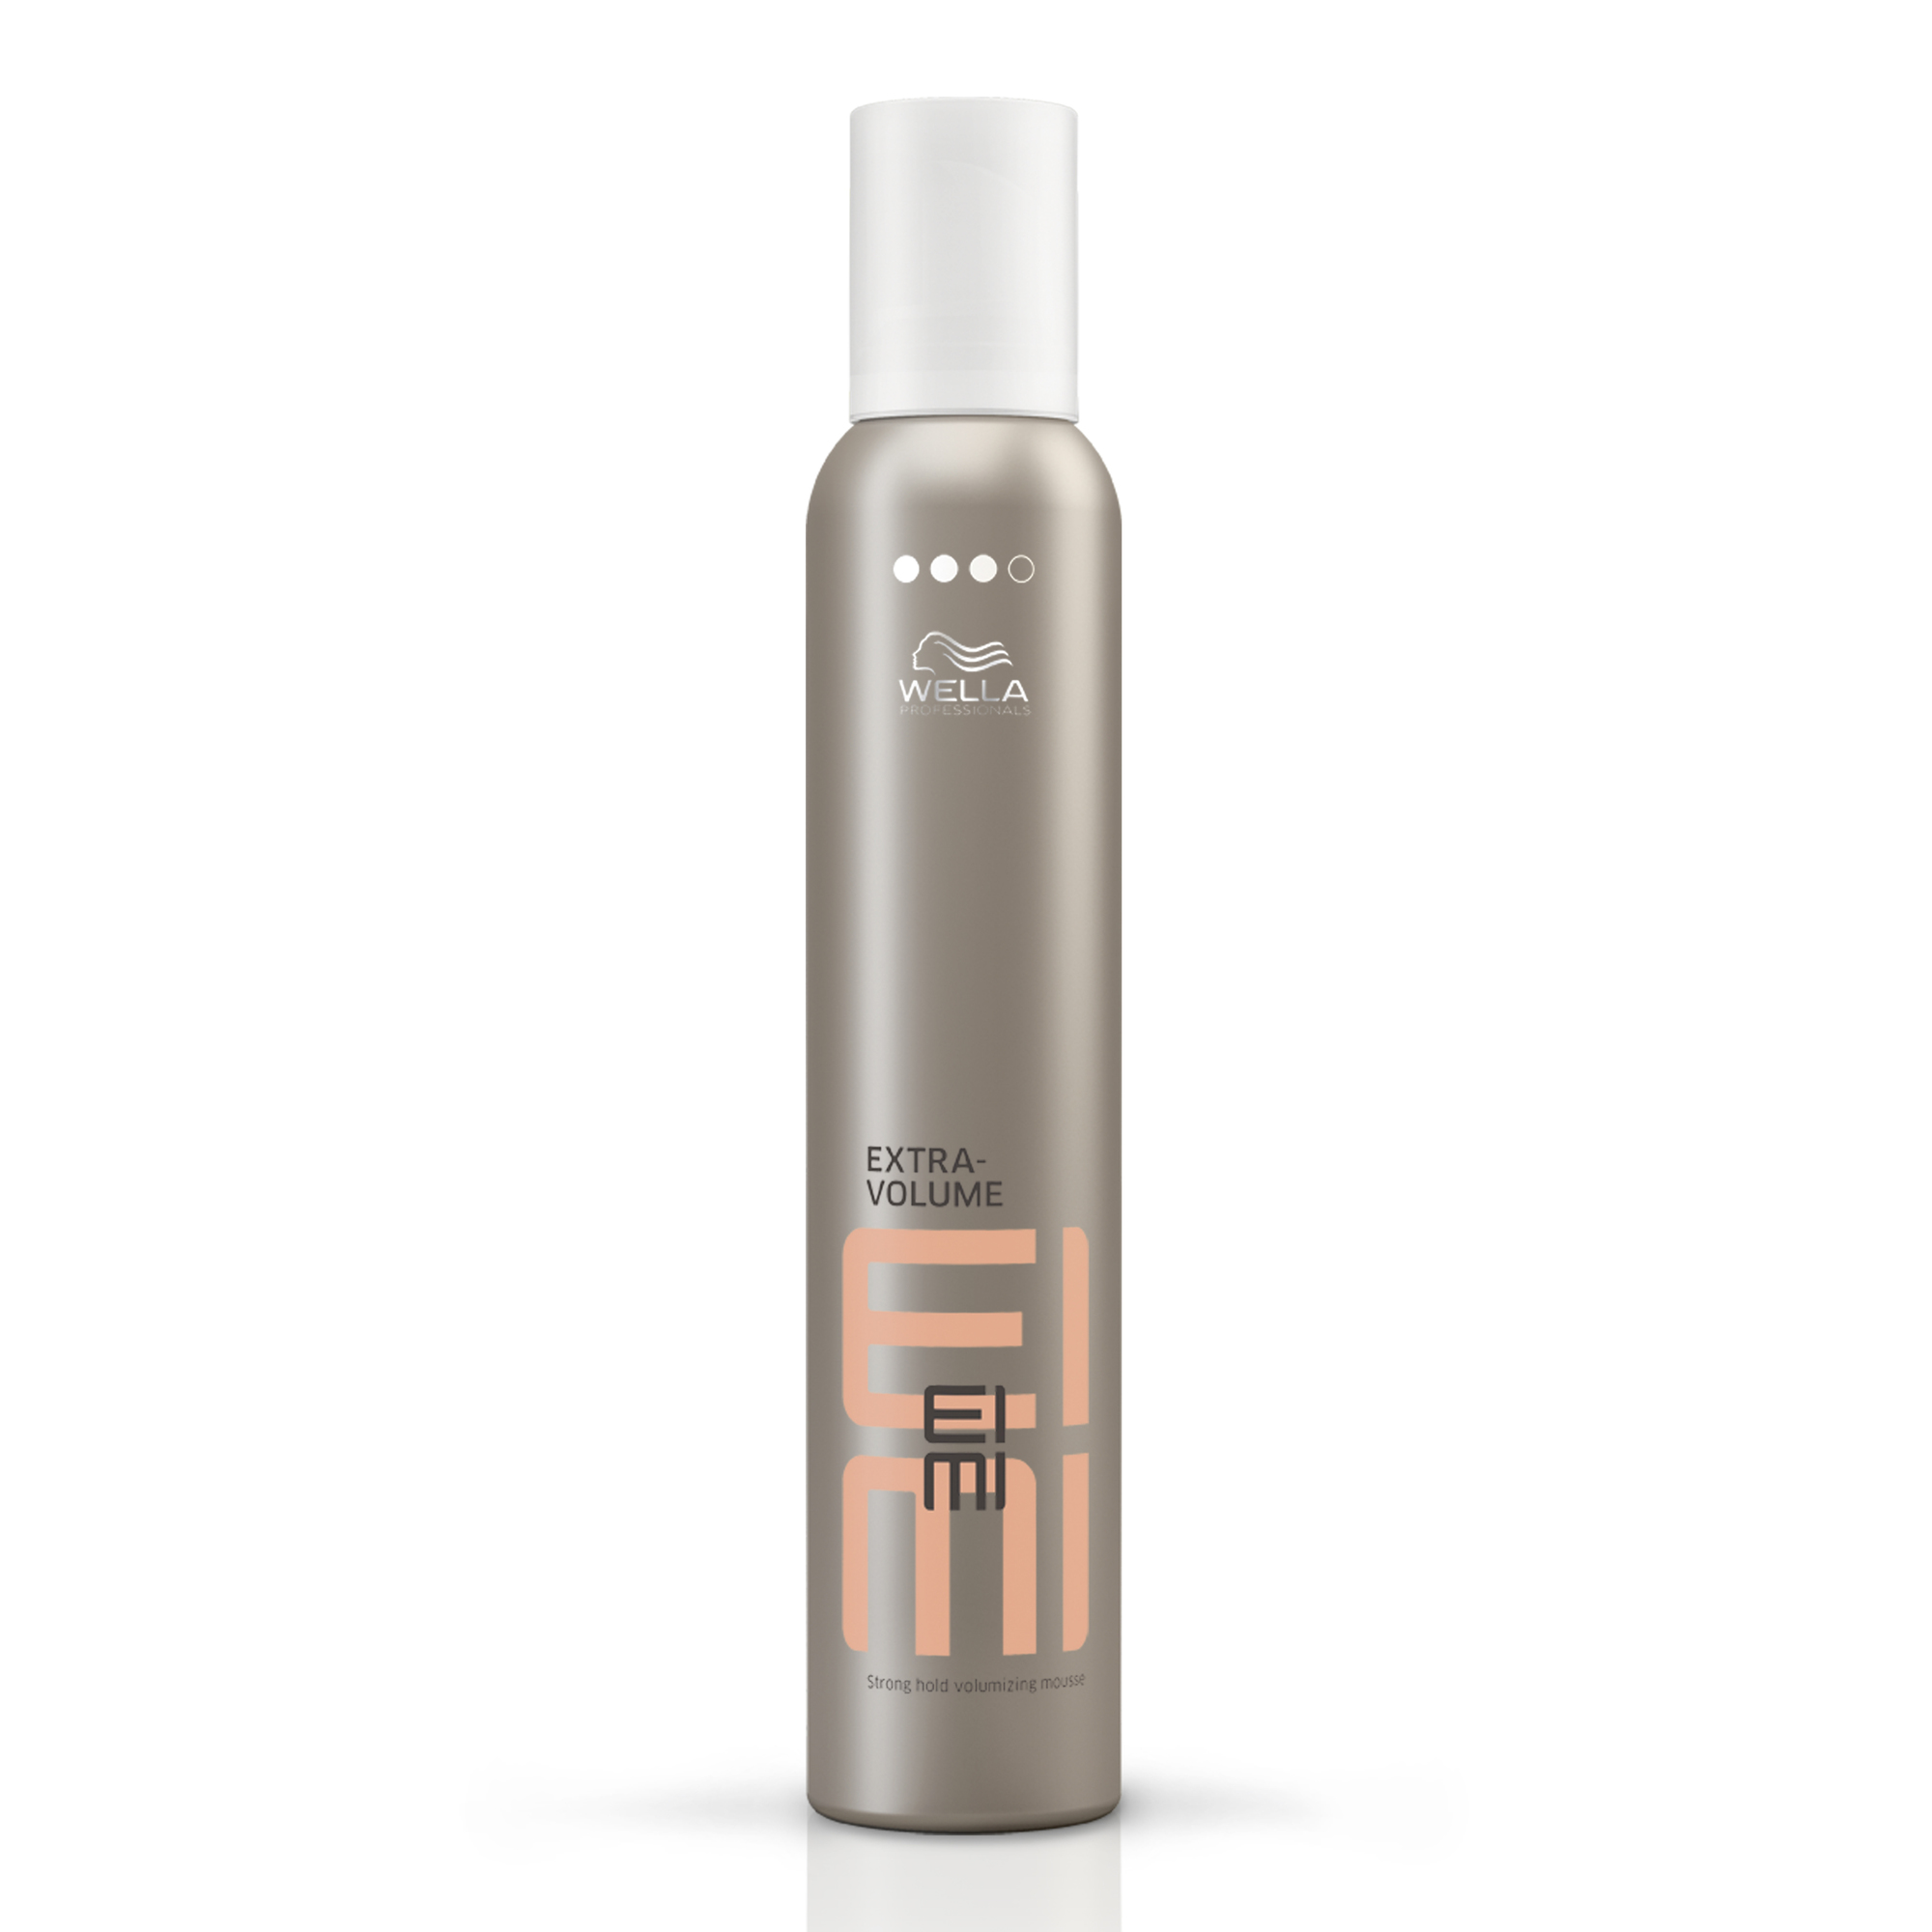
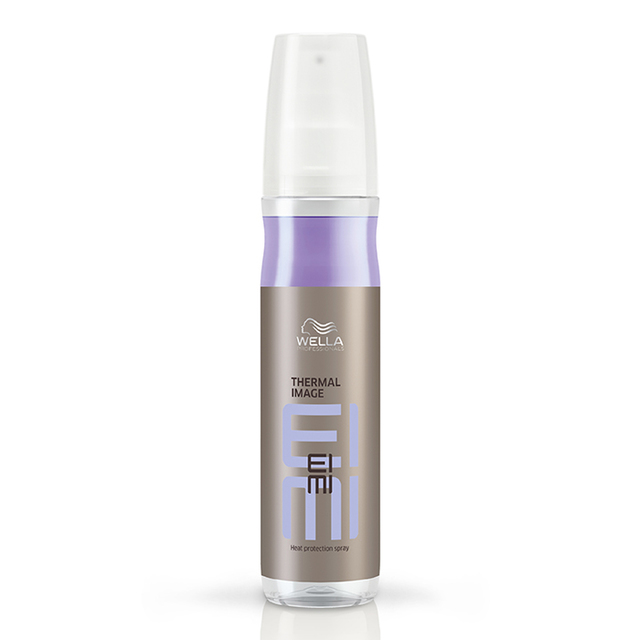
After properly cleansing, you’ll need to add the proper products for your hair type and the desired outcome. To get a smooth, sleek, and voluminous look, applying a cocktail of products to your strands is best. Start off with a mousse, like Wella Professionals EIMI Extra Volume Hair Mousse at the roots, and then apply a protectant like Wella Professionals EIMI Thermal Image from the mid-shaft to ends and then comb through. This is a great combination to achieve a beautiful blowout without overdoing it with products.
*PRO TIP: Don’t Start On Soaking Wet Hair:
Based on hair type, removing up to 70% of moisture from strands (less for thick/textured hair) prior to beginning a blowout will speed up drying time and cut down on damage to your hair. Use a rough dry method with a nozzle and a paddle brush to begin! To do this, just use your hand to shake your hair as you blow-dry it. Opt for a vent or paddle brush if you need a brush to rid hair of tangles. A rough dry removes any extra moisture to help you style your hair. After the rough dry, your hair should be slightly damp and ready for that round brush!
FINISHING
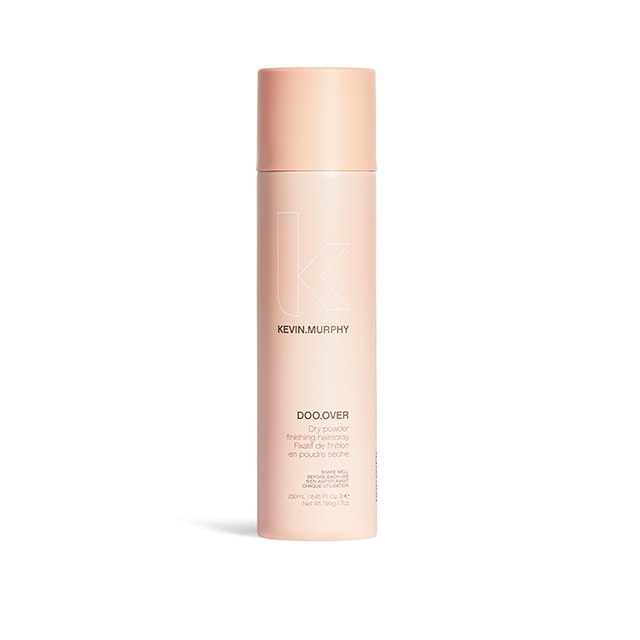
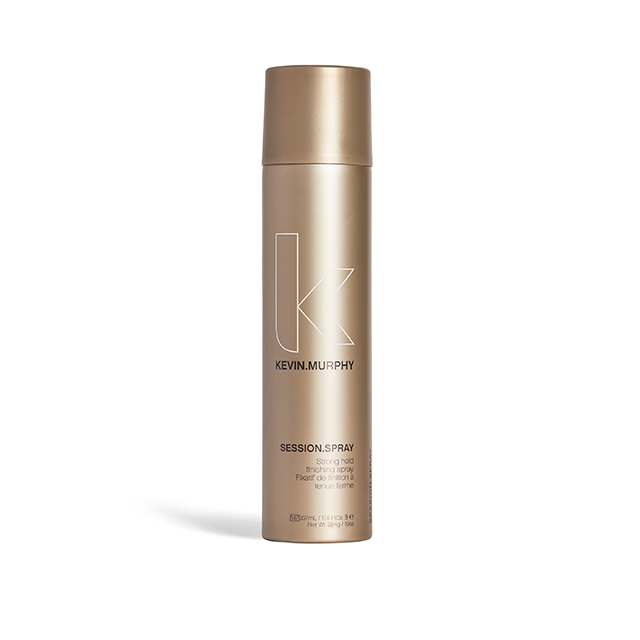
A cool shot is a great way to lock in any look. After you are sure your hair is completely dry, you’ll want to finish your look with products that will close the cuticle and seal in your style. For extra volume; DOO.OVER, for high shine; SHIMMER.SHINE, and for shape and stay; SESSION.SPRAY.
Once hair is completely cool, apply another spritz of SESSION.SPRAY to tame any flyways that remain. Sometimes, your baby hairs just won’t cooperate and a smoothing product is a perfect way to put those babies to bed.
![]()
THE UPKEEP
Unfortunately, sleeping, showering, and daily styling can cut the life of your blow-dry short. To ensure long-lasting results, wash hair with a volume-boosting shampoo and a lightweight conditioner before your blowout. Deep conditioning treatments or other heavyweight formulas will weigh down your hair, causing it to look flat and lifeless. A lightweight conditioner allows you to enjoy volume and body for days.
Day 1 - Ah, blowout day. Whether you get it done at the salon or DIY, nothing feels as satisfying as perfectly styled tresses. Enjoy it! The number one cause of ruined blowouts? Sleep. Most women let their hair do its thing at night and avoid styling altogether. Unfortunately, this can result in tangles, odd dents, and frizz. To maintain your style, part hair down the center and divide it into two sections. Then, twist the ends of the two sections into little buns and secure them with tiny hair elastics or bobby pins as these won’t leave creases in your hair. In the morning, gently take out the buns and shake up your hair to reveal effortless beach waves. This step is crucial to getting your blowout to last. Do it every night!
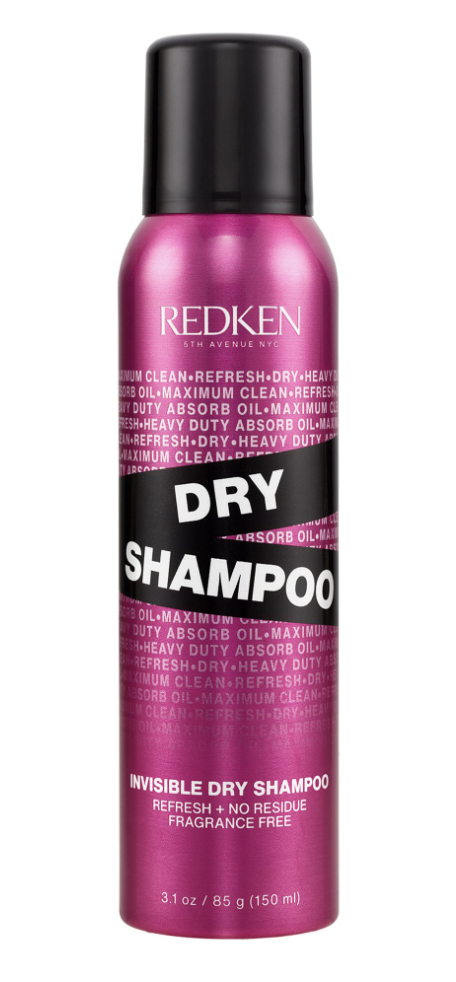
Day 2 - Take your hair out of the alligator clip in the morning, and voila—your blowout should still be intact. Fluff it up with a brush before you leave the house, and add a little Redken Invisible Dry Shampoo only if necessary. (You want to use the least amount of product as possible). Applying dry shampoo to your roots will absorb excess oils and odors, add volume and restore your natural texture to keep your strands looking and feeling fresh. If you’re planning on making your blowout last until day 3, apply a small amount of dry shampoo to your roots the night before* (that’s the key) and gently massage it into your scalp.
Day 3 - By day three, you’ll probably need a little styling and a shower (in case that didn’t occur on day 2). On days when you don’t want to wash your hair, make sure to wrap up your hair in a towel or a shower cap to protect your hair from getting wet in the shower. Make sure all of your hair, especially the hair in the front of your face, is covered in order to prolong your style. If necessary, refresh your style with a round brush and a hairdryer when you get out of the shower.
Day 4 - Headed to the gym before work and don’t think your style can outlive your sweat sesh? Think again! Before you head out, throw your hair into a bun at the top or French braid it. The key is to get your hair off your neck and away from sweat. (Moisture is a blowout’s worst nightmare!) When you’re done with your workout, gently dab off any sweat with a towel, and if necessary, apply Redken Deep Clean Dry Shampoo and blow dry your roots with a round brush. Your waves should still be loosely intact from the day before, so just touch up your ends with the curling iron.
Day 5- By now, your hair’s probably pretty greasy, so put it up in a cute topknot or a sleek pony. Wash it at night, apply a hair mask, and let it air dry to give it a break in between blowouts.