As stylists, expanding your knowledge of techniques and trying out new tools and products is part of what makes our careers so fulfilling. We learn from each other, from educators, and from brands about movements, trends, and new ways to improve our foundations. While we all learned how to use a razor in school, not many of us actually use them in everyday situations. To give a little insight into this solid salon staple and the best ways to use them, we caught up with Roger Molina and his partner Sam Villa Ambassador Ellen Devine, who share the history of razors and the best ways to use them.
Roger Molina, Sam Villa Ambassador @rogermolinahair, shares that the first known razors were made of flint rock and oyster shells dating back to 5,000 BC in ancient Egypt. Creating quite an improvement in the present day, we absolutely love Sam Villa’s Signature Series Razor Trio, which is undoubtedly much easier to use. Whether just starting to explore razor work or a tried-and-true devotee, Molina and partner Ellen Devine @ellendevinehair, get down and dirty with razor rules.
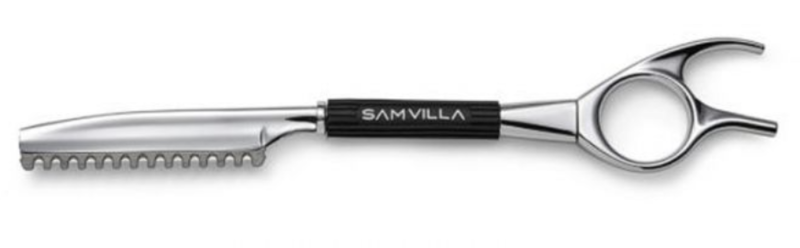
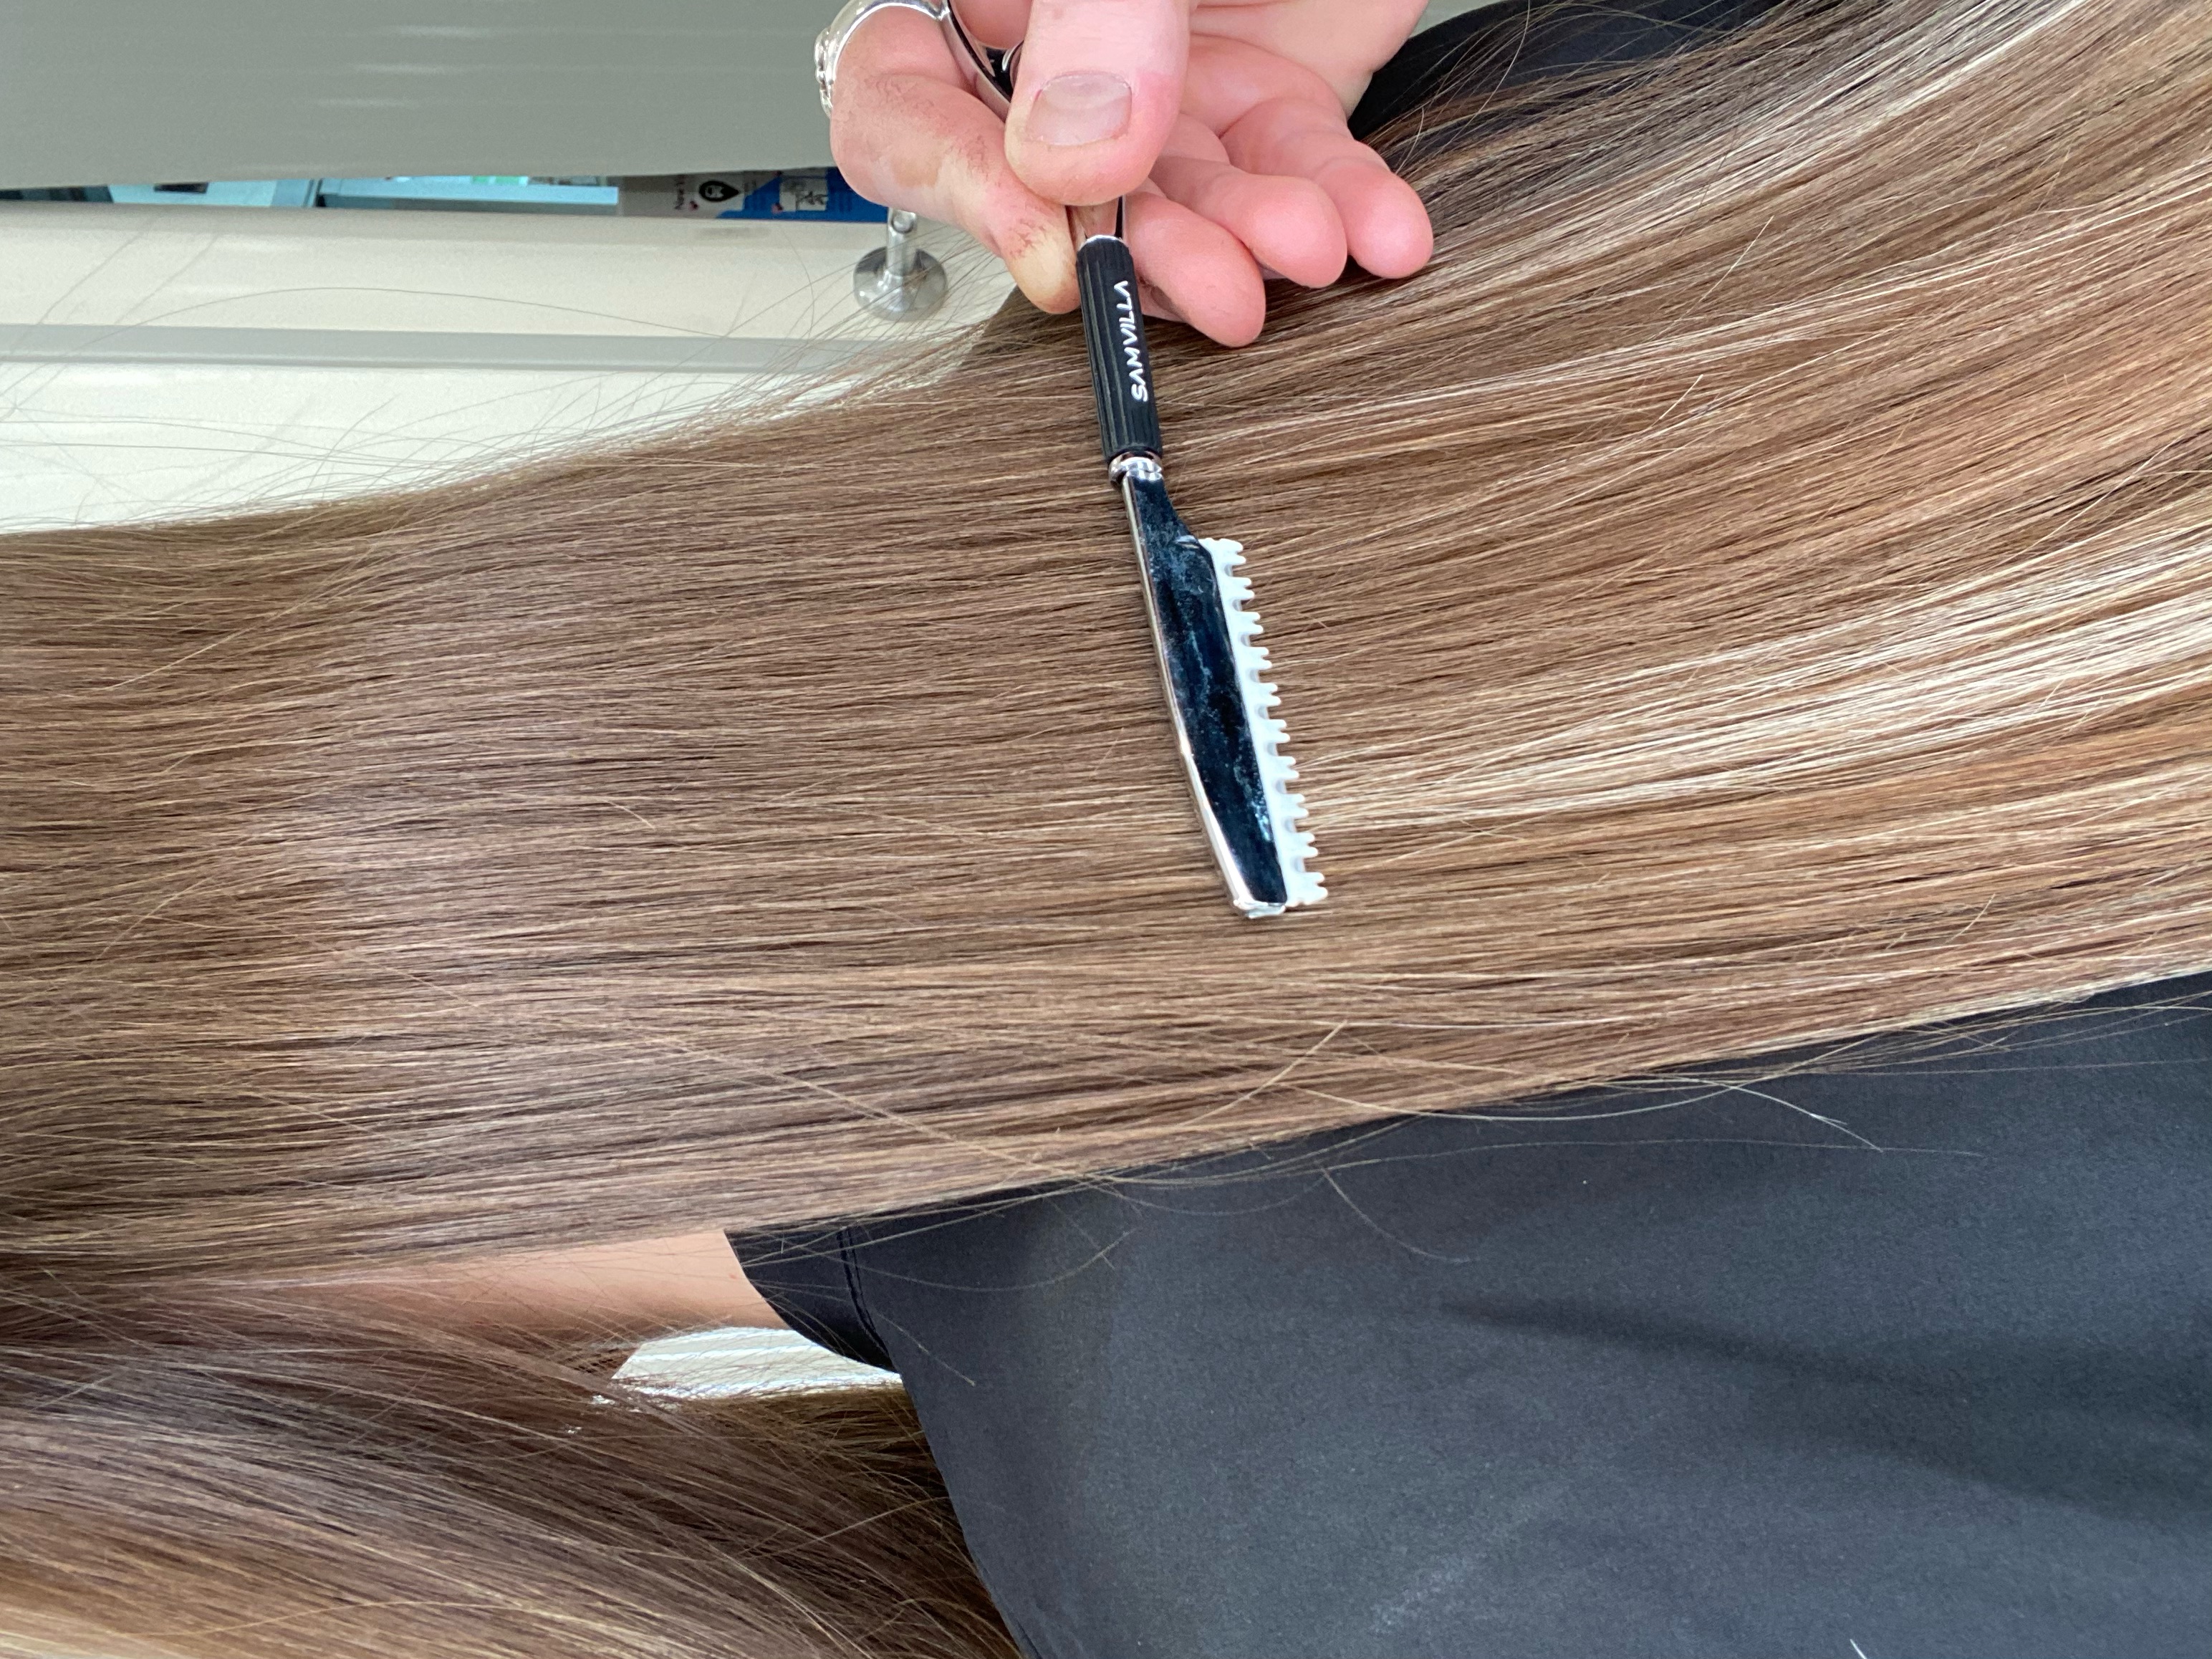
Blades
Start every cut with a fresh blade, it will slice smoother and not pull hair for an optimal razor cut experience. One blade might be enough for finer hair types, but two or more might be needed for others, depending on density and texture.
- Straight: Use when starting an entire cut from scratch, it’s a go-to blade to get things started and also to etch out a hairline with a natural pattern.
- Blending: Great for diffusing or lightening a ledge or weight line and can be used for a softer result in directional cutting. Cutting flat with the surface helps to lighten hard to blend lengths on lobs, bobs and pixies.
- Texture: Use to create texture quickly. Success with this (and any blade) is awareness, so use light pressure and finesse.
Handle
Hold a razor the same way you hold a pencil and stabilize it. Balance the razor hand on the hand that’s holding the hair to help gain more control and keep your hand in a natural position to reduce strain.
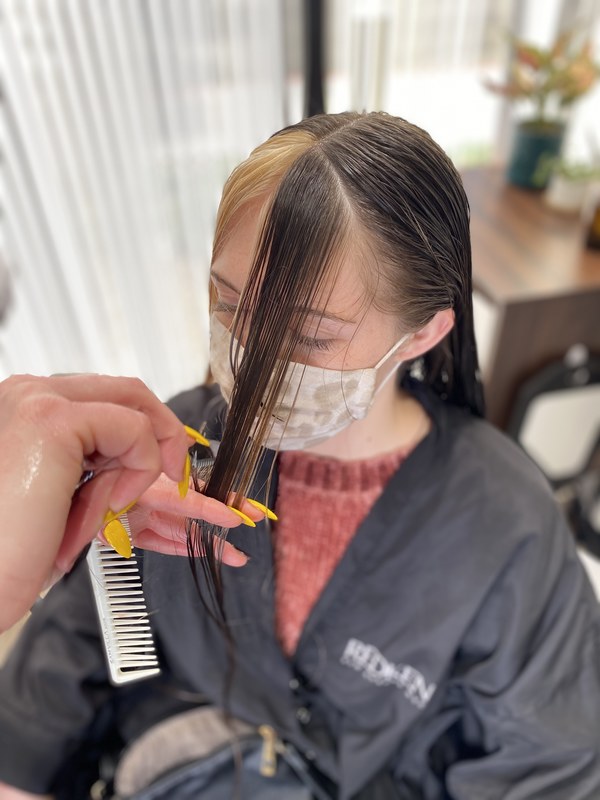
Wet vs. Dry Razoring
Dry hair, especially curly, will yield a more lived-in look with rougher diffused edges. Wet hair will cut cleaner, and the added glide of a cutting lotion will make it even smoother.
Techniques
Directive Sculpting: When refining, use a razor to generate direction - short hair pushes toward longer hair, so utilize short pieces to open up focal areas such as fringe or framing. When cutting shorter lengths or layering, take a skimming stroke, and for longer lengths, switch back to the finger tang at the end of the Sam Villa Signature Series Razor for more leverage.
Brush Stroke: When detailing the neck or hairline in front of the ear, hold razor parallel to the hairline with the guarded side pointing toward the cheek and lightly etch out hair. The less pressure put on the hair, the less hair is cut, so it is a nice way to create a soft structure around a hairline.
“Before you begin working with a razor, warm-up and develop muscle memory with the simple movement of rocking the razor back and forth in your hand, like if you were shading something in with a pencil,” explains Molina.
“If your client wears glasses, make sure to do detail work while glasses are on, especially around the ear and fringe, as this is truly how their hair will lay every day,” explains Devine.
Watch Molina and Devine cut and compare pixies here. Explore more weekly FREE live education from Sam Villa and team here.