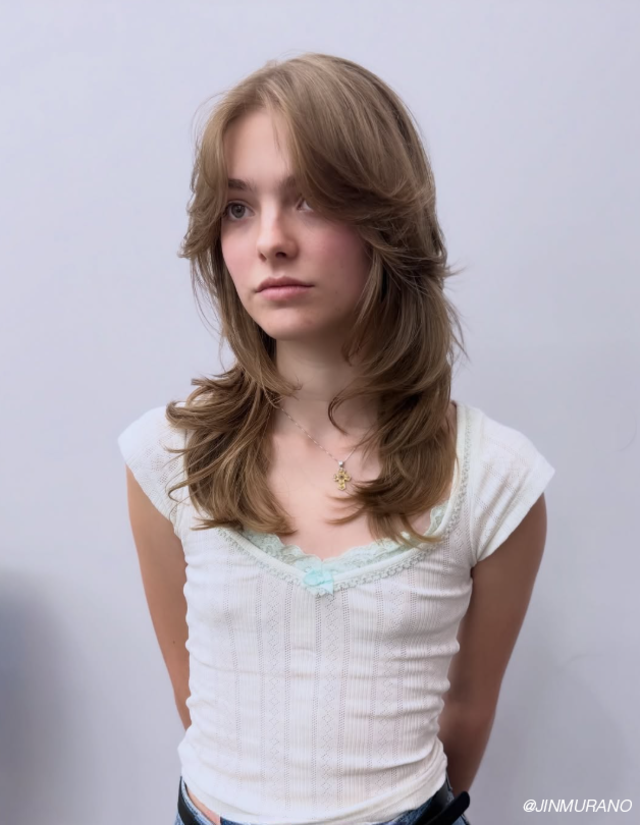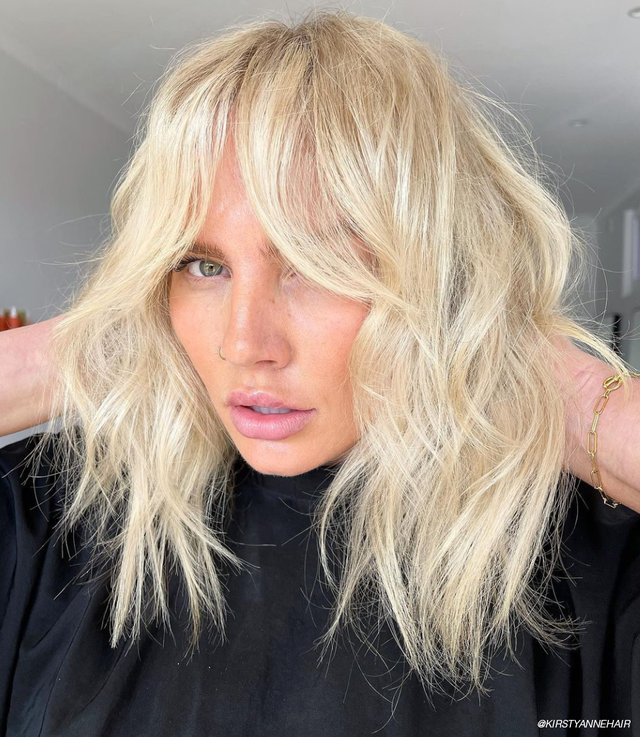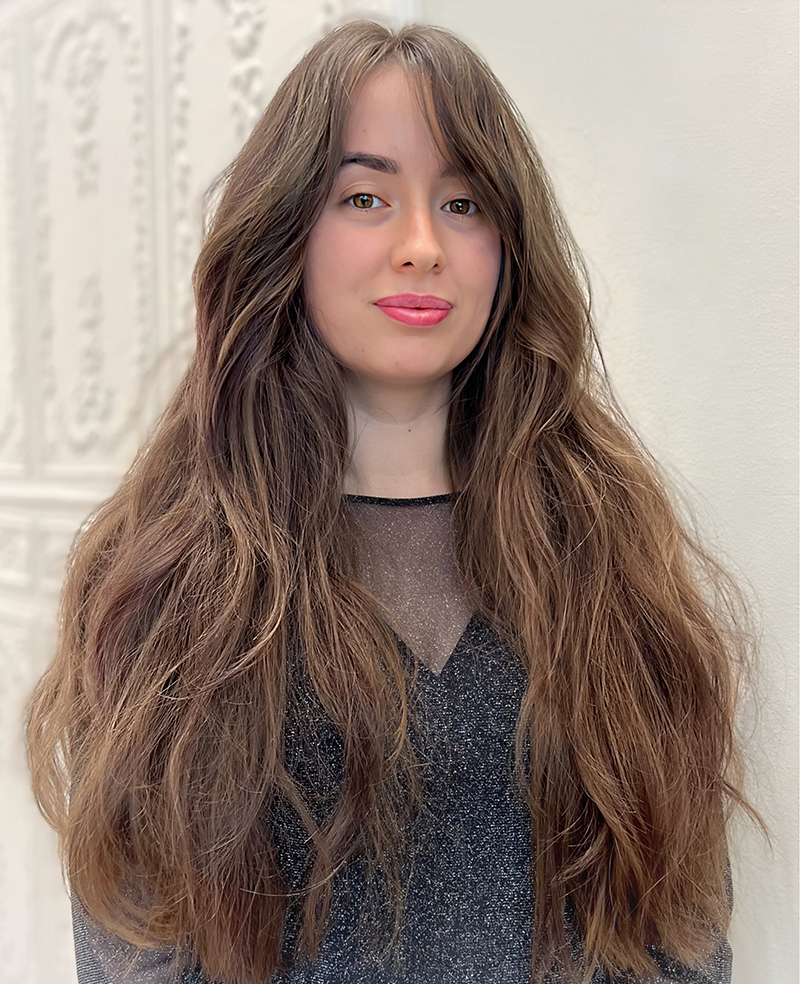
From long hair to mid-length bobs, haircuts of all lengths can sometimes need a little extra help to create a finished style with volume and movement. The only issue is, most clients don’t want to sacrifice their length to do this! This is where the latest trend can help them out. Ghost Layers are the latest hair trend to make a splash this season because of the subtle finish and ability to create invisible movement. They sit underneath the top layer of hair, and their movement pushes the hair on top out creating volume and a natural textured separation.
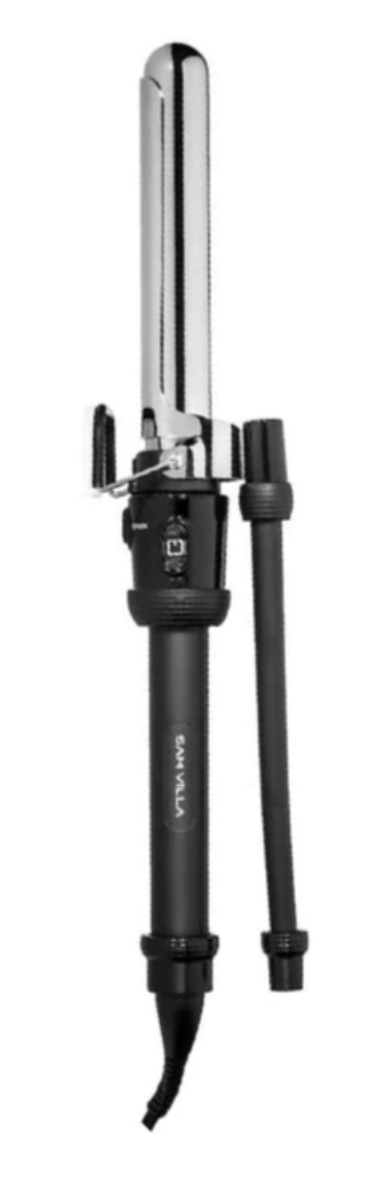
“What makes ghost layers so exciting is that almost everyone can benefit from them, regardless of their hair density and texture. And, they offer the versatility of styling hair straight to look one length with airy movement, or texture can be added with a large barrel iron like the Sam Villa Artist Series 2-in-1 Marcel Curling Iron and Wand 1.5”,” explains Teresa Romero, Creative Director for Sam Villa and Artistic/Education Director for Jose Luis Salon @_teresa_romero.
What Are Ghost Layers?
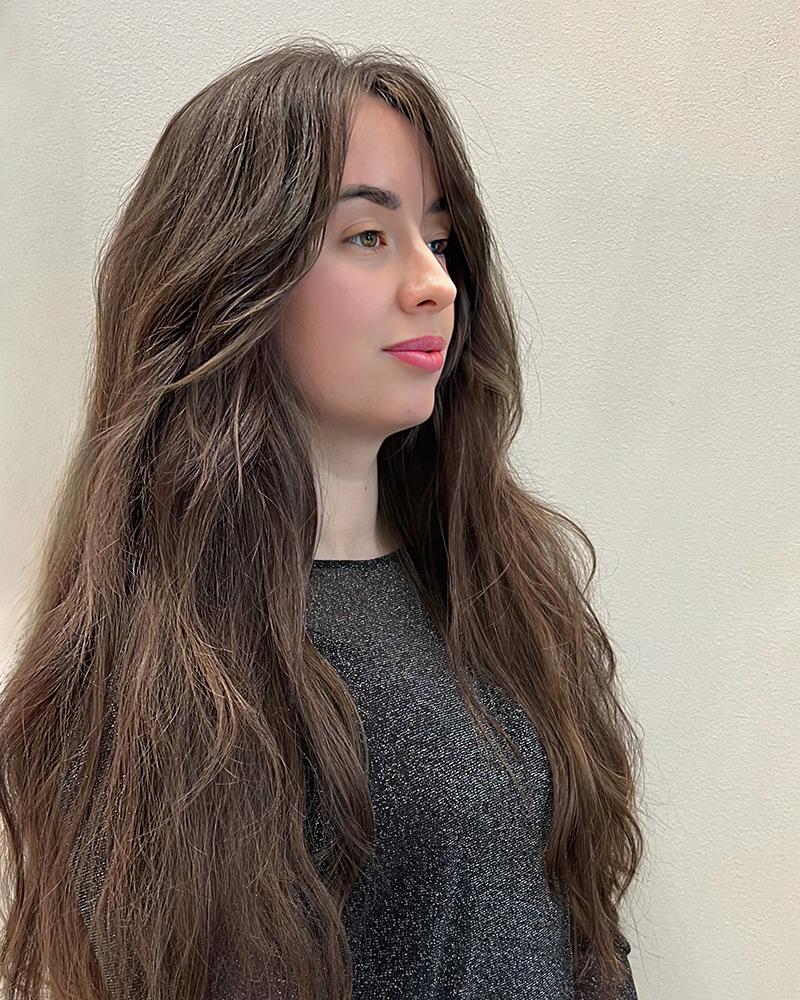
Romero explains that “Ghost layers are the modern take of internal, diffused and invisible layering techniques we have seen in the past. What makes them new is the way they problem solve by creating volume and movement in stationary hair with a subtle peek-a- boo layered effect.”
The details:
- Layering isolated strands and sections of hair within one length or long layered shapes creates expressive movement and volume without the commitment of heavily layered hair. The hair visually blends without obvious disconnection.
- They’re perfect for anyone with short bob length or longer hair that wants lived-in texture, volume and movement without thinning the hair.
- Most densities and textures benefit from this technique - keep in mind the tighter the curl or coil, the more the hair can expand.
- Volume is determined by how much or little ghost layering is done.
How To Create Ghost Layers
- Isolate a small fringe subsection. Start with a center part and cut a small section of hair to the bridge of the nose. Use this as a guide when elevating each section to the opposite side of the head. Gently talk (slightly open and close) the shear down the section being careful not to lose the perimeter length. Repeat on opposite side.
- Keep a center part and section the top from the sides and back.
- Around the head and below the top, elevate vertical sections 90° or slightly higher. Keep the shear parallel to the top of the section and gently talk the shear down the hair so it is just skimming the section. If the shear is angled down, it could remove too much hair.
- Dry hair and from a center part take vertical sections and elevate to the opposite side of the head, holding the section with moderate tension. In a gliding motion, gently close the shear no more than 50% and push towards the head. See this in action here and notice how the layers are underneath the hair, not on top.
Shop The Technique:
Sam Villa Artist Series 2-in-1 Marcel Curling Iron and Wand 1.5”
Credits:
Hair/Photographer - Teresa Romero, Sam Villa Creative Director.
Learn more from the Sam Villa Team by booking a class here or tuning into FREE Facebook Live classes and YouTube tutorials.